Managing chapters
You can manage your chapters and their members directly from the Staff site. Staff users are able to edit roles and perform searches for former and incoming chapter members.
Chapter members will be able to access their chapters directly form the Member Quick Start Site. On the initial login page, chapter members will see a link to their chapters. Members can also access their chapters from the Participation tab on their profile page.
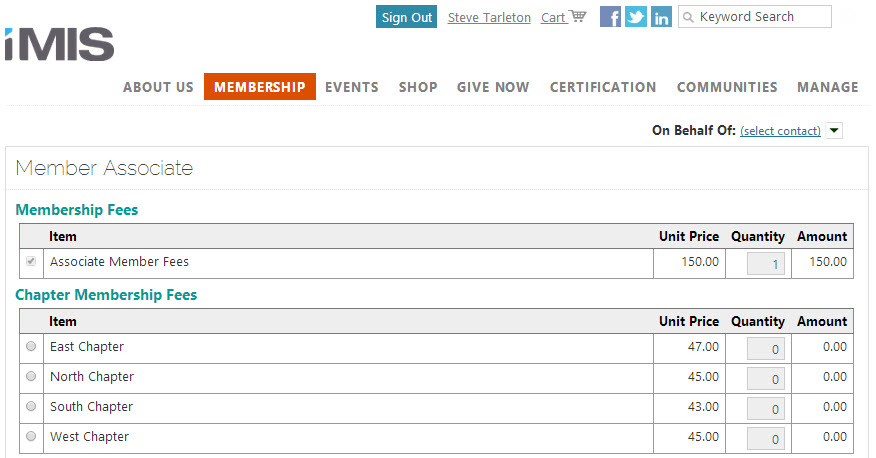
- Join Now - New members are able to select a single chapter when they elect to use Join Now. When a member renews a membership, the chapter fee is included.
- Manually adding members - Staff members can manually add new chapter members directly from the Advanced Accounting Console.
- In the Advanced Accounting Console, go to Membership > Chapters.
- Select the appropriate chapter in the Chapters column.
- Click New.
- Enter the member's Id, or click the lookup icon to search for the member with a different Search Type.
- (optional) Enter the From and Thru dates of the enrollment period.
- Click Save.
After a member has been assigned to a chapter, you can only change the From and Thru date of the member's enrollment term:
- In the Advanced Accounting Console, go to Membership > Chapters.
- Select the chapter from the Chapters list, then select the member.
- Click Edit.
- Enter in the new From and Thru dates.
- Click Save.
- In the Advanced Accounting Console, go to Membership > Chapters.
- Select the chapter from the Chapters list, then select the member.
- Click Delete. A message displays prompting you to confirm the deletion.
- Click Yes.
As a Staff user, you can assign the Chapter Administrator role to non-Staff members of your chapters. Chapter Administrators are able to assign or remove the Chapter Administrator role to other chapter members, pay dues on behalf of chapter members, as well as edit chapter member profile pages.
Requirements: You must have the Chapter Administrator license key in order to use this feature. Please contact ASI for more information.
To add this role, do the following:
- Go to Membership > Chapters.
- Navigate to a chapter.
- Click on the chapter role of an existing member to view their membership details.
- Click Add to add a new role.
- Click Save & Close.
Note: Staff users can only update term dates through the Advanced Accounting Console.
This chart compares the responsibilities between the Company Administrator, Committee Administrator, and Chapter Administrator.
Company Administrators can perform actions on records linked to the company for which they are the administrator. Chapter Administrators can perform actions on records within a given chapter.
| Role | Company Administrator | Committee Administrator | Chapter Administrator |
|---|---|---|---|
| License required | No | No | Yes |
| Can add contacts to the group? | Yes
Company Administrators can add new contacts to the organization. |
Yes | No |
| Can edit contacts in the group? | Yes | No | Yes |
| Can edit the group? | Yes
Company Administrators can edit the organization. |
No | No |
| Can add new roles through the group member detail window? | Yes | Yes | Yes
The Chapter Administrator can add the Chapter Administrator role only. |
| Can edit roles through the group member detail window? | Yes
Company Administrators can edit two roles only: Member and Company Administrator. |
Yes
Committee Administrators can edit multiple roles (committee positions). |
No |
| Can delete roles through the group member detail window? | Yes | No | Yes
The Chapter Administrator can delete the Chapter Administrator role only. |
| Can select other queries or email? | No
Only staff users can edit the queries. |
No
Only staff users can edit the queries. |
No
Only staff users can edit the queries. |
| Can add a new contact to the database? | Yes |
Yes |
Yes |
| Can assign the role to other members? | Yes Company Administrators can assign the Company Administrator role to other members within their company participant list. |
Yes | Yes |
| Can pay invoices and membership renewals for members? | Yes
Company Administrators can pay invoices and membership renewals for members. The invoice can be billed to the company. |
No | Yes
Chapter Administrators can pay invoices and membership renewals for members. The invoice cannot be billed to the chapter. |
| Can register members for events and bill registrations to the organization? | Yes | No | No |
Staff users can send an email to the entire roster of active chapter members. You can also search for other chapter members to send an email using the Find other members link.
To send an email, do the following:
- Go to Membership > Chapters.
- Navigate to a chapter.
- Click Email to send an email to all active chapter members. You can send emails to other members by clicking the Find other member link.
- Compose your email or load an email template as you would for any communication.
- Click Add attachment and set a communication Type if desired.
- Click Preview and then click Send Now.
Note: For more information on sending communications in iMIS, see Sending communications to contacts.
Note: Staff site Chapter management does not utilize the No Mail option available in the Desktop. To provide an opt out option for your committee members, use communication types. For more information, see Managing communication preferences.
Staff users can search for applicants and proposed members who are not yet members of a chapter. The results can be filtered on term date, role, or chapter member name.
Do the following to search for chapter members:
- Go to Membership > Chapters.
- Navigate to a chapter.
- From the Find other members drop-down, select one of the following queries to view the associated members:
- Active members
- Future members
- Past members
- Search members
Note: You can add custom queries to these folders to search for chapters with a particular status or that belong to a certain group.
Setting up Chapter Management consists of the following:
- Setting field prompts
- Defining chapter codes
Once setup is complete, you can enter the chapter enrollments for anyone maintained in your customer database.
To use the chapter-tracking feature, your administrator must specify a Chapter Prompt field on the Customer Setup - Basic Options window.
If needed your administrator can also establish a hierarchical structure of up to three levels for your chapters by specifying group prompts on the Customer Setup - Basic Options window. For example, if your chapters are grouped by region, the proper region for the chapter can be designated. This will let you group customers by region on reports, searches, and so forth. With this added capability, you can produce detail or summary reports by region with the information sorted by region overall, and by chapter under that.
Do the following to set chapter prompts:
- In the Advanced Accounting Console, go to Settings > Membership > Configure member options.
- Click Basic Options to open the Customer Setup - Basic Options window.
- Click Edit.
- Enter a Chapter Prompt for tracking customers who belong to a particular chapter.
- (optional) Enter a prompt in the Group 1 Prompt, Group 2 Prompt, and Group 3 Prompt fields. The prompts you define display between the Name and Short Note/Address fields on the Chapters window (go to Settings > Membership > Set up tables > Chapters). These groups allow you to specify and maintain hierarchies among your chapters, which facilitates targeted mailings and reporting. Examples of groupings include countries or regions, states, and counties and cities.
- Click Save.
With the Chapter Codes table, you can easily track chapter members through iMIS. To maintain chapter designations, you only have to set up a table of chapters and enter a chapter code for relevant customers in your file. The chapter table entry can be as simple as a chapter code and a chapter name, but you can add additional information such as an address or a note.
- In the Advanced Accounting Console, go to Settings > Membership > Set up tables > Chapters.
- In the Chapters window, click New.
- Enter an abbreviation for the chapter in the Code field.
- Enter the full name of the chapter in the Name field.
- (optional) Enter a code in the three fields between the Name and Short Note/Address fields.
- (optional) Enter a note or address for the chapter in the Short Note/Address field.
- (optional) Enter a note for the chapter in the Notes field.
- Click Save.
- In the Chapters window, select the chapter code you wish to modify.
- Click Edit.
- Edit the fields you want to change.
- Click Save.
1. In the Chapters window, select the chapter code you want to delete.
2. Click Delete.