Platinum for Windows
iMIS provided support to meet export requirements for Platinum for Windows version 4.6 or greater. This support was for iMIS LAN version 3.51 and iMIS version 4.10.
In order to facilitate the interface, iMIS formats the transaction data into a Lotus spreadsheet format. The Lotus file is then imported into a journal batch using Platinum’s Spreadsheet Import utility.
To set up iMIS for Platinum
- From AR/Cash, select Set up module, and click G/L Interface to open the AR/Cash General Ledger Interface window.
- Click Edit.
- From the GL interface type drop-down list, select Platinum for Windows.
- Select an option from the Summarize by drop-down list.
- Enter the Output File Path/Name, which dictates how iMIS should name the export/import file and where it should be stored. For best results, the path should be the Platinum\Post directory of the drive where the related Platinum Application Server (PAS) resides. Furthermore, the extension of the export/import file must be WKS, indicating a Lotus spreadsheet file.
- Click Save.
To set up Platinum
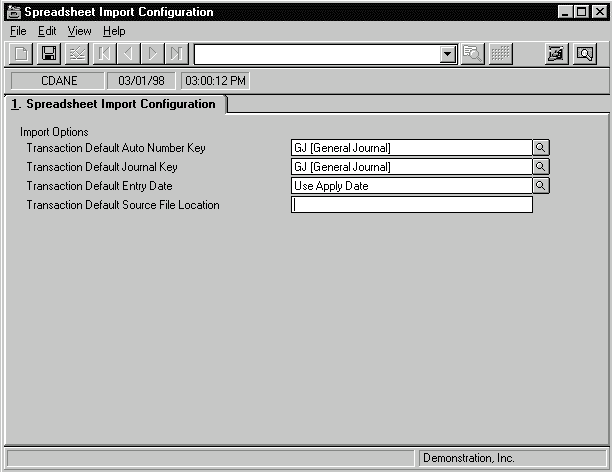
- Select the Spreadsheet Import Configuration window from the GL menu browser.
- Fill in the Import Options section (using the lookup button) as indicated below:
- Transaction Default Auto Number Key: GJ (General Journal)
- Transaction Default Journal Key: GJ (General Journal)
- Transaction Default Entry Date: Use Apply Date
- Click the Save (diskette) icon to finalize the import configuration settings.
- Continuing with the PFW setup, you may wish to set up 2 import views, one for testing the import data and process, and one for finalizing the import of the data.
To set up the import test or trial view
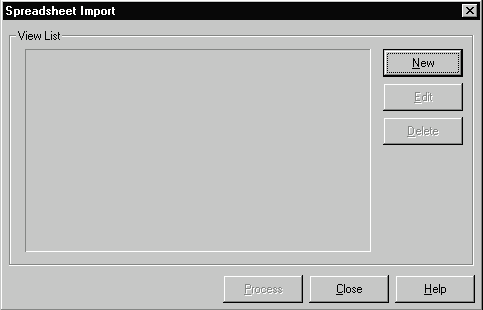
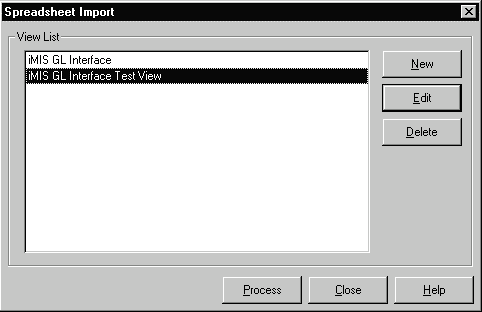
- Select the Spreadsheet Import option from the GL menu browser.
- In the View List window, select New.
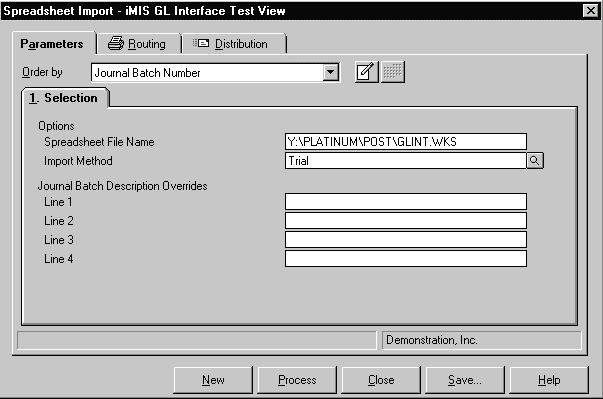
- On the Parameters tab, fill in the path/file name of the iMIS generated export/import file in the Spreadsheet File Name under options.
- Select Trial as the Import Method.
- Complete the Routing and Distribution tabs. Refer to the Platinum for Windows System Basics User’s Guide for information about these tabs.
- Click the Save button.
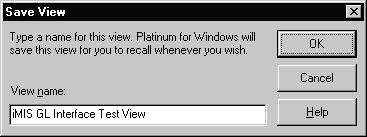
- Assign a name to the view in the pop up box that appears and click OK.
- Click the New button to begin the definition of the view to perform the final import procedure.
- Repeat the steps outline for defining the Trial view (1 thru 7 above), except this time select Final as the Import Method in step 4.
To create the export file from iMIS (Platinum)
- Generate the general ledger transaction export files using AR/Cash > Process month-end procedures > Create GL Journal.
To import data into Platinum
- Select the Spreadsheet Import option from the GL menu browser.
- In the View List window, highlight the Trial view if you wish to test the import data before finalizing the import.
- Click Edit and change the Spreadsheet File Name if the import file’s path or name is different than the path/file originally defined in the view. Note that the file name should only be different if a unique, sequential number is appended to each newly created export/import file (i.e., if a? is imbedded in the Output file path/name name defined in iMIS).
- Click Process to proceed with the trial run. A Spreadsheet Import Trial Report will print with the results of the test run.
- To finalize the import procedure, highlight the View setup for the Final Import Method from the View List window.
- Click Edit only if the Spreadsheet File Name needs to be changed (see step 3).
- Click Process to proceed with the actual import of the journal transaction data. A Spreadsheet Import Final Report will print with the results of the import. This report will indicate the Journal Batch Number assigned to the set of iMIS transaction data.
- You can continue normal General Ledger processing of the iMIS batch. To post the transactions, for example, print the Edit List and perform the Period Post.
Export/Import File Example
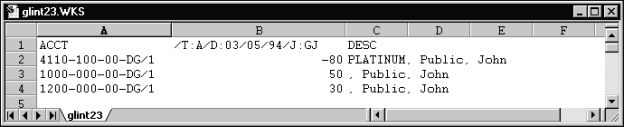
The export/import file is a simple Lotus spreadsheet file in which the first line contains required heading information, followed by multiple lines containing the journal transaction lines. The middle section of the heading contains the transaction date as well as the transaction type (A for Actual) and journal type (GJ for General Journal) indicators. The transaction line data includes the Account, Amount, and Description for each journal entry line.
The following export/import example shows a small interface file for the date of March 4, 1994.