Adding a field to a Letter System template
You can add fields from any iMIS table to the list of available fields in a Letter System template, within these limits:
- Images: You cannot add a field containing image data, such as Name_Picture.PICTURE_LOGO. DT_16721
- UDTs: You cannot override the restrictions that are built into user-defined tables. For example, if you add a field to a template from a user-defined table that is restricted to a specific member type, the merge results can include only those records that match the member type. This is true even when the template does not use any of the fields from the table that is the source of the restriction. DT_16744
To add a field to a report specification
Note: You must have authorization level 8 to perform this procedure.
- Select Utilities > Report Specs to open the Report Specifications window.
- Select a Word template to edit.
- Click Edit.
- Click Parameters to open the Detail Report Parameters window. The template file name displays in the Rpt File / Format field, and the Report Type is shown as MSWORD.
- Edit the report properties.
- (optional) In the Main Tables and Search Files fields, enter the table name.
- In Report Fields, enter new field names after the existing field names. For example, Name.FAX.
- Select and copy the new field name to the clipboard.
- Select Save.
- Now add the field to the header file (below).
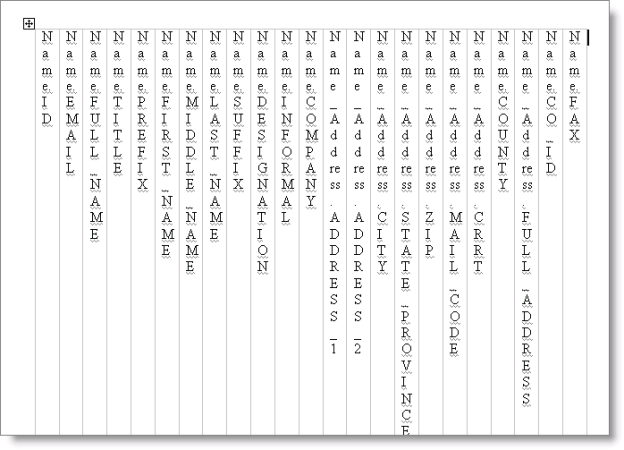
To add a field to the Word template header file
- Browse to the folder in which Letter System template files are stored.
- Open the header file for the template you are editing. The file name for header files end in _header.doc.
- At the end of the table, insert a new column.
- Paste the new field name that you copied from the Detailed Report Parameters window into the new column.
- Important: Verify that the new field appears in the same order as it does in its report specification.
- Save and close the document.
When this template is used, the new field appears at the end of the list in Word.
