Hands-on exercise: Clone a Crystal report
In this exercise, you will clone the Member Index report and modify it so the report prints the Member Index information for the displayed customer’s record.
- Copy the MemberIndex.rpt file from the iMIS stdrpts directory to the \…\custrpts directory.
- Open the \…\custrpts\MemberIndex.rpt in Crystal.
- Rename the report as MemberIndexforCurrentID.
- Select the Field Explorer icon.
- Select the Parameter tab.
- Click New to open the Create Parameter Field window.
- Enter CurrentID in the Name field, and click OK.
- Close the Field Explorer window.
- Select the Select Expert icon.
- Select Name.ID, and click OK.
- Select the drop-down list, and select is equal to.
- Select the second drop-down list, select the {?CurrentID} parameter, and click OK.
- Open iMIS.
- Select Utilities > Report Specs to open the Report Specifications window.
- Scroll down, and select the Membership-Rosters-Member Index (Crystal) report.
- Click Clone.
- Enter Member Index for Current ID (Crystal) as the report Title.
- Click Parameters to open the Detail Report Parameters window.
- Tab to the Rpt File / Format field, and press Ctrl+L.
- Navigate to the \imis\custrpts directory, select the MemberIndexforCurrentID.rpt file, and click OK.
- Click Crystal Params to open the Crystal Parameters window.
- Click Insert.
- Enter CurrentID in the Parameter Name field, and press Tab.
- Enter lvSession.CurrentId in the Variable Name (or String) field, and press Tab. Click OK.
- Click Save on the Detail Report Parameters window to save the report changes.
- Close the Detail Report Parameters window and the Report Specifications window.
- Select Customers > Manage customers to open the Manage customers window.
- Click Find to open the Search window.
- Select ID from the drop-down list, enter 101 as the customer Id, and click Go.
- Select Customers > Generate reports to open the Generate reports window.
- Click Set Report Destination, and choose to print the report to Screen.
- Select the Rosters report type, and then select the Member Index for Current ID (Crystal) report.
- Click Run to open the Member/Contact Selections window.
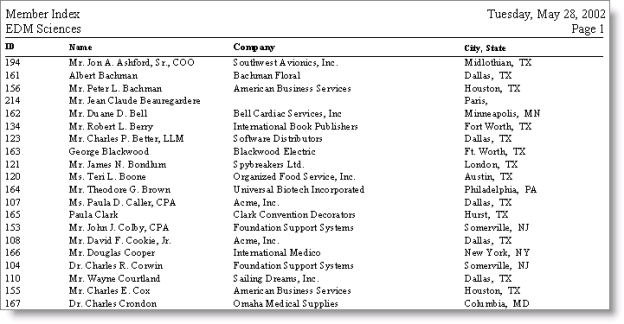
- Click OK. The report displays the information for customer 101.
- Run the original report, Member Index (Crystal), to compare the original report to the modified report. Notice the original report shows the address for each customer selected while the report we modified only shows the address for the customer’s record we have displayed.