Last updated on: June 29, 2026
Do the following to define tagged list formats.
Go to RiSE > Tagging > Tagged list formats.
Important! The name of the tagged list format must only contain letters, numbers, and underscores and cannot begin with a number. If an error message appears where you are using tagged list formats, update the name to contain valid characters. If an existing tagged list format has a name with invalid characters, an error message displays upon editing. Update the name to contain valid characters.
Do one of the following:
- Select New > Tagged List Format to create a new tagged list format.
- Select an existing tagged list format. Click Edit to modify that list format.
- Select an existing tagged list format. Select Organize > Delete to delete that tagged list format.
Note: System administrators can restore a deleted tagged list format. To restore a deleted tagged list format, go to RiSE > Document system > Recycle Bin. Select the tagged list format, and click Versions. Select the tagged list format, and click Revert to restore it. Click OK.
Verify a tagged list format's behavior by using it in a Content Tagged List content item, then previewing a content record that contains the content item.
The default tagged list formats shipped with iMIS are always overwritten during upgrades, so the best practice is to create new tagged list formats rather than modifying the default ones. Take care to name your user-created tagged list formats uniquely to prevent iMIS from treating them as standard iMIS tagged list formats during an upgrade. An easy technique to ensure unique naming is to prefix the name with an acronym for your organization, such as "ORGSimpleWithHTML".
In This Article
Tags and tagged list formats
Tags are a special type of keyword that you can associate with content records to searches that are more powerful and the automatic population of content based on tags. All descendants of a content folder inherit the tags defined for the folder. You can tell which tags are being inherited from a content folder higher in the content folder hierarchy by viewing the Current Tags section of a content folder's or content record's definition.
- AdvancedSearch content items specify various tags that your iMIS content management website users can select to narrow their search to a smaller set of tagged content records.
- Content Tagged List content items specify various tags that are used to generate a real-time list of links to tagged content records when the content record containing the Content Tagged List is viewed.
Tagged list formats are used by Content Tagged List content items to format the rendered display of the list of links. The chosen tagged list format is applied as a display mask to each item in the list. For example, one tagged list format might display only a simple list of links, while another tagged list format might display a link followed by the HTML contained in any ContentHtml content items in the target content record.
Unlike some other content authoring systems and web applications, you cannot create ad hoc tags while defining content records. Instead, you must choose from a list of pre-defined tags that are usually defined by the people who perform website management. This restriction ensures that your content is tagged with a centrally designed taxonomy, which provides more consistent and predictable search results from Content Tagged List content items.
Tags are defined in a hierarchical structure, with every parent tag having an implicit more broadly defines relationship to its children tags, and every child tag having an implicit further defines relationship to its parent tag. In general, this means that if you use a parent tag in an Advanced Search or Content Tagged List content item, all descendant tags are automatically included as well.
Configuration options for tagged list formats
These fields control the properties of tagged list formats that are defined in the system.
Go to RiSE > Tagging > Tagged list formats.
Do one of the following:
- Select New > Tagged List Format.
- Select an existing tagged list format, and then click Edit.
Tips
- Tagged list formats are used by Content Tagged List content items to format the rendered display of the content item. You specify the tagged list format to use in the List Format field of the Content Tagged List configuration.
- The default tagged list formats shipped with iMIS are always overwritten during upgrades, so the best practice is to create new tagged list formats rather than modifying the default ones. Take care to name your user-created tagged list formats uniquely to prevent iMIS from treating them as standard iMIS tagged list formats during an upgrade. An easy technique to ensure unique naming is to prefix the name with an acronym for your organization, such as ORGSimpleWithHTML.
- The format you define here is applied as a display mask to a single item in a Content Tagged List content item. This format is repeated once for each item content record in the list rendered from the content item. The basic elements of a tagged list format are:
- One or more content record property labels to explain a following content record property value.
- One or more content record property values.
- A single link to the content record itself.
- HTML fragments.
- The content record property values are all read-only values.
- The tagged list format editor is essentially the HTML editor used for Content Html content items, with some iMIS-specific toolbar buttons at the right of the bottom toolbar, and a list of embeddable content record properties at the right of the editor.
While none of these elements is actually required by the system, at a minimum you should at least insert the link to the content record itself.
If you find some features of the HTML editor confusing, you can download the RadEditor user manual from the Telerik Documentation site.
Note: Some features described in this external document have not been enabled for use when defining Content Html content items or tagged list formats.
Warning! If you use the HTML editor's built-in Image Editor to modify an image that has a transparent background, the transparent background will be replaced by solid black pixels. If you need to edit images that have a transparent background, you should save a copy of the image to your local computer and use your preferred image editing program to modify it. Then upload the new version to iMIS again, overwriting the old version if desired. The easiest way to save a copy of the image to your local computer is to right-click the image shown the Preview area of the Image Editor, and choose Save Picture As.
iMIS Label Manager (toolbar button - red A)
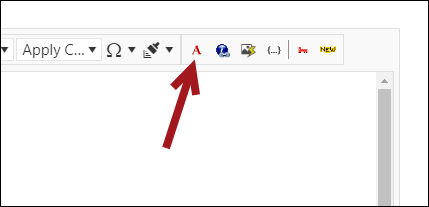
Edits a content record property value that has been inserted in the editing area in the following possible ways:
- Changes an existing content record property value in the editing area to a different property. You must place your cursor somewhere inside the existing property value before clicking this button.
- Enables you to define a display mask for date-oriented and numeric property values.
Note: While you can use this toolbar button to insert a new property value, it's much easier to insert new values by clicking the red A icons in the Content - Properties list.
- Display Value – Displays the value of the Property. If unchecked, it will leave the text of the property as "Title."
- Property – Specifies the property value in which the editing cursor is positioned. If you select a different property value from the list, it will replace the property value in which the editing cursor is positioned.
- Display Format – Specifies a display mask for date-oriented and numeric property values. To view a list of the syntax you can use for the display mask, click View complete list of Date/Time and Number formats.
iMIS Hyperlink Manager (toolbar button - globe and chain)
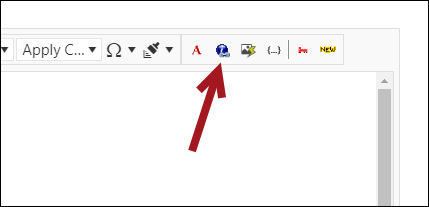
Creates a link to the content record itself, enabling you to define the anchor text for the link in various ways.
- Dynamically based on Property – Specifies anchor text that is different for every content record in the rendered Content Tagged List content item. The anchor text will be the selected content record property value.
- Static text – Specifies anchor text that will be the same for every content record in the rendered Content Tagged List content item.
- Display Format – Specifies a display mask for date-oriented and numeric property values if you specify the anchor text to be Dynamically based on Property. To view a list of the syntax you can use for the display mask, click View complete list of Date/Time and Number formats.
iMIS Dynamic Image Manager (toolbar button - image icon with lightning rod)
Adds an image to the Tagged List Format. This inserts a business-styled image tag on the associated content record, which uses the metatag information to build the image tag.
Note: You must define the metatag image in the content record's Properties tab before you are able to add the metatag image to the Tagged List Format. If no image is associated with the content record, it will show an "image not available" thumbnail.
Note: If you manually enter a link to an image that does not exist or an incorrect file path for an image, your content might not be able to be saved correctly. To ensure you do not have issues saving content that includes references to images, use the Image Manager to upload and manage image files.
It is recommended that you save and Preview your HTML to ensure all content is being saved correctly.
To add an image using the iMIS Dynamic Image Manager, do the following:
- Go to RiSE > Tagging > Tagged list formats.
- Create a new Tagged List Format or Edit an existing format.
- Place the cursor where the image will be inserted in the WYSIWYG editor.
- Click on the iMIS Dynamic Image Manager icon to specify the source of the dynamic image.
- Select Metatag Image from the Dynamically based on Property drop-down and Insert.
- Click Save, and then Publish the tagged list format.
iMIS Conditional Display Manager (toolbar button - {…})
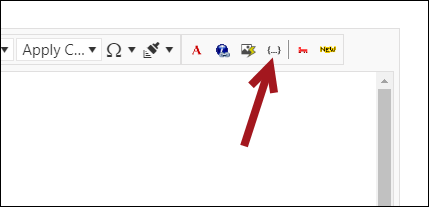
Specifies a single conditional display parameter for any element of the tagged list format (property label, property value, link, or HTML fragment). You must select the entire element before clicking this button. When you insert the conditional parameter, the element is surrounded by braces { } to indicate that it is a conditional display block.
To simulate ELSE arguments for the conditional display of an element, you can copy and paste the element inside a conditional display block to a position immediately following the existing display block, then select the copied element and click this button to create a new conditional display block with a different parameter.
Note: The iMIS Conditional Display Manager is a generic conditional display control shared among several iMIS features. Therefore, you should be careful to choose values that make sense in the context of conditional display of an element in a tagged list format. As a rule, you should use the default values for Data type, Comparison type, and Source. The only value you should change is for the Value drop-down list, to specify the content record property value that you want to ensure is not empty before displaying this element.
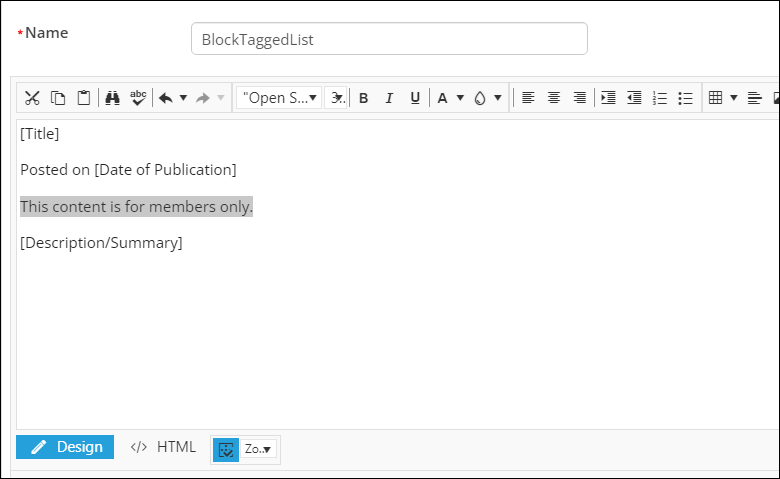
For this example, the user would like to create a customer message that appears on secured articles for staff only.
- Highlight the text you wish to use in the Conditional Display Manager.
- Click the Conditional Display Manager icon.
- In the Conditional Display Manager, click the drop-down next to Date type and select Boolean.
- Click the Comparison type drop-down and select Is True.
- Click the Source drop-down and select Property.
- Click the Value drop-down and select Content is restricted to members.
- Click Insert. Clicking insert puts the selected text inside a conditional display that only appears if the content is restricted to members only.
Insert 'Members Only' Marker (toolbar button - red key)
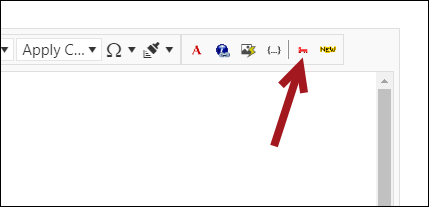
Inserts a graphic icon that is conditionally displayed for an item in a rendered Content Tagged List content item if the Content is restricted to members checkbox is selected in the Properties section of the corresponding content record.
Insert 'New' Marker (toolbar button - NEW)
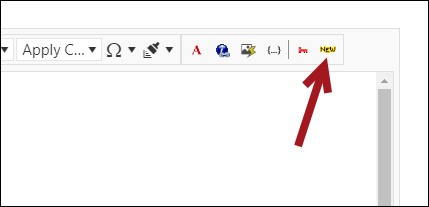
Inserts a graphic icon that is conditionally displayed for an item in a rendered Content Tagged List content item if the Mark as important until field in the Properties section of the corresponding content record contains a value and that date has not yet passed.
Content - Properties
Lists the content record properties that can be used as elements in the tagged list format. The list of available properties includes all iMIS content management user-defined fields (UDFs) that are defined in the system.
- P icon – Inserts a pre-defined label for the corresponding content record property. You can modify this label after it has been inserted into the editing area.
- A icon – Inserts a string variable, delimited by brackets [ ], that will display the actual value of the content record property for each item in the rendered Content Tagged List content item. You should not directly edit this string, but you can safely delete it or change it by putting the cursor inside the string and clicking the iMIS Label Manager button on the toolbar.
Note: The string variable created by the A icon is not a link. To make the rendered replacement text of a string variable be a link (such as making the Title property a link to the actual content record), you must use the iMIS Hyperlink Manager.
Note: If you insert an HTML property value, the rendered Content Tagged List content item displays the full content of all Content Html content items in the content record, concatenated together with no visible divisions between them.
Move position of social sharing icons
If edits have been made to the Tagged List formats or you would like to move the social sharing icons to another position, do the following:
- Go to RiSE > Tagging > Tagged list formats.
- Select a Tagged list format and click Edit.
- Select HTML and move the <asp:placeholder runat="server" id="ShareThisTaggedListItem"></asp:placeholder> to the location when you would like the social sharing icons to be placed.
Note: If this code is not in the Tagged list format then the social sharing icons will be added above the content being displayed.