Changing the order of account page tabs
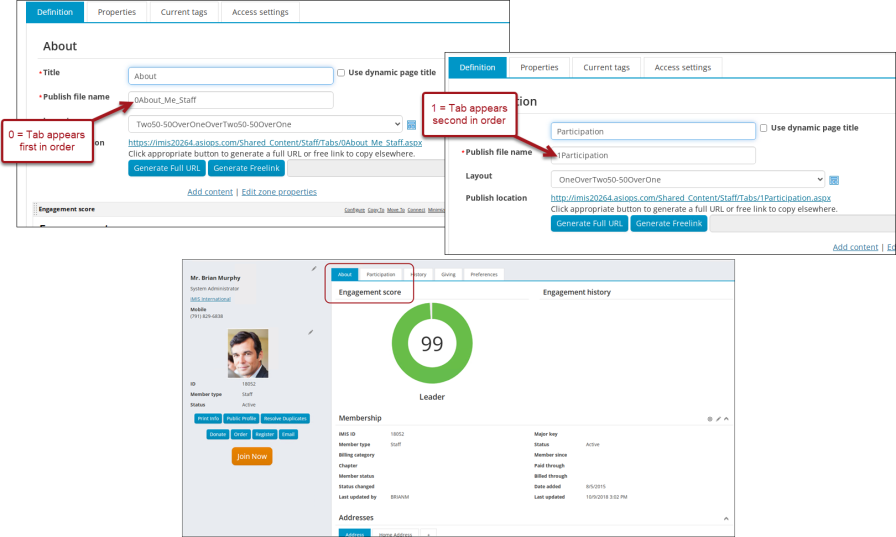
The order of account page tabs is controlled by the number defined in the page's Publish file name:
- 0 - Tab appears first in the order
- 1 - Tab appears second in the order
- 2 - Tab appears third in the order
- And so forth
To change the order of account page tabs, do the following:
- Navigate to an account page that contains the tabs you wish to reorder; for example:
- If you wish to reorder the tabs on the organization (company) account pages, navigate to any company account page.
- If you wish to reorder the tabs on the individual (contact) account pages, navigate to any individual account page.
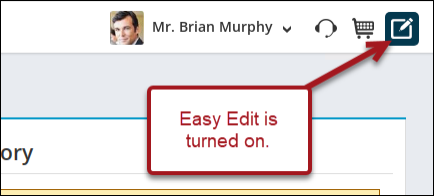
- Enable Easy Edit.
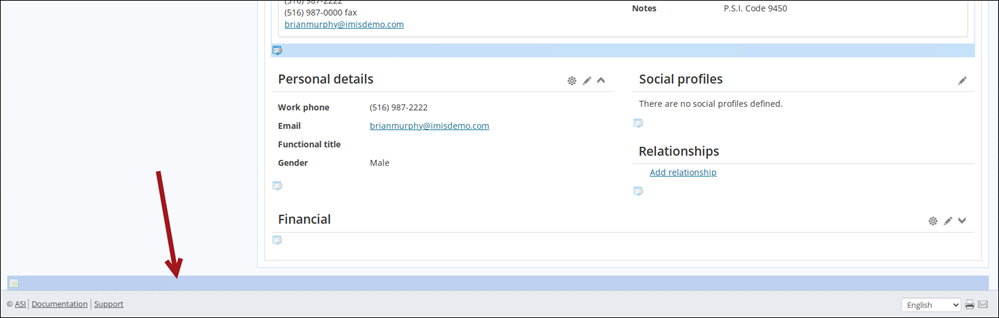
- Scroll down to the bottom of the page, then click the edit bar at the bottom of the page.
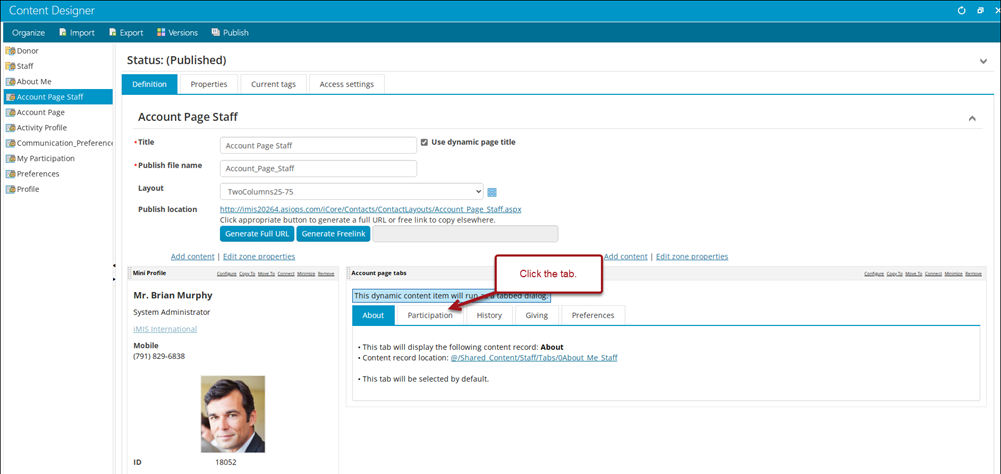
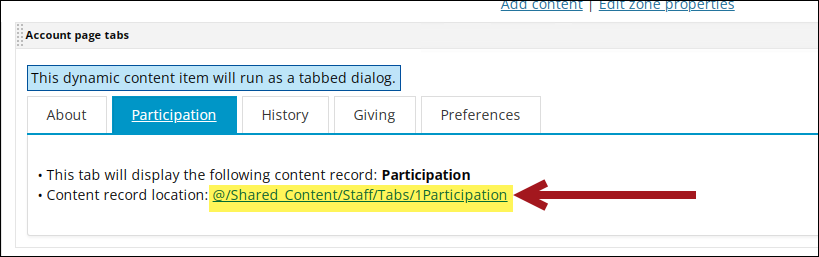
- Locate the account page tabs, then click the desired tab you wish to reorder. For this example, I want the History tab to be second and the Participation tab to be third, so I will click the Participation tab.
- Select the link for the Content record location.
- Update the number at the beginning of the Publish file name.
- Click Save & Publish.
- Repeat steps 4-7 for the remaining tabs you wish to reorder.
- Click Save & Publish.

Confirm the tabs are now in their new order. If the tabs are not in the new order, confirm the number in the Publish file name is correctly defined. If two tabs have the same number, iMIS orders those tabs alphabetically.