The Address Mapper content item displays a physical address in Google Maps. The Address type to display option determines the address purpose that displays in the map. In order to properly display the Google Map, the Google Maps API key field (Settings > RiSE > Quick setup) must contain your Google Maps API Key.
The Address Mapper content item is available out-of-the-box on the following pages:
- @/iCore/Contacts/AddressMap
- @/iCore/Contacts/OrganizationLayouts/Organization
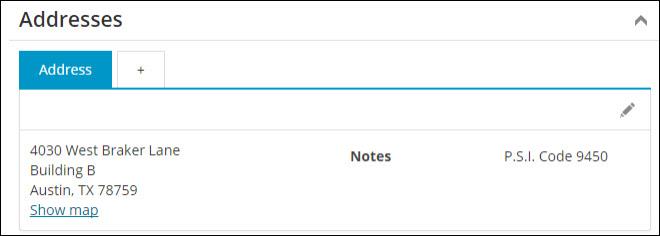
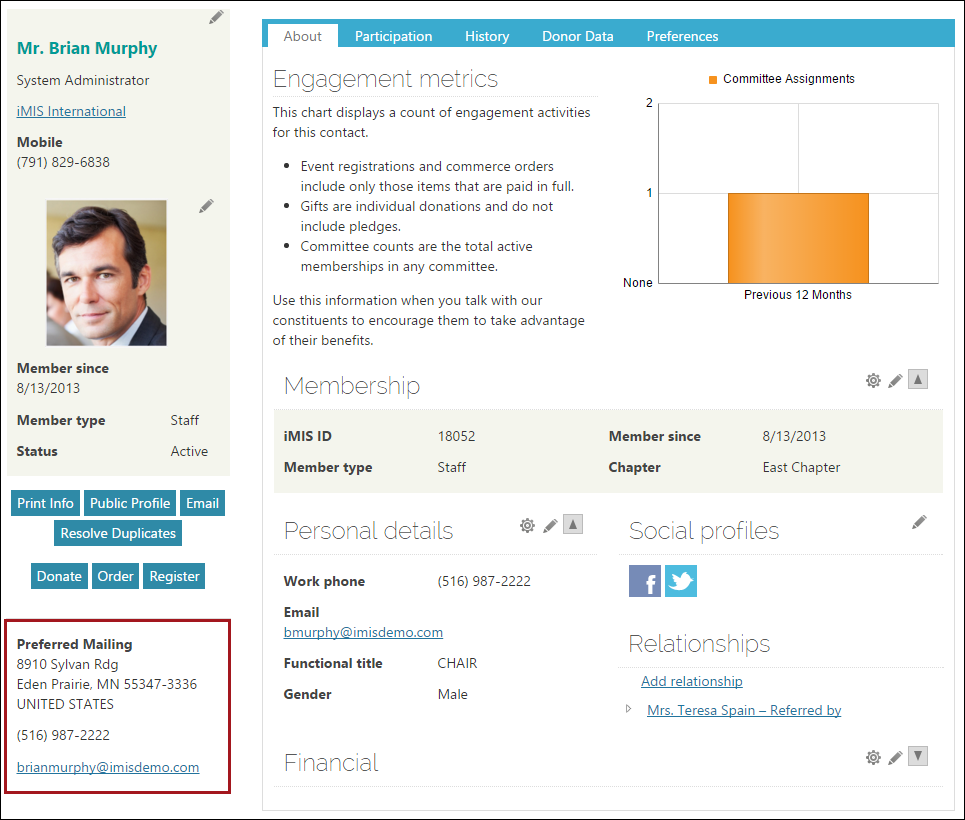
On the member's account profile page, the About tab displays the user's address. The Show map link is located underneath each address.
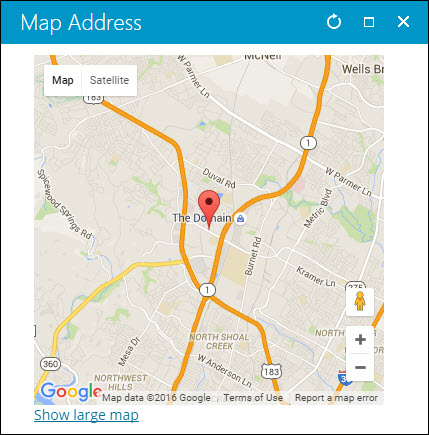
The Address Mapper content item displays the address itself in a Google pop-up window.
- Description - Allows users to change their logon name and/or their password based on configuration settings.
- Usage Scenario - On a member's account profile page, this content item is useful for members to have the option to change their password or username.

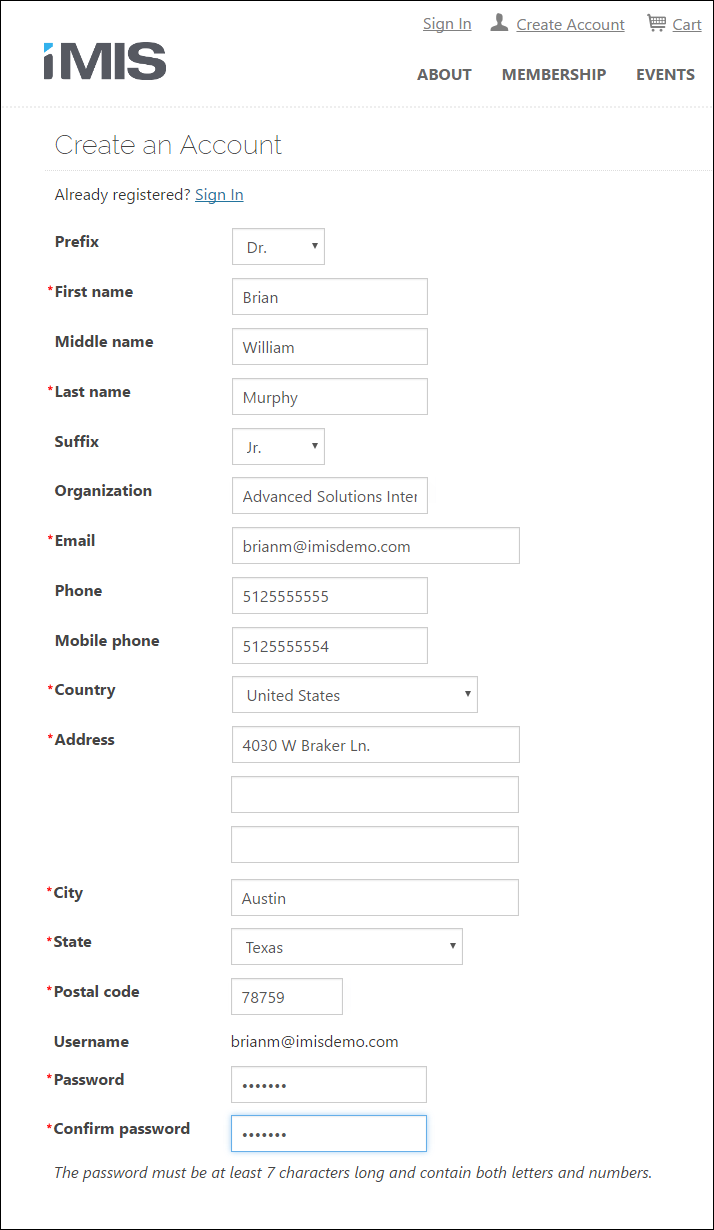
The Contact Account Creator content item enables users to create an account for an individual or organization. You can choose either an individual or organization account type, include a sign in link, and even choose to redirect the user to a content record. Addresses entered through this content item are automatically uploaded to a service that verifies and standardizes the address. Users can accept the suggested address, or keep the original as they entered it.
The Contact Account Creator is available out-of-the-box on several Quick Start Sites, including the Member site (unauthenticated):
Warning!
Do not enable the Hide for authenticated users configuration option when configured for the account type of Organization. The Contact Account Creator will not display to unauthenticated users when configured for organization.
To ensure that a duplicate email is not created, configure the Contact Account Creator to require a username and password. Contacts do not have to use an email as their username.
Note: The Commit sequence field allows you to explicitly define the execution order of multiple content items in a content record. The number in this field indicates the processing order for this content item, relative to the other content items in the same content record. The value must be 0 or greater. You can leave the default value of 0 if the execution order of content items is not a concern. Content items with a value of 0 are processed after any other content items with a non-zero Commit sequence value that are on the same content record.
Use this content item to display one of a variety of address types for the contact. By default, this includes address types such as Preferred Mailing, Billing, and Shipping.
The Contact Address Editor content item displays addresses in individual tabs and allows contacts to edit existing addresses or add new addresses. This content item also has a configuration option that allows you to use the Address Mapper content item to display a Google Maps popup of a physical address. Addresses entered through this content item are automatically uploaded to a service that verifies and standardizes the address. Users can accept the suggested address, or keep the original as they entered it.
In this content item, multiple addresses are displayed in tabs:
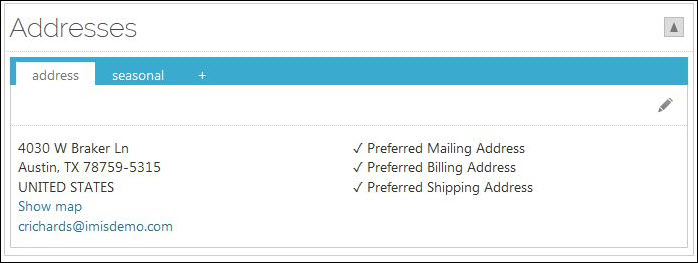
A contact can click the + icon to add another address, or click the edit icon to modify an address:
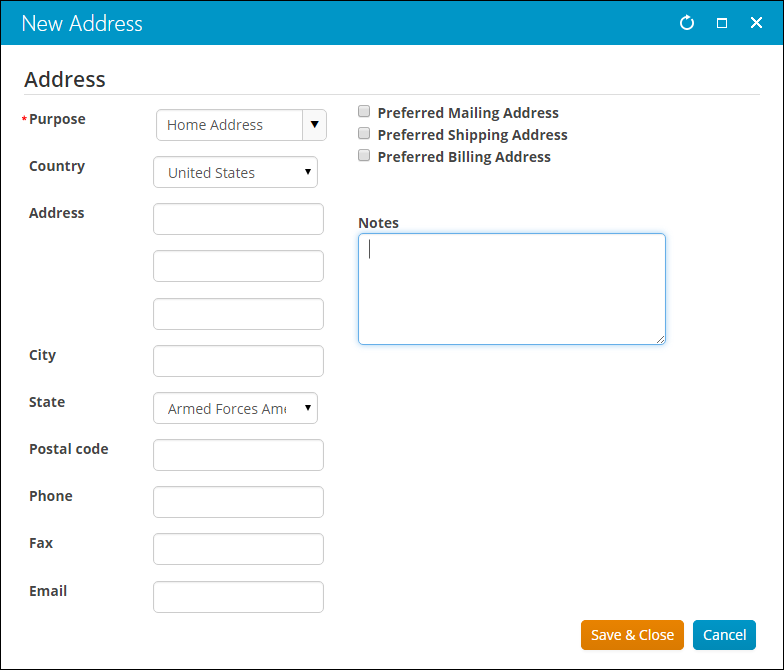
Note: The address Status field appears when there are values added to the BAD_ADDRESS general lookup table.
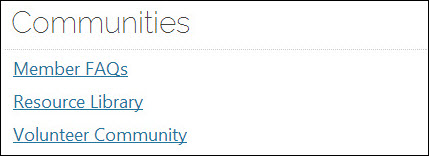
- Description - Provides a simple list of links of the communities a contact is subscribed to.
- Usage Scenario - Example with seven communities, page size set to 20:
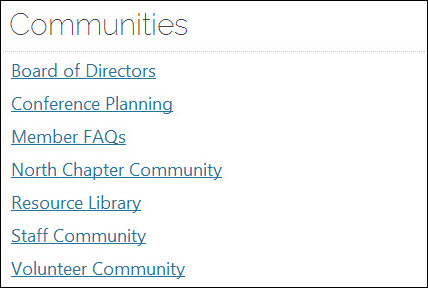
Example with three communities, page size set to five:
The Contact Mini Profile content item displays the basic contact information for a contact record, which can be an individual or a company. This information can include the name, profile image, company, and member status.
Contact information can easily be edited by both the member or system administrator by using the Contact Mini Profile.
This content item can be seen on the out-of-the-box on several content records, including:
- @/iCore/Contacts/ContactLayouts/Account_Page_Staff
- @/iCore/Contacts/ContactLayouts/AccountPage
- @/iCore/Contacts/ContactLayouts/Profile
The Contact Mini Profile is built using other existing iMIS content items:
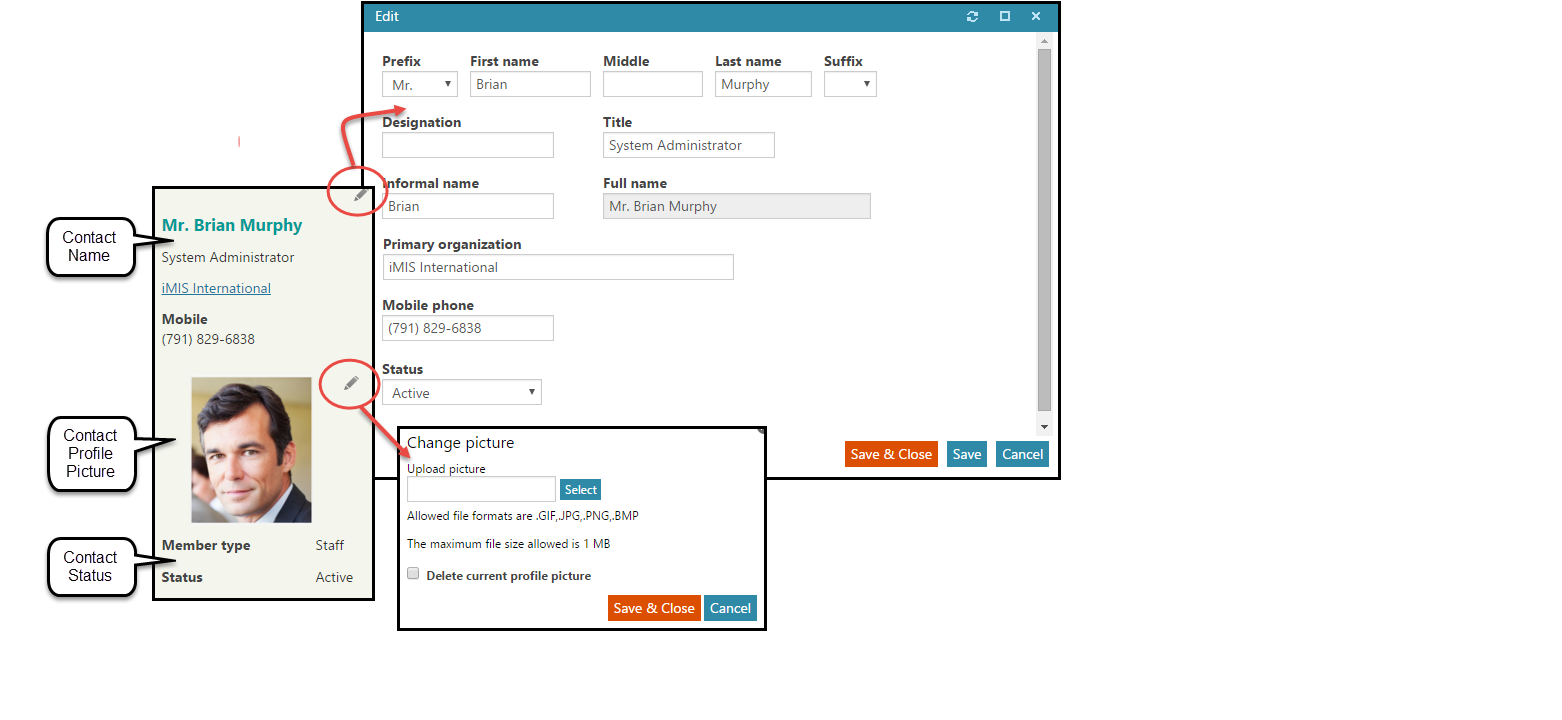
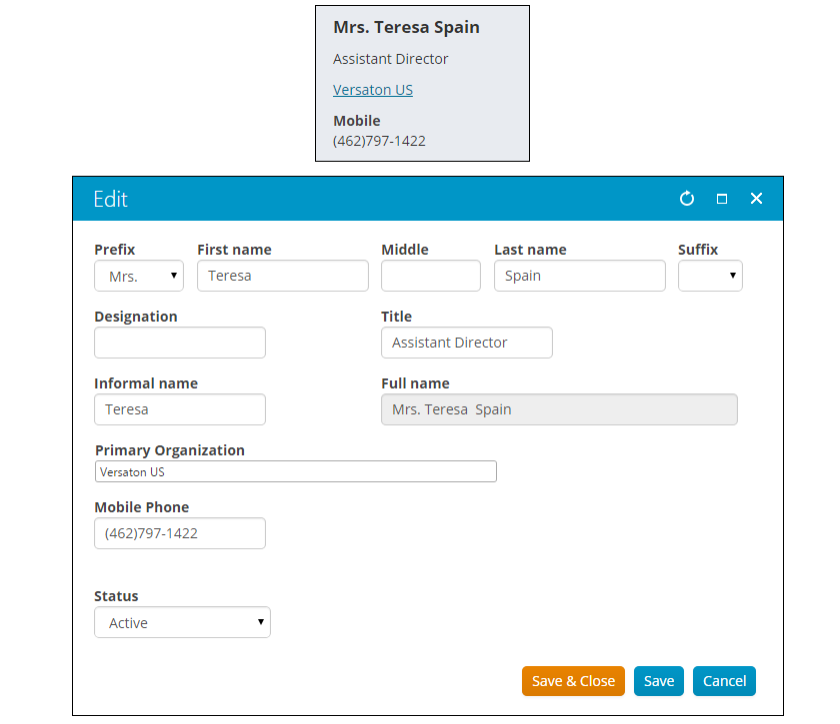
- Description - Displays, and allows editing of, the name, title, and company name for a contact record, which can be an individual or a company.
- Usage Scenario - Member profile pages.
The Contact Profile Picture content item allows users to display and edit their profile picture.

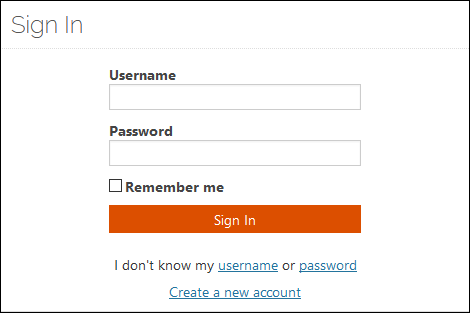
You can add sign in functionality anywhere on your website with the Contact Sign In content item. Contacts can sign in, get help if they have forgotten their password or username, or create a new account.
Note: In order for the Contact Sign In content item to create new user accounts, you must enable the Allow “Forgot my username” to automatically create user credentials for existing contacts system setting.
If a contact’s email has already been added to an organization’s database, for example, when a Staff user adds a new contact without selecting to Create an account, the Contact Sign In content item can create a user account for the contact.
Note: The contact cannot have a user account, and a contact cannot have different user accounts based on their emails.
When a contact visits your website and indicates that they have forgotten their username (by clicking the username link) and they enter their email, they will receive a message indicating they will receive an email containing their username information. The email includes a link back to your sign-in screen where the contact can set a password for their username.
If the same email exists more than once in your database, then when a contact tries to indicate they have forgotten their username by clicking the username link, the content item responds with a message that multiple accounts with this email exist. The contact will have to seek Staff assistance.
If the email for a contact does not exist in your database, then when a contact tries to indicate they have forgotten their username by clicking the username link, the content item responds with a message that the contact’s information does not exist in the system.
Multi-factor authentication provides increased security. System administrators are able to log in to iMIS only after successfully authenticating their identity.
Multi-factor authentication must be enabled for the system; it is disabled by default.
Note: System administrators must have a valid email address to avoid being locked out.
When multi-factor authentication is enabled, system administrators will be prompted to provide a Security code every time they attempt to log in to iMIS over the web. This applies to the Staff site, as well as iMIS Quick Start Sites.
For authenticated access to the Advanced Accounting Console, system administrators must enable multi-factor authentication in the Staff site. System administrators must then perform the initial multi-factor setup through the I don’t have a security code link in the Contact Sign In content item.
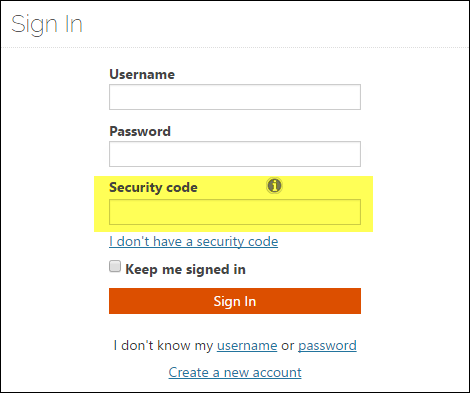
When prompted, system administrators can click the I don’t have a security code link. Instructions for installing software that will generate an approved security code will be emailed to the system administrator. System administrators must have a valid email address to avoid being locked out.
- Description - Displays status information about the contact.
- Usage Scenario - When editing, the user has the option to change the contact status to Active, Marked for deletion, Inactive, Suspended, Deceased, etc.
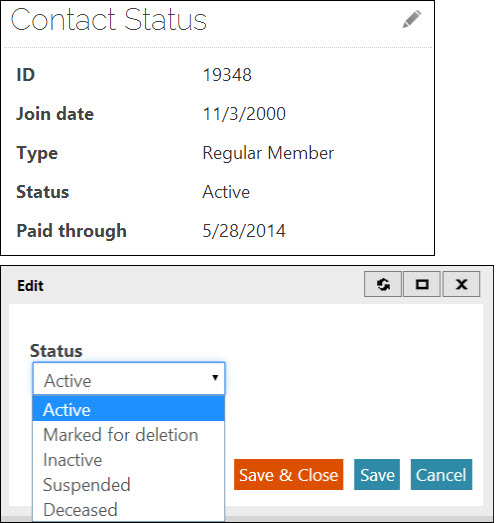
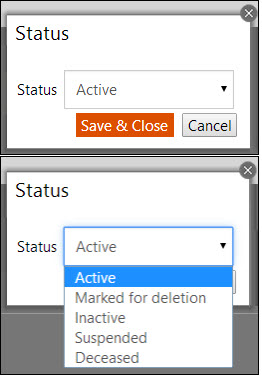
- Description - Displays contact status, and allows a contact to update their status (depending on configuration).
- Usage Scenario - This content item displays the status of a contact:

When the Edit button is clicked, a popup allows the user to update the status:
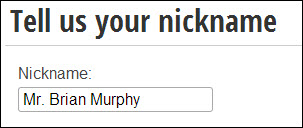
- Description - Allows users to change the name they want to display for any type of salutation you have defined in iMIS (for example, Informal Name or Formal Name). When using this content item on its own or on a donation page, select the Donation List As salutation type to allow users to specify the name to be listed in all reports and acknowledgements for a donation (for example, Dr. Bob Smith or The Smith Family).
- Usage Scenario - Configured for the Donation List As salutation type:
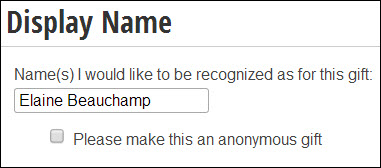
Configured for a non-donation salutation type:
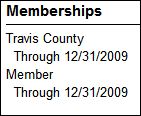
- Description - Displays a listing of a contact's primary group memberships. This currently only includes the contact’s Member Type and Paid Thru date.
- Usage Scenario - This content item displays a listing of a contact's primary group memberships, including the through date and the role if applicable.
- Description - The Social Profile List Creator content item displays the social network profiles for an individual user as an icon link list. Clicking on an individual social network icon will open the user's profile page for that network in another browser window. Mousing over the individual icon will display the URL of the user’s profile page in a tooltip.
- Usage Scenario - You can use this content item to provide a way for members to display their social network profiles in the context of their own personal account pages or on public profile pages. (You can also do this for companies and their social network profiles.) When visitors click on the icons, they are taken to the site of the social network profile that the user has defined.
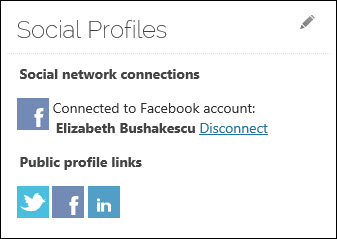
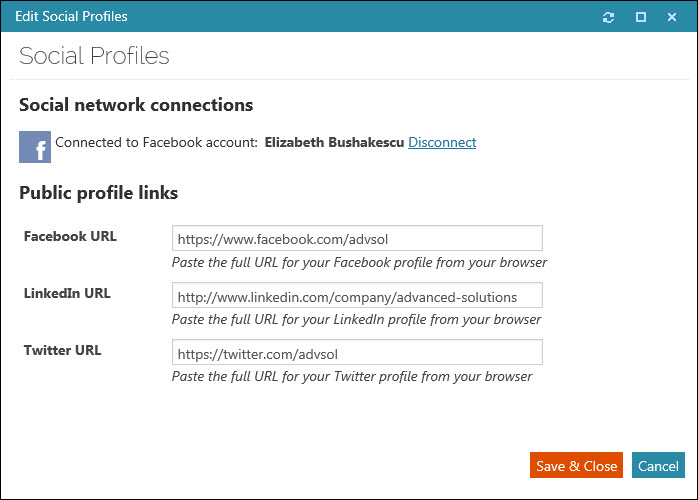
To define the social network profile URLs for your own account page, click on the edit icon next to the content item and enter the full URLs for each network. For example:
- Facebook URL: http://www.advsol.com/profilename
- LinkedIn URL: http://www.linkedin.com/in/profilename for an individual, or http://www.linkedin.com/company/companyprofilename for a company
- Twitter URL: https://www.twitter.com/profilename
Note: The LinkedIn public profile link is no longer self-populating.
