Last updated on: June 23, 2026
Setup and Onboarding Guide
This article outlines how to set up and configure iMIS QuickPay.
Prerequisites for iMIS QuickPay
The following prerequisites must be met before using iMIS QuickPay.
- iMIS EMS Cloud or On-Premises (20.3.166 or newer).
- iMISPay Central SDK license activated (Staff Site > Settings > About iMIS).
- iMISPay set up as a payment gateway (Staff Site > Settings > Finance > Pay Central > Gateways).
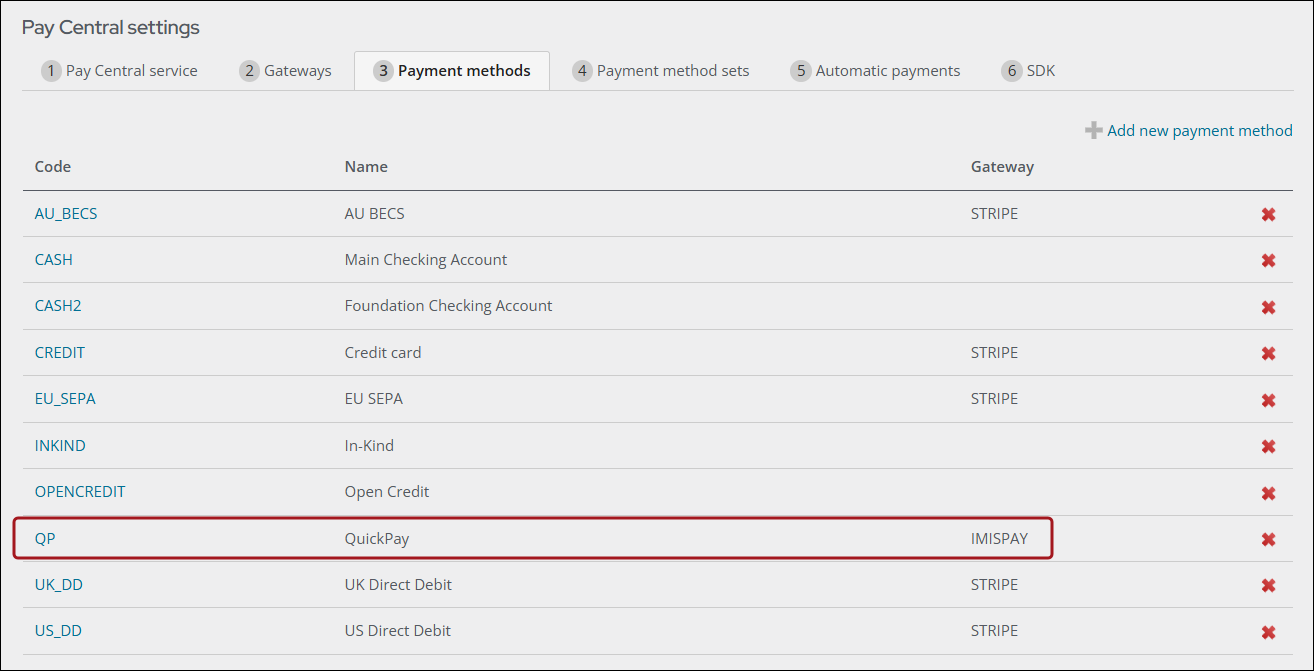
- At least one Payment Method set up to use the iMISPay gateway (Staff Site > Settings > Finance > Pay Central > Payment methods). It is recommended to have a Payment Method specifically for QuickPay, which uses the iMISPay gateway.
setting up the Payment Method
- Go to Settings > Finance > Pay Central > Payment methods.
- If not already created, create a QuickPay specific payment method that uses an iMISPay gateway by clicking. See Creating or editing payment methods.
Important! The gateway account must be an iMISPay account titled something unique such as iMIS Pay or IMISPay.
1. Verify Pay Central SDK is Licensed
Access the license page in iMIS (Settings > About iMIS). If the Pay Central SDK is not licensed, email orders@imis.com requesting that the Pay Central SDK license be enabled for your iMIS database.
2. Update iMISPay Central SDK Settings
Do the following to updated your SDK settings:
- Go to the iMIS Staff site.
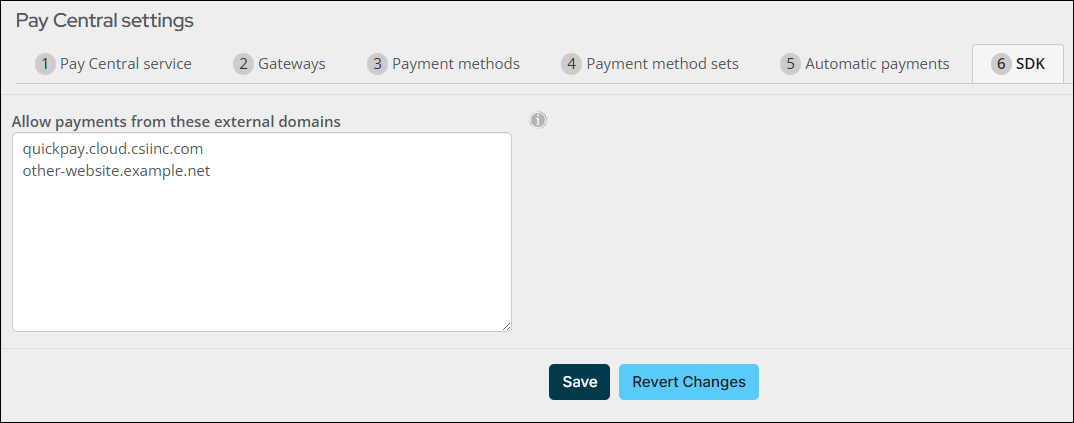
- From Settings > Finance > Pay Central > SDK, add the following text into the Allow payments from these external domains field: quickpay.cloud.csiinc.com
Important! If there are already other entries in the Allow payments from these external domains field, add a new line. Do not remove any other entries, as this may cause other integrations to stop working.
3. Access iMIS QuickPay from the Cloud Dashboard
Navigate to the Cloud Dashboard and access iMIS QuickPay. You may need to assign security first.
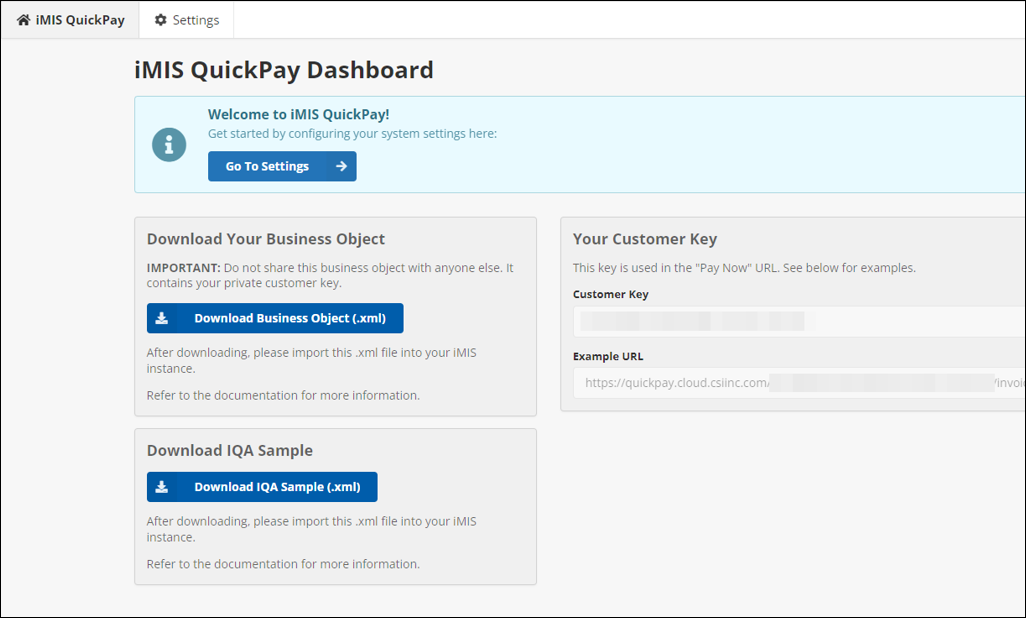
You will be greeted by the dashboard and a welcome message:
4. Configure Settings
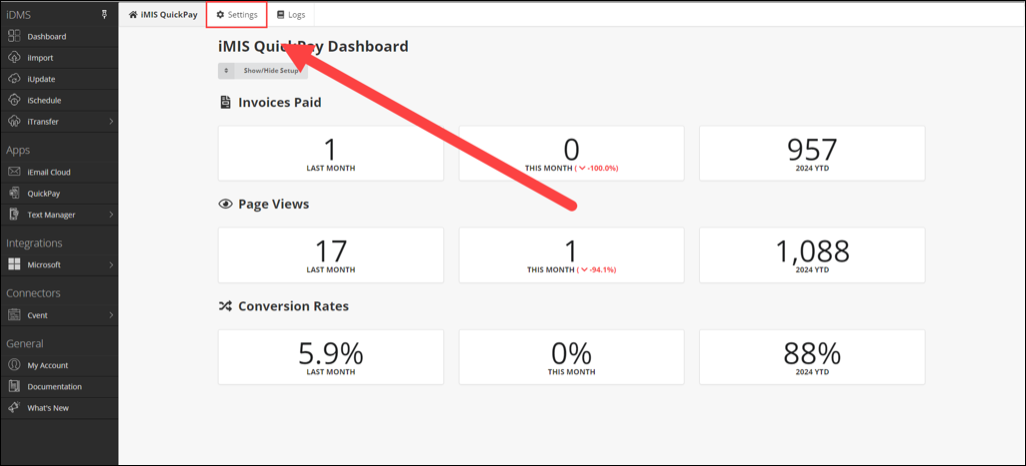
Configure your QuickPay application settings by clicking on Settings in the top navigation.
Refer to Settings for instructions on configuring the QuickPay settings.
5. Download Your Business Object
On the app homepage (click on iMIS QuickPay in the top nav), click the Download Business Object button.
This downloads an .xml file that contains the business object which is used to construct the payment URLs to send out in a communication template.
Important!
This business object is specially constructed to only work with your instance of iMIS. Using this business object on a different iMIS system will result in errors.
If you have multiple instances of iMIS (for example, Test and Live), please sign into the CSI Cloud Dashboard using the corresponding Cloud ID that points to that iMIS instance, and then proceed to download the business object for that instance.
What To Do When the Cloud ID Changes
If the name of your Cloud ID changes (for example, requesting CSI Support to change the Cloud ID from ABCSTAGING to ABCIMIS), you must follow these steps. Your QuickPay URLs will change as a result of the Cloud ID change.
- Remove and purge the old CSI_QuickPay_Invoice business object from iMIS.
- On the CSI Cloud Dashboard, in the QuickPay dashboard, download your new business object.
- Import the new business object into iMIS.
Note: Any existing IQA queries that reference the business object should continue to function - the business object name is always the same.
- The QuickPay URLs are different. If you recently sent out QuickPay links, you will need to send out new ones as a result of your Cloud ID changing.
Importing the .xml file into iMIS
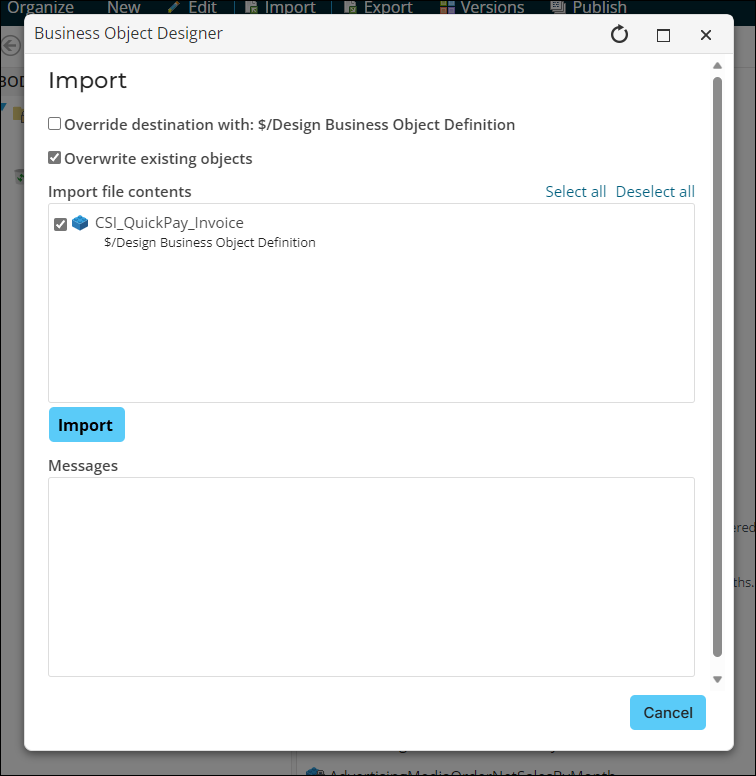
- Go to RiSE > Business Object Designer and click Import. Select the .xml file you downloaded from the iMIS QuickPay dashboard.
- Press Upload. Then, on the next screen, press Import, then Close.
- Publish the business object.
5a. QuickPay URL Changes Starting in 2024.10.0
As of 1 Oct 2024, QuickPay has added a new URL format to support cash-based dues invoices. This fixes the error code: 0x000B.
The previous URL format will continue to work without issue, even if you update your business object in iMIS.
To use the new URL format, the business object will need to be removed and replaced. Do the following:
- Purge the business object "CSI_QuickPay_Invoice" from iMIS.
- Log into the CSI Cloud Dashboard and select the QuickPay app.
- Download the new business object using the Download Business Object button.
Note: You may need to click on Show/Hide Setup at the top of the homepage to see the button.
- Import the new business object into iMIS, and ensure that it publishes.
Note: If a red or yellow bar is showing next to the name, select the business object and press Publish.
- Run the QuickPay Invoices IQA and check the URLs.
Note: The new URL format contains/invoiceid/ towards the end of the URL.
6. (Optional) Download the Sample IQA Query
Included on the dashboard is a sample IQA query that references the business object and shows all outstanding invoices that can be paid through QuickPay, including the QuickPay URL needed to pay.
Note: This IQA query is only a sample, you may choose to create your own IQA query instead, especially if you intend on using the IQA query with a communication template.
7. Next Steps
Once the iMIS business object and IQA query are installed in your iMIS environment, your next steps are to identify how you’d like to use the iMIS QuickPay payment links.
The only RiSE elements provided for QuickPay are the business object and an IQA query. Any additional communication templates, process automation tasks, or receipts must be created in your iMIS environment.
To use iMIS to generate a receipt for QuickPay payment, see QuickPay Receipts.