Last updated on: January 27, 2026
When you cancel an event, the following happens:
- All event registrations are cancelled.
- iMIS automatically reverses the accounting entries that were created during order processing.
- The income accounts are debited and Accounts Receivable is credited.
- All open receivable balances for unpaid orders are closed (brought to zero balance).
- For registrants who have already paid, the reversed entry results in open credits. Open credits can be refunded or can be applied to other orders or event registrations.
Cancelling an event, unlike cancelling a registration, is irreversible, and the event cannot be made active again. When an event is cancelled, the related registrations are also cancelled.
In This Article
Cancelling an event
Do the following to cancel an event:
- Go to Events > Find events.
- Search for the event you want to cancel and open the event.
- Select Edit.
- Scroll to the bottom of the Edit event window and click Cancel Event. When prompted, click OK.

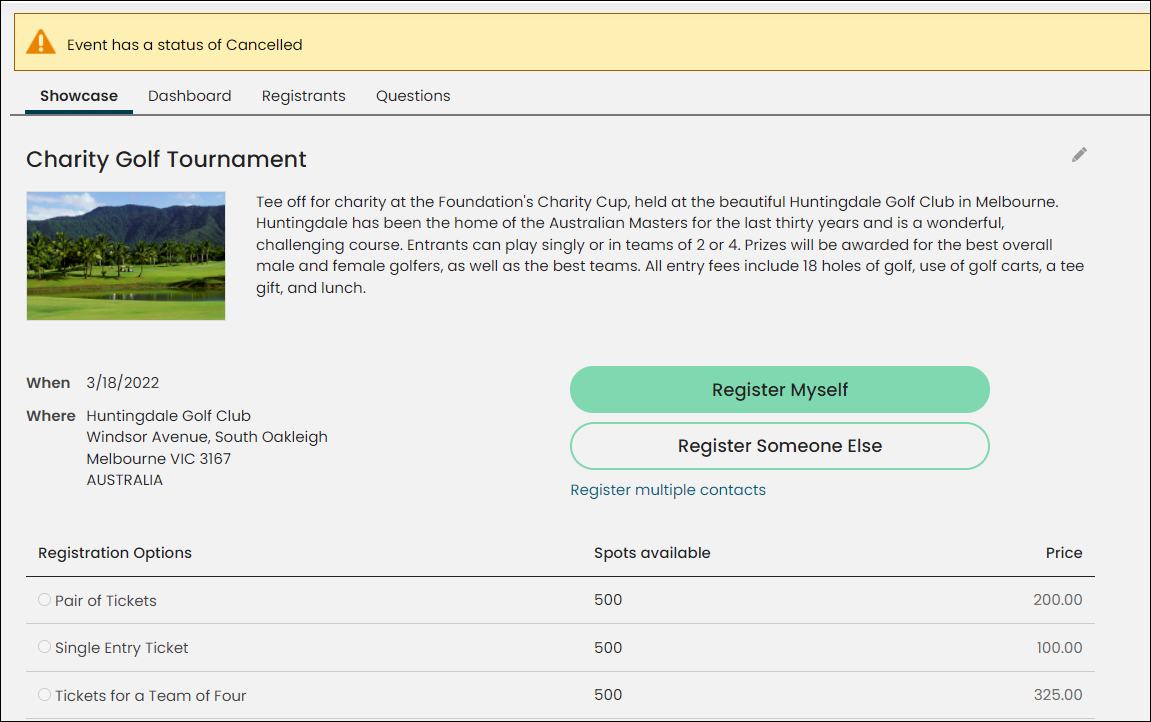
The event will display a message that says Event has a status of Cancelled. The Event status is also displayed as a read-only field when the event is open for edit.
When adding a new event, the Cancel Event button is not available until the event has been saved for the first time. When cloning an event or using an event template, the Cancel Event button is available immediately.
Sending an automatic email when an event is cancelled
An automatic email will be sent to registrants when the event is cancelled if you enabled the Event cancellation notification scheduled task. To use the scheduled task, do the following:
- Create and save the communication template that will be sent in an email to event registrants.
- Go to RiSE > Process automation.
- Open the Event cancellation notification scheduled task.
- Click the Actions tab.
- Edit the existing action:
- Select the pencil icon.
- From the Communication line, select Remove, then Select the communication you created.
- Enable the task.
- Save the changes to the task.
Note: To quickly create a template, copy the Event Cancellation Notice template (Marketing > Communication templates > Templates > Samples), and paste the template in the Templates folder. Make changes to the copied template, such as modifying and updating the sample ASI and iMIS information.