Last updated on: June 08, 2026
Utilizing iImport begins by uploading the spreadsheet that will be used to insert and/or update data. Do the following to upload a new file:
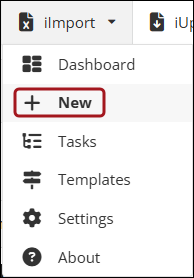
- From iImport, click New.
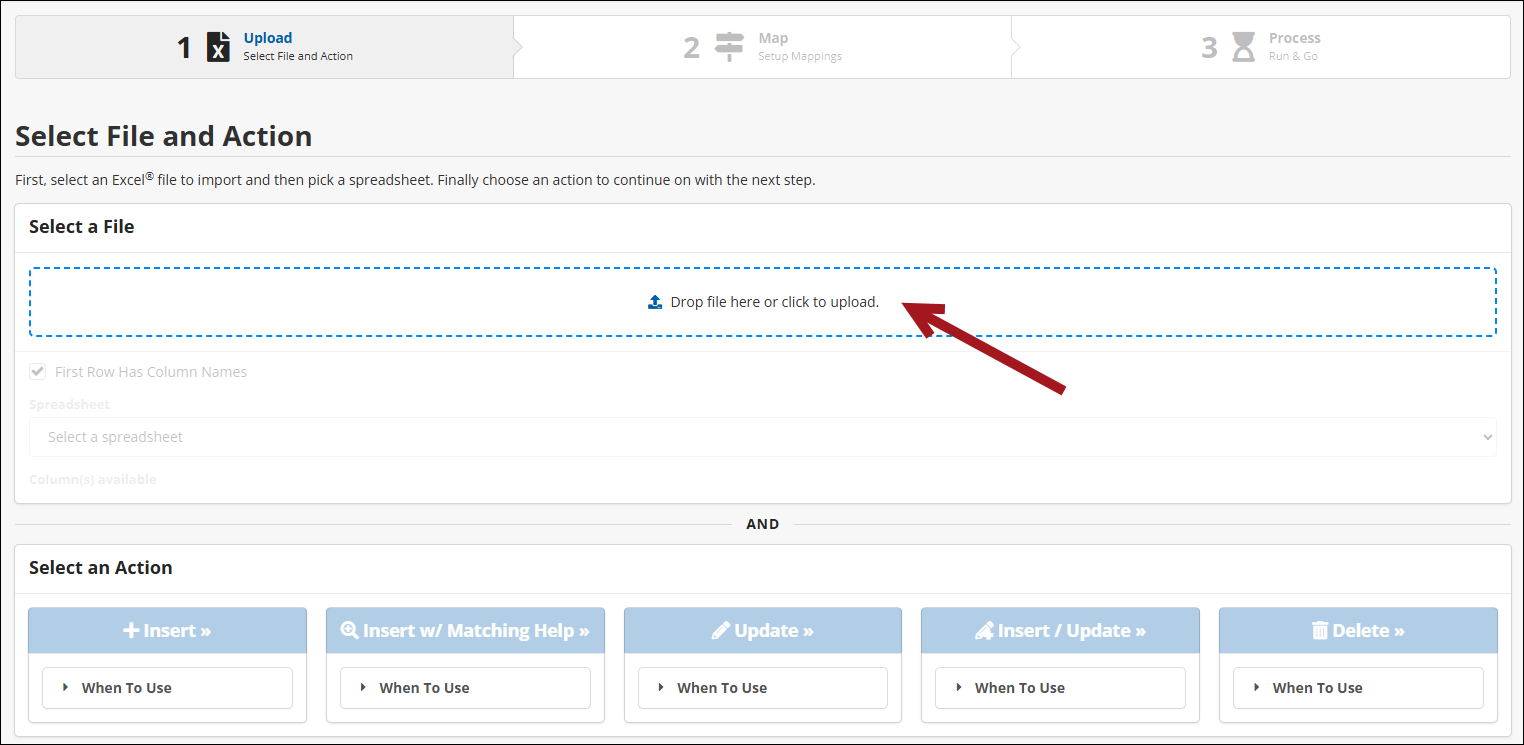
- Upload the file to import. Click to browse or drag-and-drop the file.
- After uploading the file, there are 3 options:
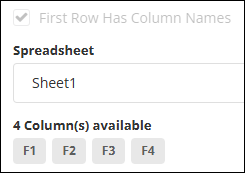
- Check the First Row Has Column Names option if the spreadsheet has headers. If the spreadsheet contains headers, this option is enabled after upload.
- Select a different sheet in the spreadsheet.
- See the available columns in the currently selected sheet.
- Select an Action.

Important Notes
- iDMS iImport currently supports a maximum of 250,000 records per import file; however, we recommend limiting imports to no more than 10,000 records per job.
- International Users: Dates must be formatted using the standard international notation: YYYY-MM-DD. When imported, iMIS will convert dates to the format configured in the settings. See Changing the iMIS date format for additional information.
- Only Excel files (.xlsx) are supported for use with iImport.