Last updated on: June 23, 2026
iMIS Outlook Integration: Options
iMIS Outlook Integration can be customized and configured using Options. These settings control how emails are saved, how activities are created, and which users have access to features.
Understanding the configuration workflow
Before configuring individual settings, it is important to understand the typical setup order:
- Configure roles (who can access features)
- Configure activity types (what types of records are created)
- Configure field mappings (what data is saved where)
- Configure email limits and behavior
Important! Following this order ensures users only see the correct options and that saved data is consistent.
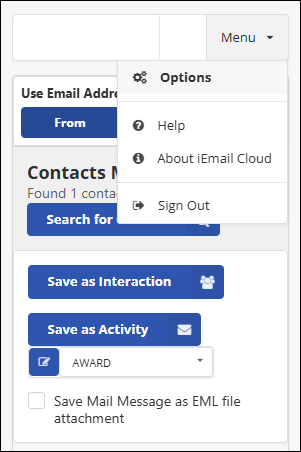
Accessing Options
- Log into iMIS Outlook Integration as a user with a SysAdmin role.
- Select the Menu button.
- Choose Options.
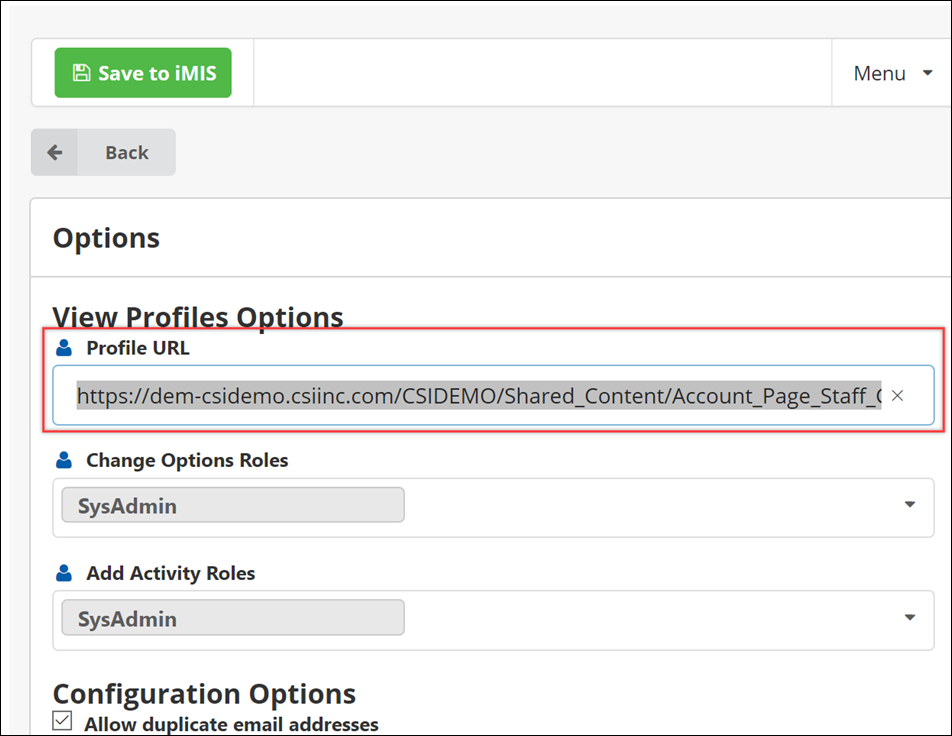
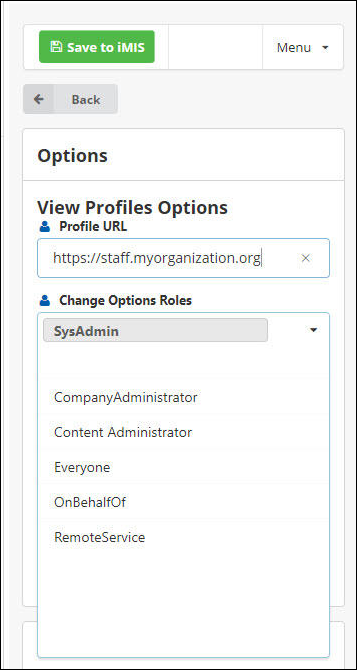
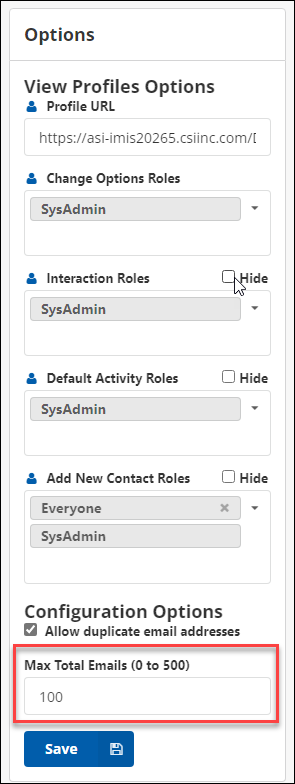
Profile URL
The Profile URL allows users to open iMIS contact profiles directly from the integration.
Configuring roles
Change Options Roles
Controls which roles can access and modify Options.
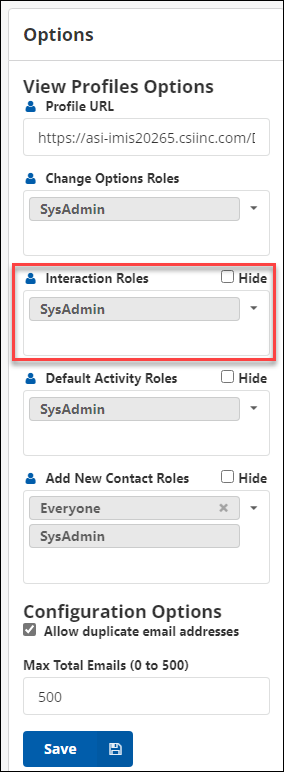
Interaction Roles
Defines which roles can create Interactions.
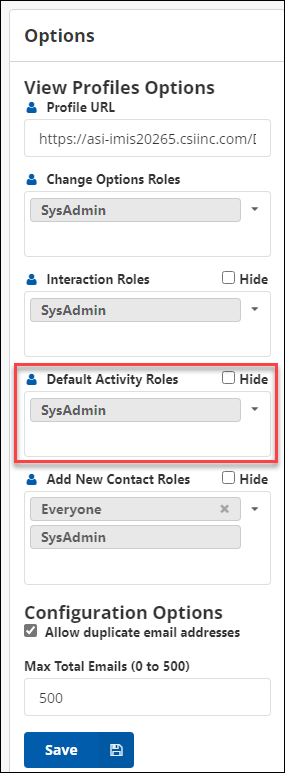
Default Activities Roles
Defines which roles can create Activities.
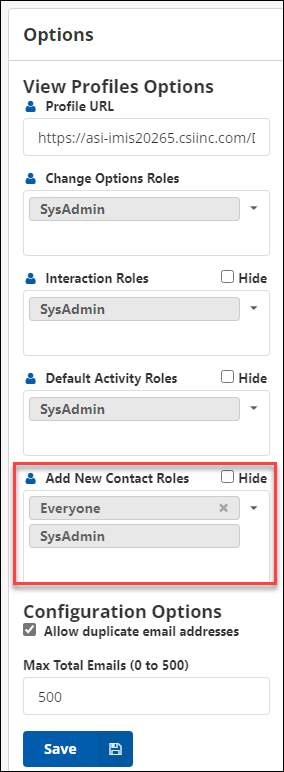
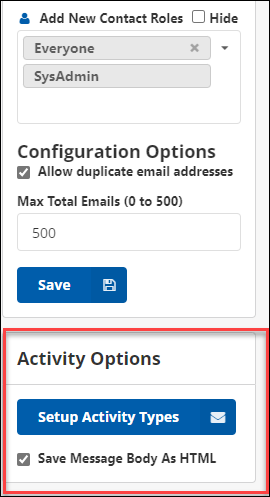
Add New Contact Roles
Defines which roles can create new contacts.
Configuring email behavior
Allow duplicate emails

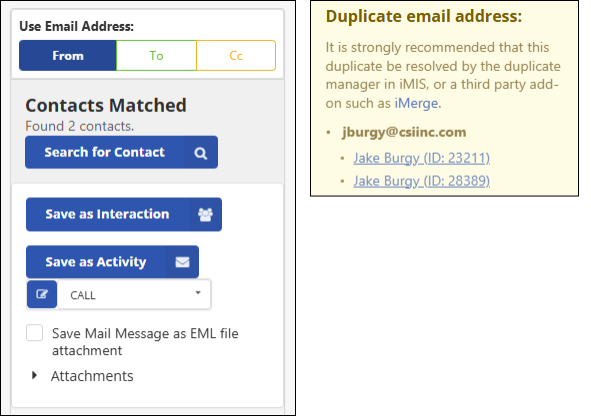
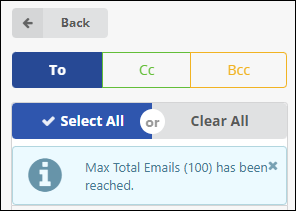
Max Total Emails
Configuring activity options
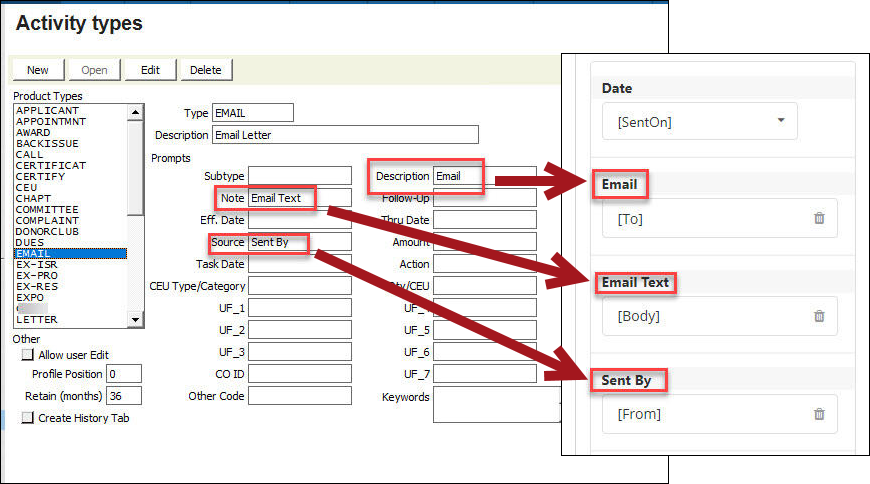
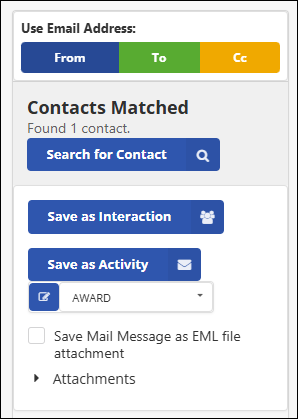
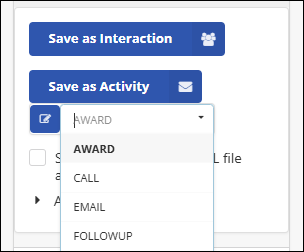
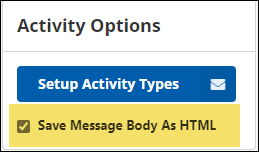
Setup Activity Types
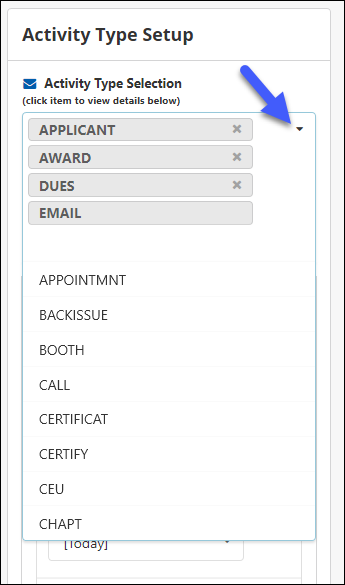
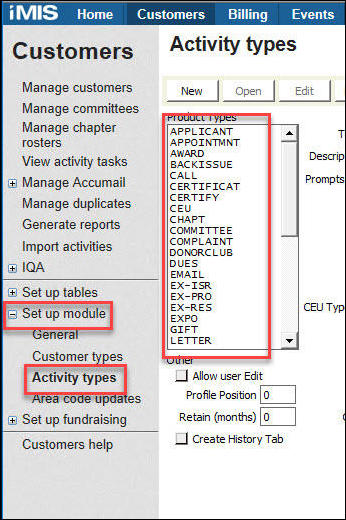
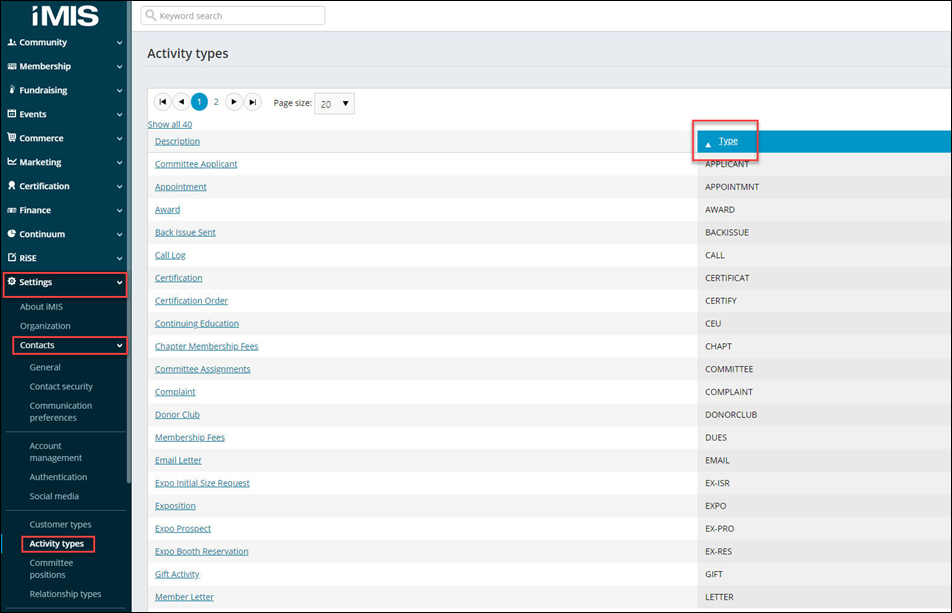
Important! Avoid using system default activity types (DUES, ORDER, SALES, etc.). Create dedicated email activity types instead.
Best practices for activity types
- Create a dedicated Email activity type
- Use consistent naming conventions
- Limit access using role-based permissions
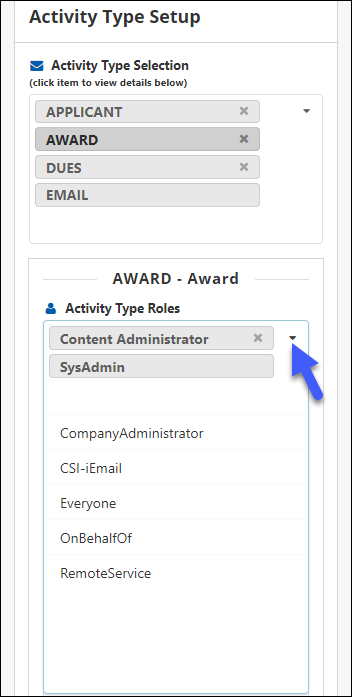
Activity Type Roles
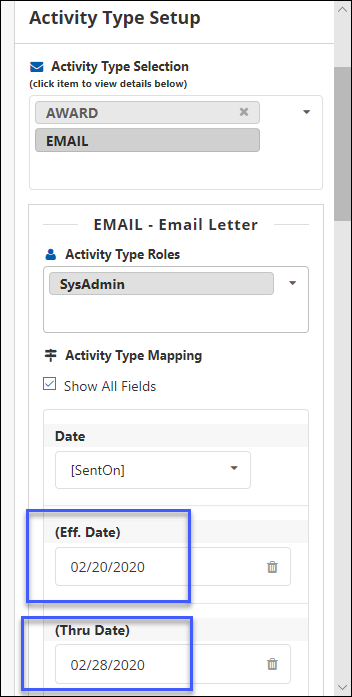
Activity Type Mapping
This section defines how email data is written to iMIS.
Real-world example: Email mapping
Example:
Subject > Activity Description
Body > Notes
Recipients > Other participants
SentOn > Activity Date
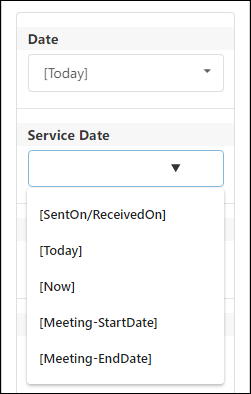
Understanding tokens
Tokens represent dynamic values from the email. When an email is saved, these values are inserted into iMIS fields.
Common tokens include:
- [Subject] – Email subject
- [Body] – Email content
- [Recipients] – All recipients
- [SentOn] – Date sent
Example mapping:
Example:
Description field = [Subject]
Notes field = [Body]
Date field = [SentOn]
The Field Configuration Results table shows how each token behaves:
Calculated fields
Saving message body as HTML
Purging cache