Last updated on: April 09, 2026
Searching by IQA Query in iMIS Outlook Integration
The Outlook Integration can use an IQA query to search for and match contacts when saving emails.
Using a query provides flexibility to do the following:
- Control which contacts are searchable
- Define how results are displayed
- Limit results based on business rules (for example, active members only)
However, poorly designed queries can negatively impact performance and usability. Following best practices ensures accurate results and a responsive user experience. See Designing an effective query for the Outlook Integration for details.
Understanding how IQA search works
When a user searches in the Outlook Integration:
- The search term is passed to the configured IQA query.
- The query returns matching contacts.
- The results are displayed in Outlook for selection.
Because the query runs in real time, query design directly affects performance and search accuracy.
Sending an email to a query contact list
Do the following to send an email to a query list using the Outlook Integration:
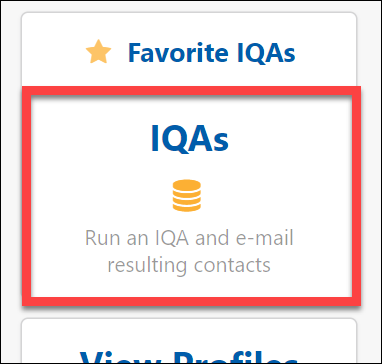
- After opening iMIS Outlook Integration and signing in, select IQA Queries from the home menu.
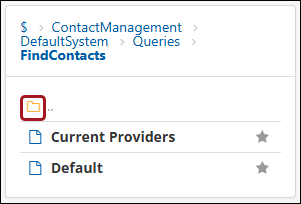
- Browse to an IQA query using the folder browser on the IQA query screen. Use the breadcrumb navigation to return to another folder, or click the folder icon to go one level higher in the folder hierarchy.
- Once a user selects an IQA query to run, the query's parameters are shown.
- Enter any parameter values, and then click Run Query to run the IQA query.

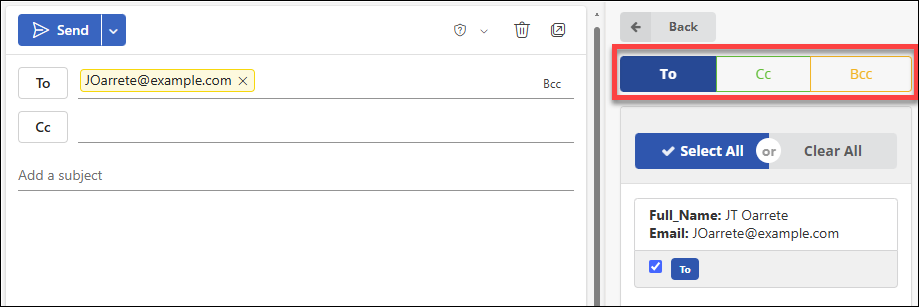
IQA query results in Outlook
The results of the query are displayed in a table. There are two special columns:
- The first column contains a checkbox to add or remove this result to the email in Outlook
- The second column displays a label indicating which email field the result is in (To/Cc/Bcc)