Last updated on: January 27, 2026
Complex campaigns require efficient management and tracking of multiple, multi–tiered campaigns. Complex campaigns for the purposes of this document:
- Contain many appeals and related solicitations
- Use many source codes
- Often build on the targeting and analytical data generated by Segmentation and RFM Analytics
In This Article
- Create a segmentation job with an attached universe query
Create segments
Populate the segments
Define the campaign
1. Create a segmentation job with an attached universe query
Create a segmentation job and define a universe query that returns the contacts who receive the marketing effort.
Tip: A universe query defines the entire population of contacts for a segmentation job. When a universe query is present, a contact must be a member of the universe query for the contact to be included in any of the segments within the segmentation job.
To define a universe query within a segmentation job, do the following:
- Go to Marketing > Segmentation > Define segments.
- Add a job or edit an existing job.
- Name the job.
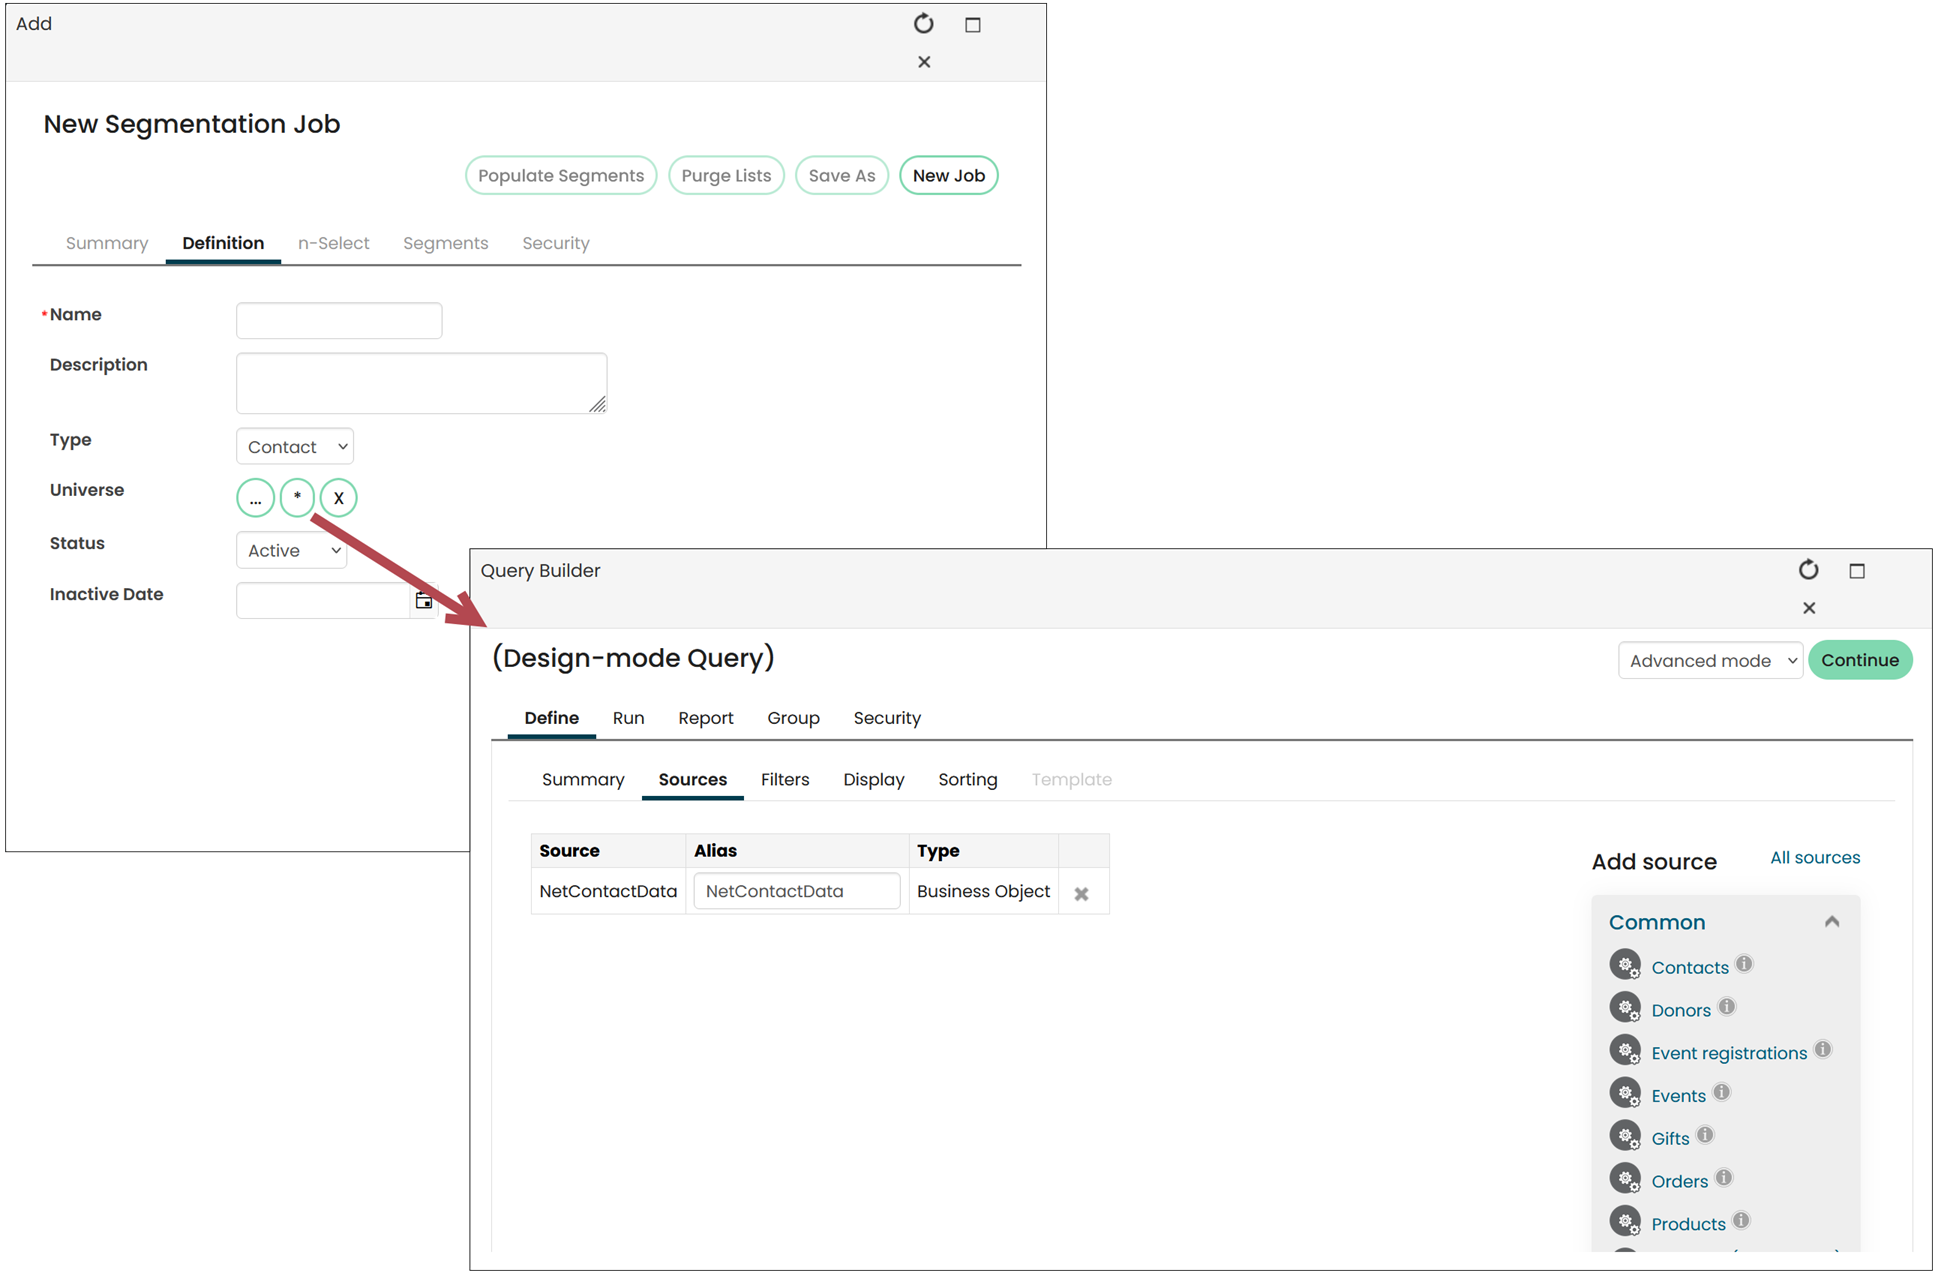
- In the Universe area, select the asterisk (*) to create a new universe query or select the ellipsis (…) to choose an existing query.
- Click Save.
Note: When adding a pre–existing universe query, ensure the NetContactData business object is included as a source. If NetContactData is not declared as a source, the query will fail.

For more information, see Create a segmentation job.
2. Create segments
Write the segment queries that will separate your universe into smaller target groups, such as by membership category, transaction types, or event. Create the segments by attaching segment queries to each segment.
To define the segments, open the segmentation job and do the following:
- Click the Segments tab.
- Select Add Segment.
- Enter the segment definition.
- In the Population area, select the asterisk (*) to create a new universe query or select the ellipsis (…) to choose an existing query.
- Click Save.

For more information, see Adding and editing segments.
3. Populate the segments
After you create a segmentation job and add segments, populate the segments in the job to create contact or prospect lists.
To populate the segments, open the segmentation job and do the following:
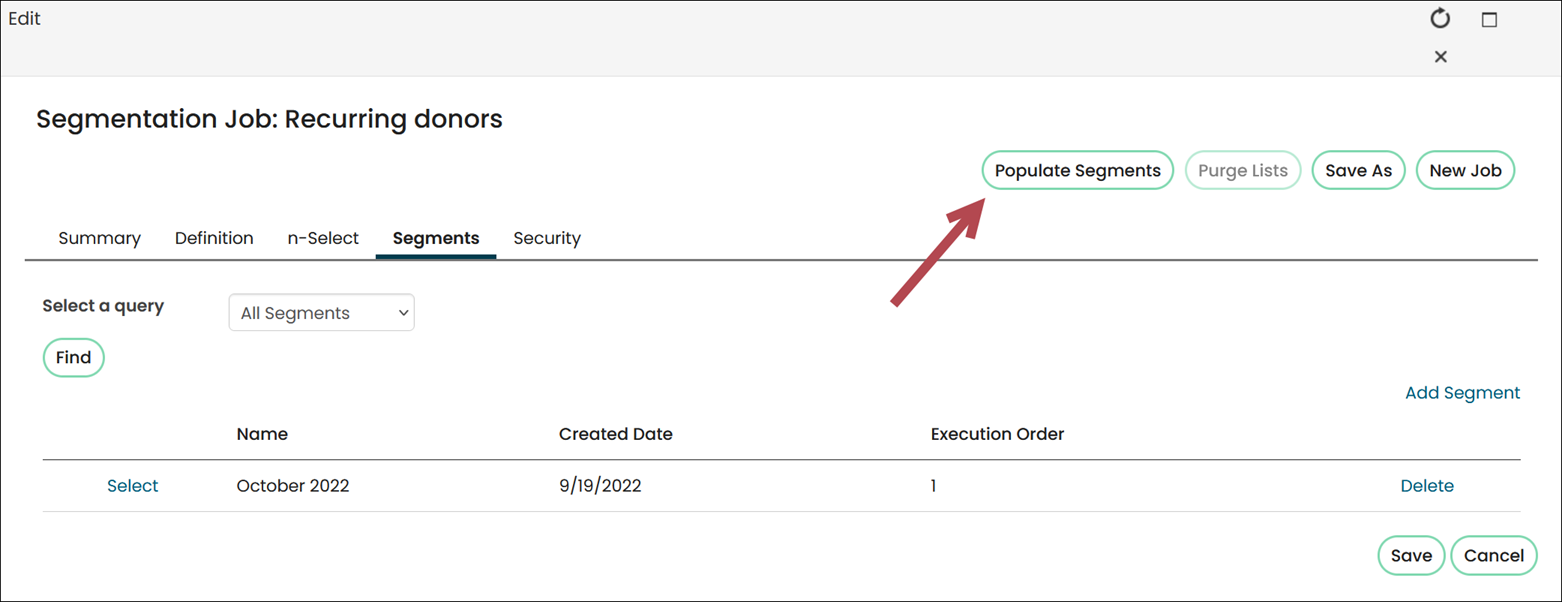
- Click Populate Segments.
- Select the segment to view.
- Select the Results tab to view the segment contents.
Note: If no segments are defined, an error message is displayed. If the segments have already been populated, Populate Segments is disabled.

For more information, see Populating segments.
4. Define the campaign
To define the campaign, do the following:
- Define the campaign.
- Define the appeals.
- Define the solicitations.
- Create source codes for each solicitation.
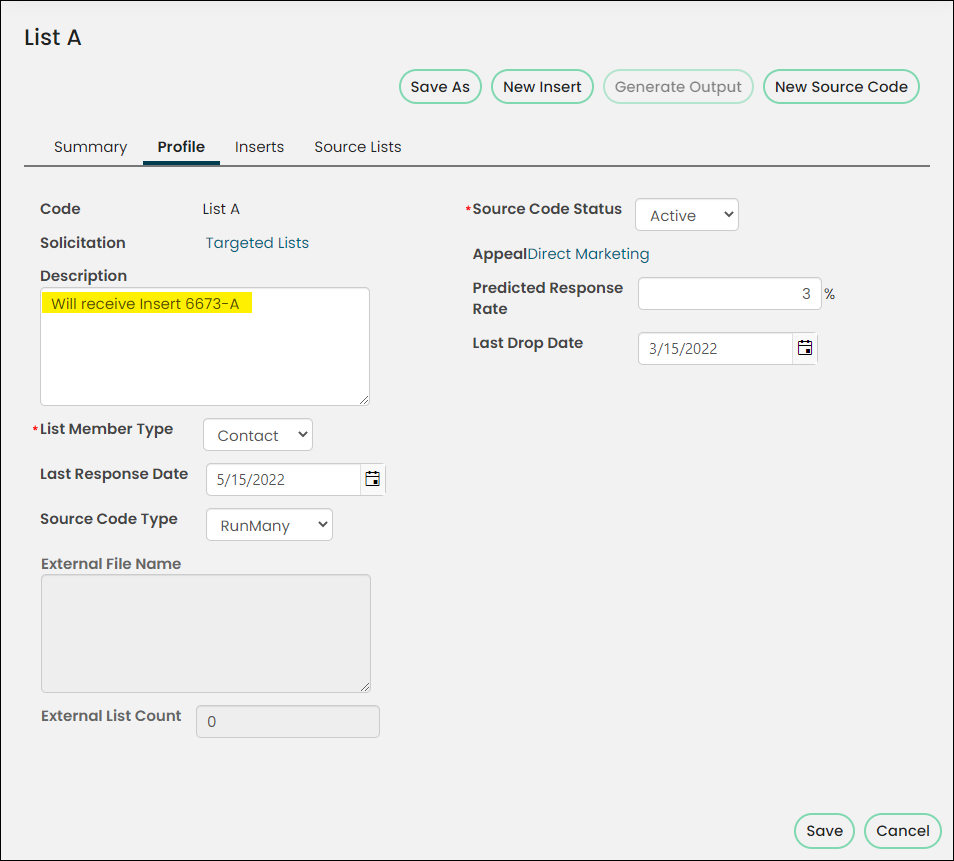
- Attach the segments and inserts to the source codes.
- Generate the output.
additional resources
- For details on each step, see Creating a basic campaigns
- To review an example, see Complex campaign example: Fundraising campaign
- For more information about complex campaigns, see Best practices for complex campaigns