Last updated on: June 23, 2026
Upgrade Dashboard
Note: The dashboard can be used in either iMIS 2017 (20.2) or iMIS EMS (20.3); however, it is recommended that the dashboard is added to the iMIS 2017 Staff site, so that the related action items are performed in the live production site prior to upgrading. These action items can be performed at any time throughout the upgrade process.
Note: Not all pre-upgrade checklist items can be turned into a query. Be sure to review this entire document before using the Upgrade Dashboard.
In This Article
- Downloading the dashboard files
Importing the files into iMIS
Understanding the dashboard content
Understanding what is not included on the dashboard
Downloading the dashboard files
The dashboard consists of content records, queries, and business objects that must be downloaded. Download the zip files from the Support Portal.
Importing the files into iMIS
Once the files are downloaded, you must import them into iMIS.
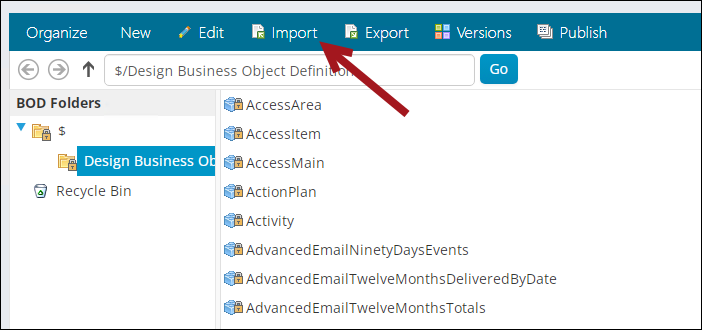
Importing the business objects
Do the following to add the business objects to iMIS:
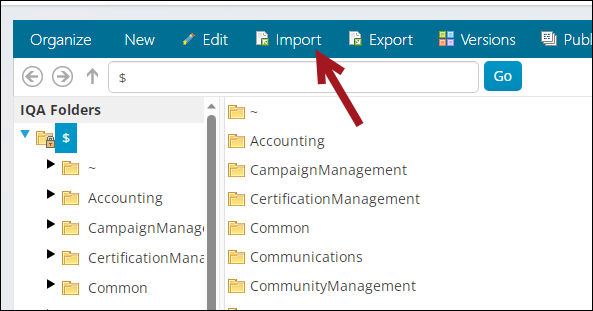
- Go to RiSE > Business Object Definition.
- Click Import.
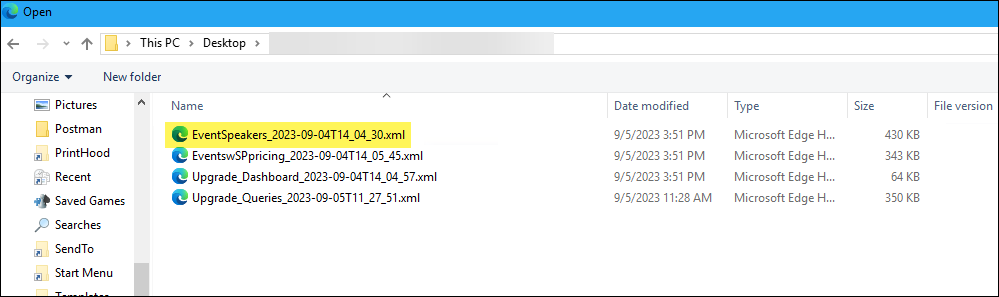
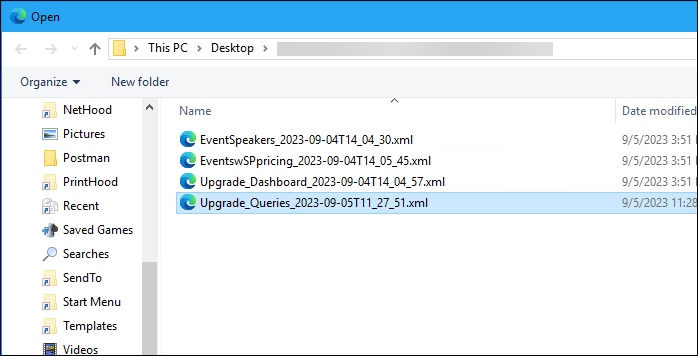
- Click Select, then navigate to the extracted folder.
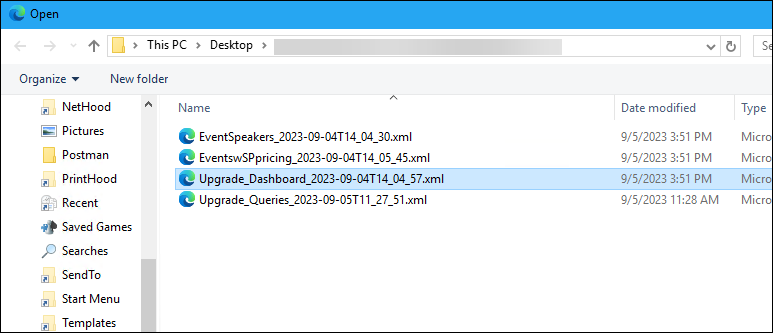
- Select the EventSpeakers file, then click Open.
- Click Upload.
- Click Import, then close the window.
- Repeat steps 2-6 for the EventswSPpricing business object file.
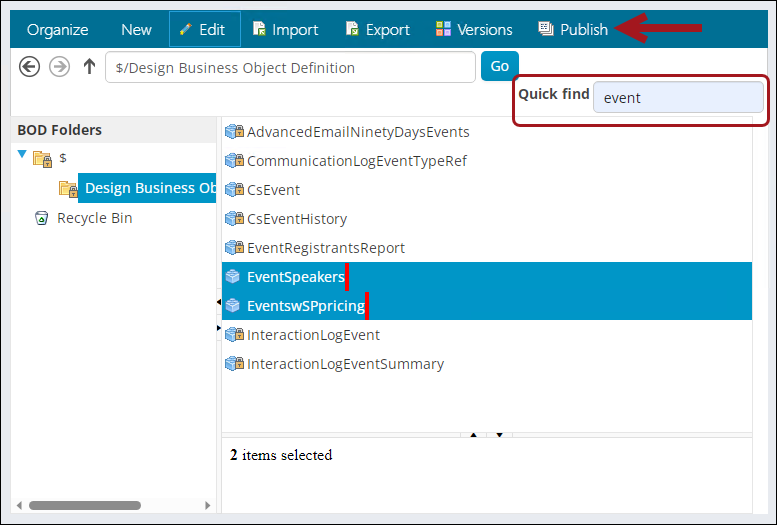
- From the Quick find search, enter event.
- Select both of the newly imported business objects, then click Publish.

Importing the queries
Do the following to add the queries to iMIS:
- Go to RiSE > Intelligent Query Architect.
- Click Import.
- Click Select, then navigate to the extracted folder.
- Select the Upgrade_Queries file, then click Open.
- Click Upload, then click Import.
- Close the window.
Importing the dashboard content records
Do the following to add the dashboard content to iMIS:
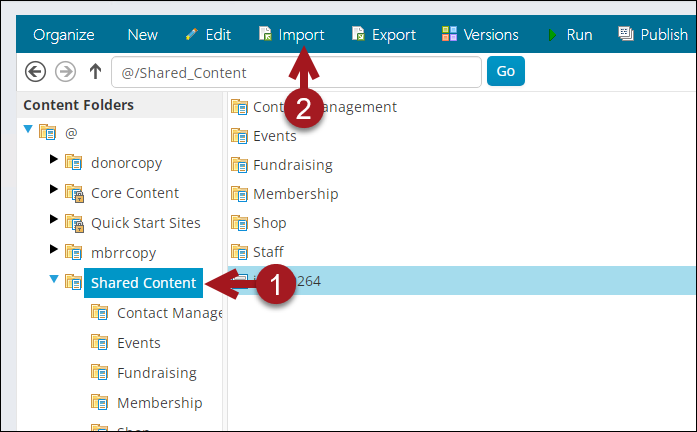
- Go to RiSE > Page Builder > Manage content.
- Click any folder without a lock icon. The files will not upload to this folder, but you must initially click a non-locked folder before clicking Import.
- Click Import.
- Click Select, then navigate to the extracted folder.
- Select the Upgrade_Dashboard file, then click Open.
- Click Upload, then click Import.
- Close the window.
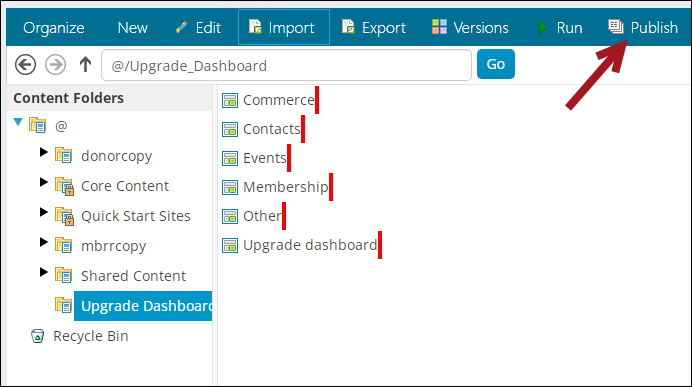
- Locate and select the Upgrade Dashboard folder.
- Click Publish.
- Click OK and close the window.
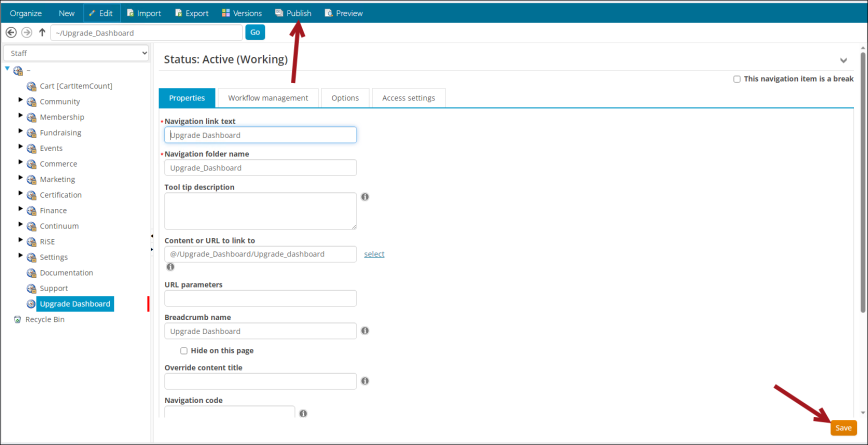
Adding the Upgrade Dashboard sitemap item
Do the following to add the Upgrade Dashboard sitemap item:
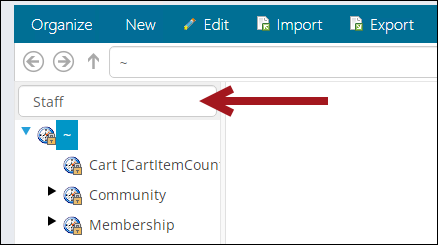
- Go to RiSE > Site Builder > Manage sitemaps.
- From the drop-down, choose Staff.
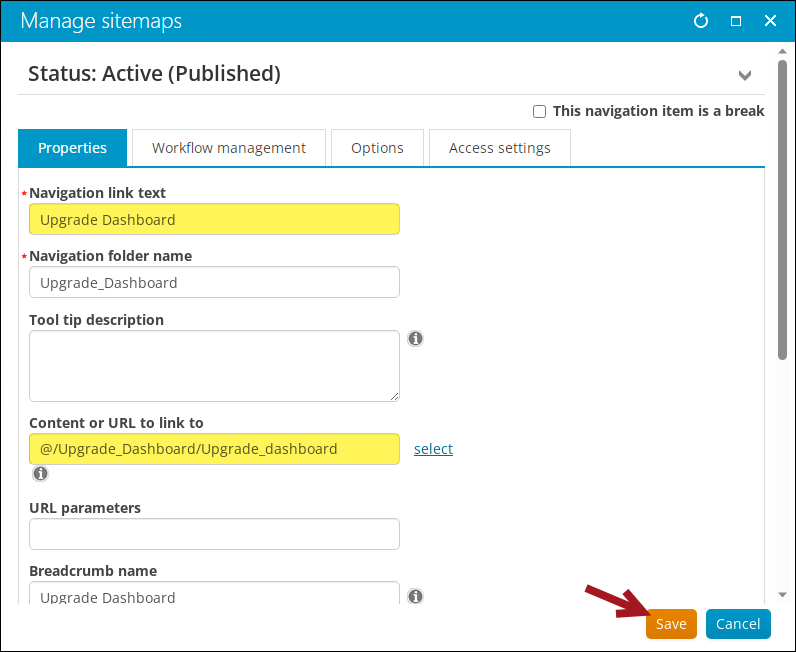
- Click New > Website Navigation Item:
- Navigation link text – Upgrade Dashboard
- Content or URL to link to – Navigate to the Upgrade Dashboard folder that was just imported, then select the Upgrade dashboard content record.
- Click Save.
- Click Save, then click Publish.
- Refresh the Staff site to confirm the Upgrade Dashboard sitemap item is available.
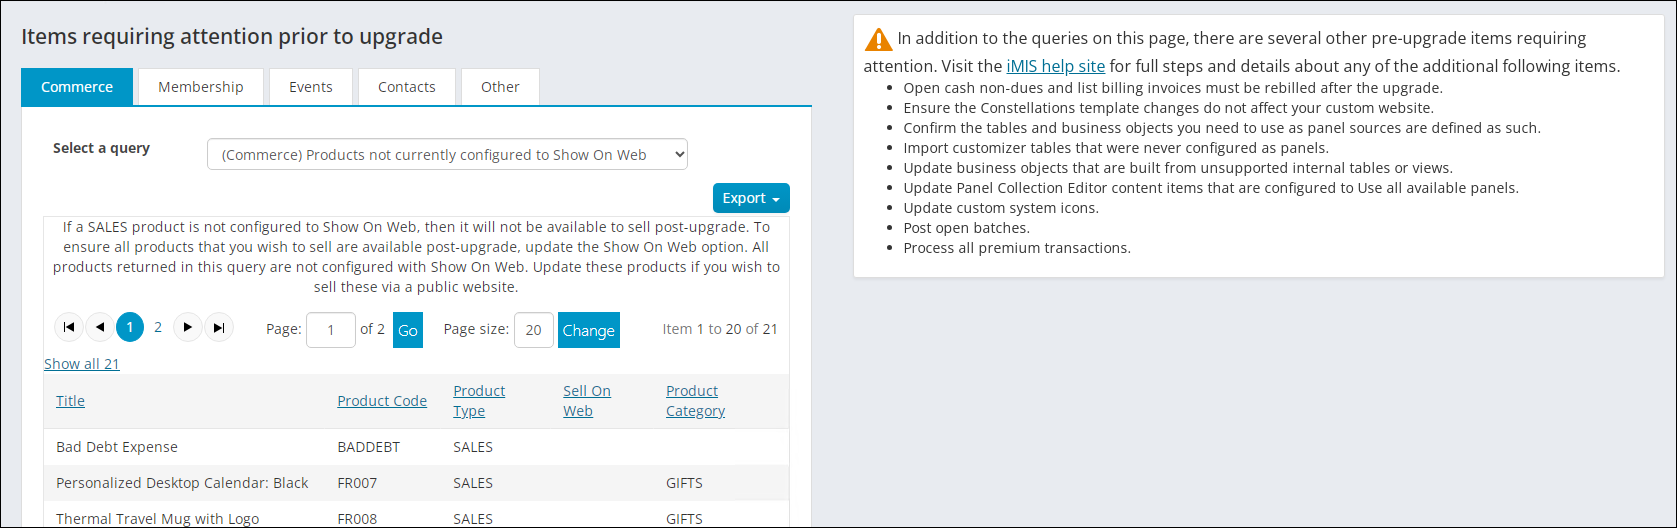
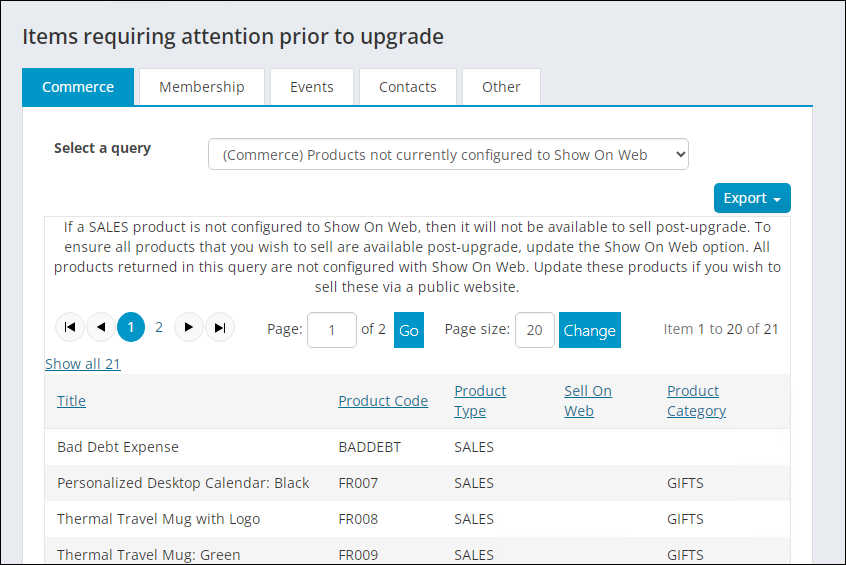
Understanding the dashboard content
Each tab contains multiple queries located in a drop-down. The queries are related to certain pre-upgrade checklist items. If the query returns results, then there are action items to perform. If the query returns no results, then there are no action items to perform for that particular query, and the associated pre-upgrade checklist item can be marked as complete.
Each query provides a brief description of the results and what the next steps are if there are results returned. As a best practice, review the pre-upgrade checklist documentation for additional information about the query results and next steps.
Once each query returns no results, then there are no further action items to perform related to the dashboard queries. There may still be action items to perform for the items not contained in a query.
Understanding what is not included on the dashboard
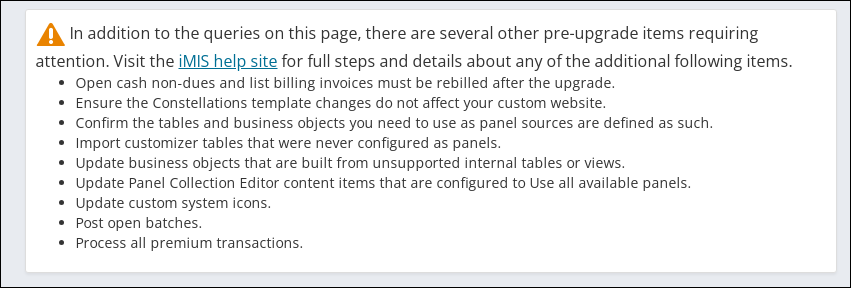
There are several pre-upgrade checklist items that are not included on the dashboard, because there is no query related to the item. These items are still important and must be performed prior to upgrading live.
The alert on the right-side of the dashboard outlines the additional pre-upgrade items that are not included in the queries. You must review the pre-upgrade checklist for full steps related to these items.