Last updated on: May 26, 2026
A Join Now page is a single page on the public website where prospective members and non-members can review the available membership options. Each available option has a Join Now button that takes the user through the process of becoming a member.
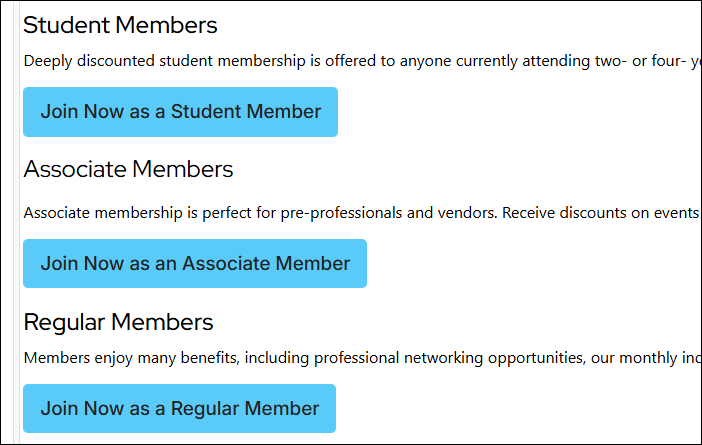
Example: The association offers Student, Associate, and Regular membership options. The Join Now page contains an overview, price, and Join Now button for each membership option.
In This Article
- Step 1: Create a Sign-Up page
Step 2: Create the pages for each membership option
Step 3: Create a single page where prospective members can review and purchase an available option
Step 4: Add the single page to the public website
Step 1: Create a Sign-Up page
The Sign-Up page requires users to create an account and sign into the website before they can purchase a membership. Each member must have an account before they can join as a member.
Do the following to create a Sign-Up page:
- Go to RiSE > Page Builder > Manage content.
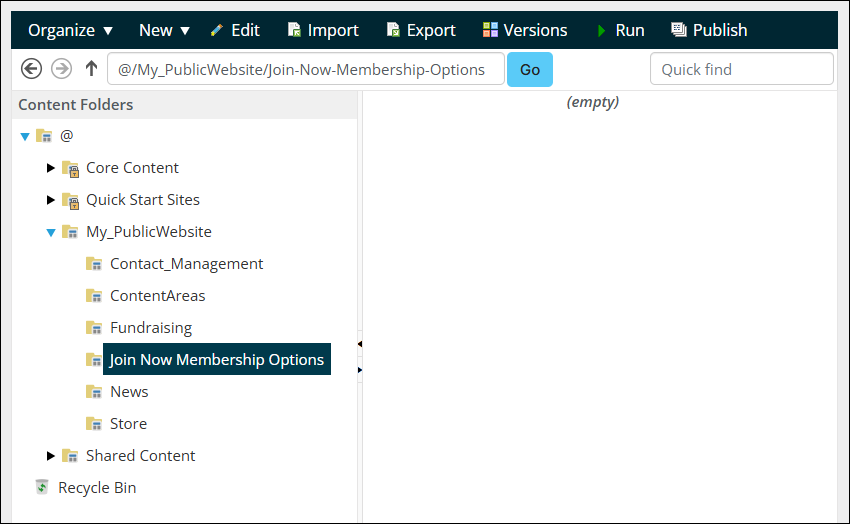
- Navigate to the folder where the Join Now membership content will be stored.
- Create a new folder to store the membership option pages.
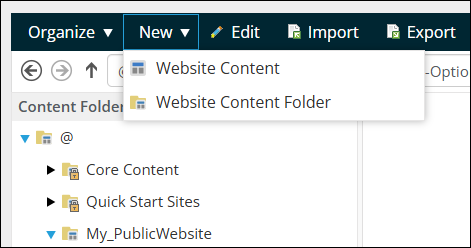
- Click New > Website Content.
- Enter a Title, such as Create an account.
- Select Add content.
- Click the Contact folder.
- Double-click the Contact Account Creator.
- Configure the Contact Account Creator:
- Enable or disable the options you want available when the member is creating an account.
- Ensure Include option to create an account is enabled.
- From the Redirects options, choose Previous page.
- Click OK.
- Click Save & Publish.
Step 2: Create the pages for each membership option
In this example, the association offers Student, Association, and Regular membership options. Each button must navigate to the correlating membership billing cycle where the member can define their membership.
Do the following to create individual pages for each membership option:
- Go to RiSE > Page Builder > Manage content.
- Navigate to the folder location where the membership option pages are stored.
- Click New > Website Content.
- Enter a Title, such as Student Membership Join Now.
- Select Add content.
- Click the Commerce folder.
- Double-click the General Product Display.
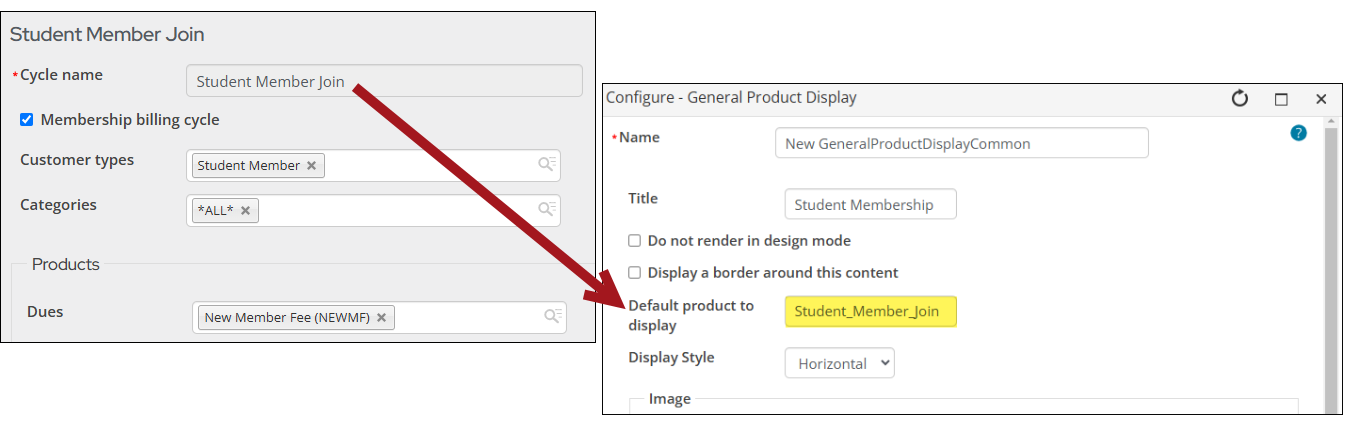
- Define the following in the General Product Display:
- Default product to display: Enter the name of the billing cycle, replacing spaces with underscores. The name is case sensitive.
- Click OK.
- Click the Redirect rules tab:
- From the Conditions for redirect drop-down, select User is not authenticated.
- From the Target URL or shortcut for redirect field, select the page created in Step 1.
- Click Save & Publish.
- Repeat steps 3-9 for each membership option.

Step 3: Create a single page where prospective members can review and purchase an available option
Members will need to know the available membership options, what is included, and the prices.
Note: If there is already a button style the website regularly uses, locate the button class now. If not, use the out-of-the-box button classes (RiSE > Style Guide > Base elements > Buttons).
Do the following to create a membership offering page:
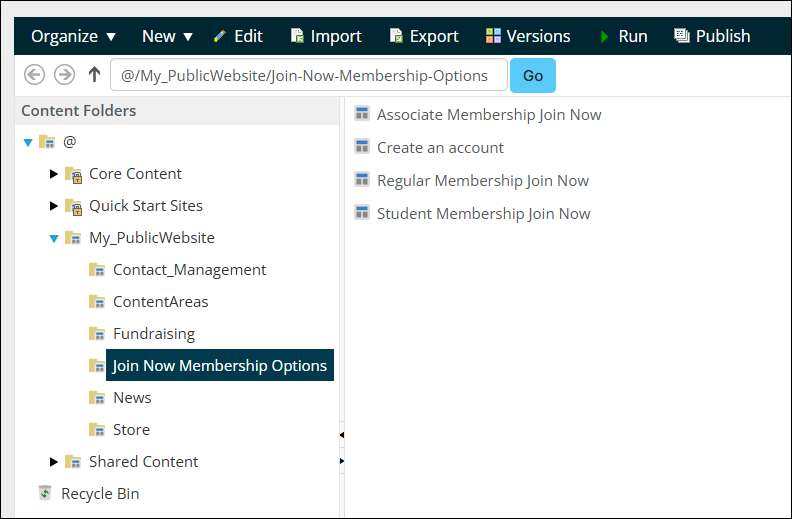
- Go to RiSE > Page Builder > Manage content.
- Navigate to the folder location where the membership option pages are stored.
- Select New > Website Content.
- Enter a Title, such as Membership Options.
- Select Add content, then double-click the Content Html content item.
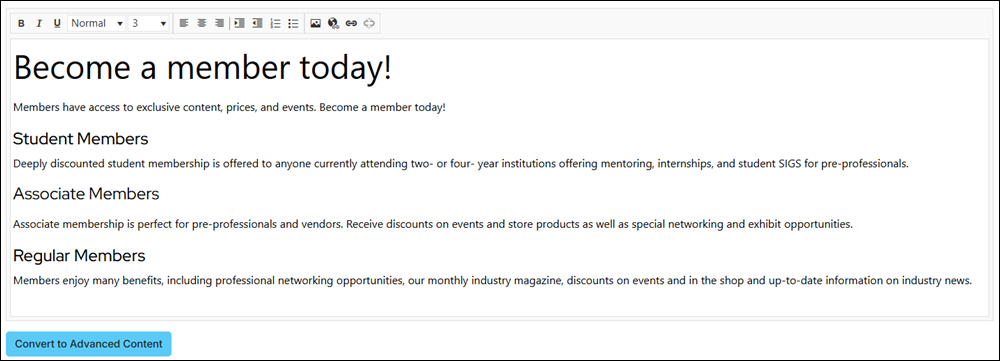
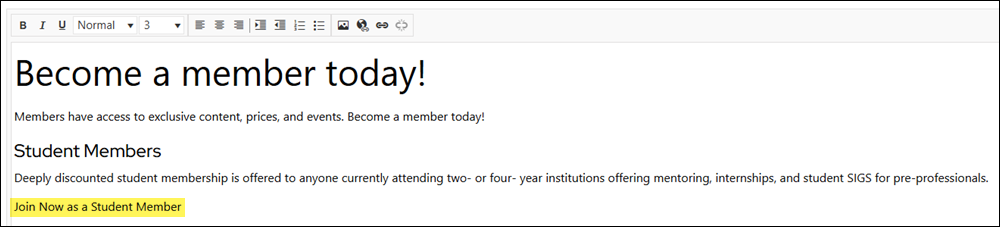
- Enter content that needs to display to members about the membership options, such as available options, details about the options, and pricing.
- Enter text that will eventually become the Join Now button for each membership option.
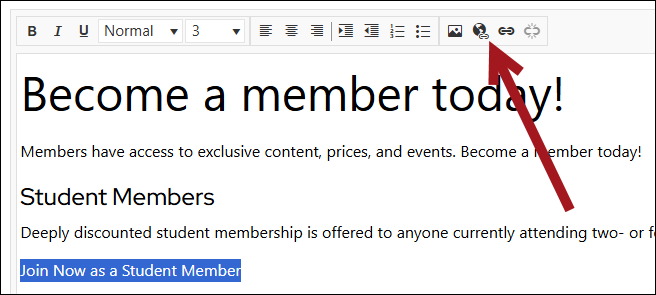
- Highlight the text that will become the Join Now button.
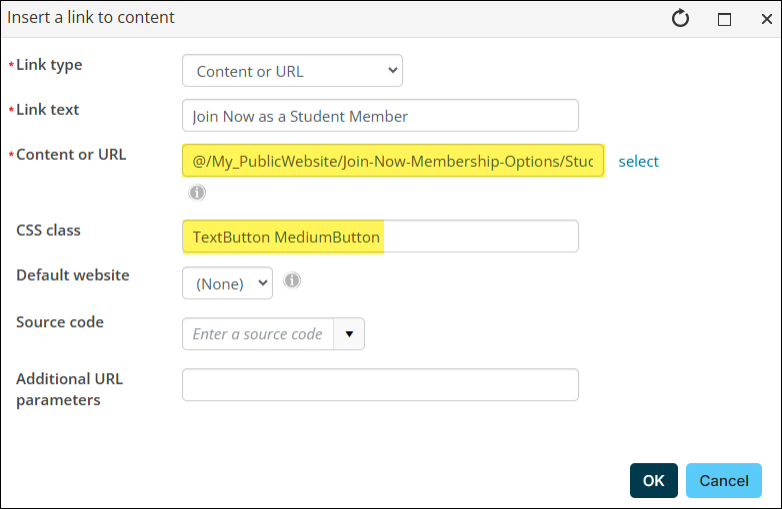
- Click the Content Link Manager button:
- From the Content or URL field, select the correlating Join Now page.
- In the CSS class field, enter the button class name. For this example, use TextButton MediumButton.
- Click OK.
- Repeat the process for the other Join Now button options.
- Continue designing the page to fit the association’s needs.

Step 4: Add the single page to the public website
The last step is to add the page you created in Step 3 to the public website, so prospective members have access to it and can begin joining the association.
Do the following to add the page to the public website:
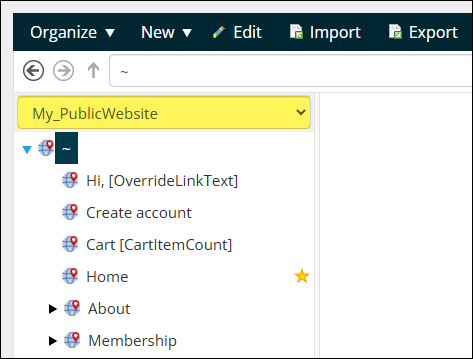
- Go to RiSE > Site Builder > Manage sitemaps.
- From the drop-down, select the public website.
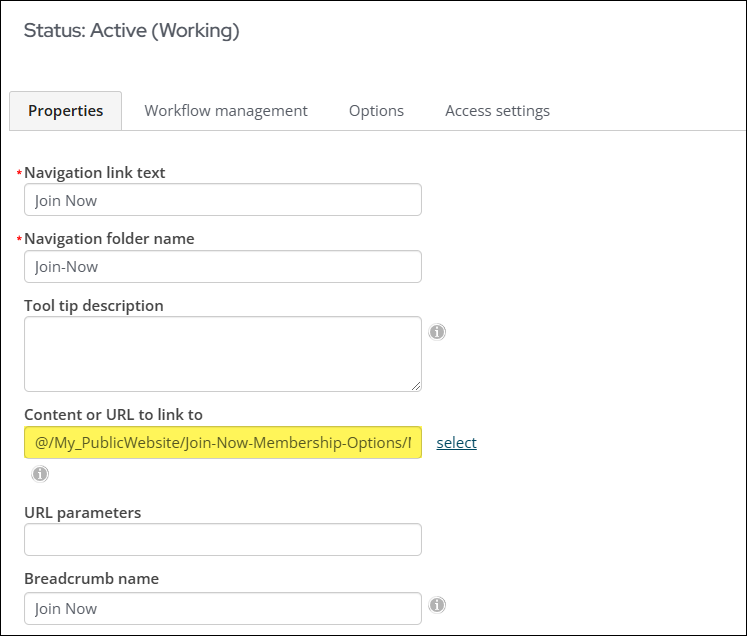
- Select or add a new navigation item.
- From the Content or URL to link to field, select the page created in Step 3.
- Click Save.
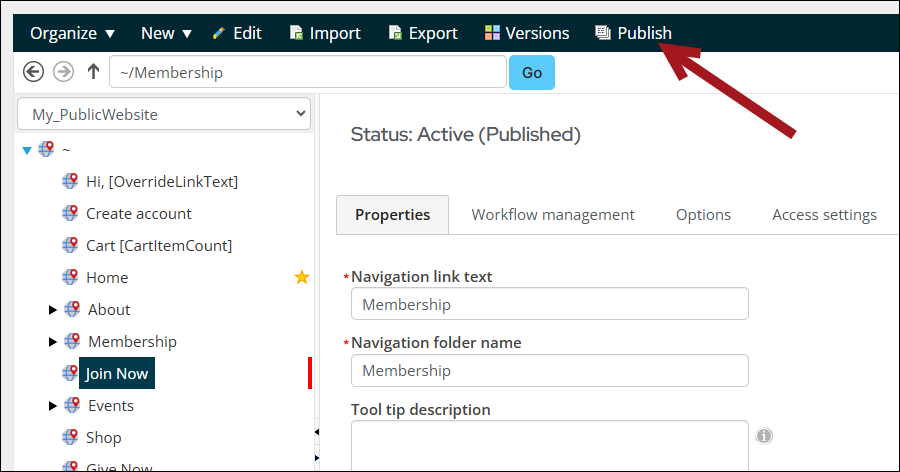
- Publish the navigation item.
- Navigate to the public website to confirm the new page appears correctly and that all buttons are working properly.