Last updated on: January 27, 2026
The Join Now feature in iMIS is how prospective members or non-members become members. Through the Join Now process, non-members select a membership type and complete payment to finalize their membership. After joining, they can renew based on their member type. See Allowing members to renew in advance.
Note: Until a member joins, they will not have the Paid through or Renewed through dates populated. These dates should not be manually populated. After the member has purchased their membership, the Paid through and Renewed through dates will be populated.
In This Article
- Offering Join Now from the public website
Member perspective: Join Now
Staff user perspective: Join Now
Offering Join Now from the public website
Offering Join Now from the public website enables members to self-serve and join the organization without assistance from staff users.
Understanding who can see the Join Now button
The following types of contacts can see the Join Now button:
- Non-members: After a new contact is created, the customer type is set to Non Member by default. A non-member is someone whose customer type has Is a member disabled.
- Inactive members: An inactive member is anyone who has a customer type with Is a member enabled and:
- Contact Status is set to Inactive or Deleted
- Paid through date is null or in the past
- Renewed through date is null or in the past
- Staff users: Staff users can perform membership joins on behalf of non-members and inactive members directly from the Staff site.
- Company administrators: Company administrators can perform membership joins on behalf of non-members and inactive members but only for contacts in their company.
(optional) Changing the default Join Now button options
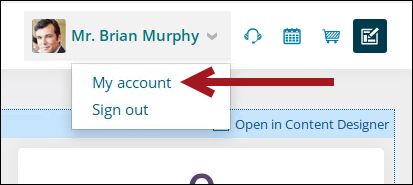
The Join Now button is available on the out-of-the-box staff account pages. Having the Join Now button available on the staff-facing account pages allows staff users to join the association on behalf of members.
Most users will make copies of the out-of-the-box account pages, so they can tailor the content to fit their organization’s needs. It is not required to change the out-of-the-box configuration for the Join Now button, but if you would like to, do the following:
Note: The following steps assume you are already working with a copy of the out-of-the-box account pages.
- Enable Easy Edit.
- Navigate to your account page.
- Locate the Renewal Button content item (which is actually the Invoice Payment Link), then click Configure.
- Review and update the Join Now settings. The following are available:
- Enable join button for non-members and inactive members – When enabled, the Join Now button functionality is available on the page.
- Display to staff users only - When enabled, the join button will display on non-member and inactive member profile pages, but the button will only be visible to staff users.
- Button text - Enter the text that appears on the button. By default, the text is Join Now.
- Message - Enter text to be displayed above the button. For example, you could enter a message that explains to users what to expect when they click the button.
- Click Save & Publish.
Tip: The Join Now and Renew Now button share the same content item. After the member joins the organization, the button turns into the Renew Now button.
Member perspective: Join Now
The following is one example of how a non-member can become a member from a public website:
- The non-member navigates to the public website, then clicks the Join Now navigation item.The member navigates to the public website and clicks Membership > Benefits > Individual.
-
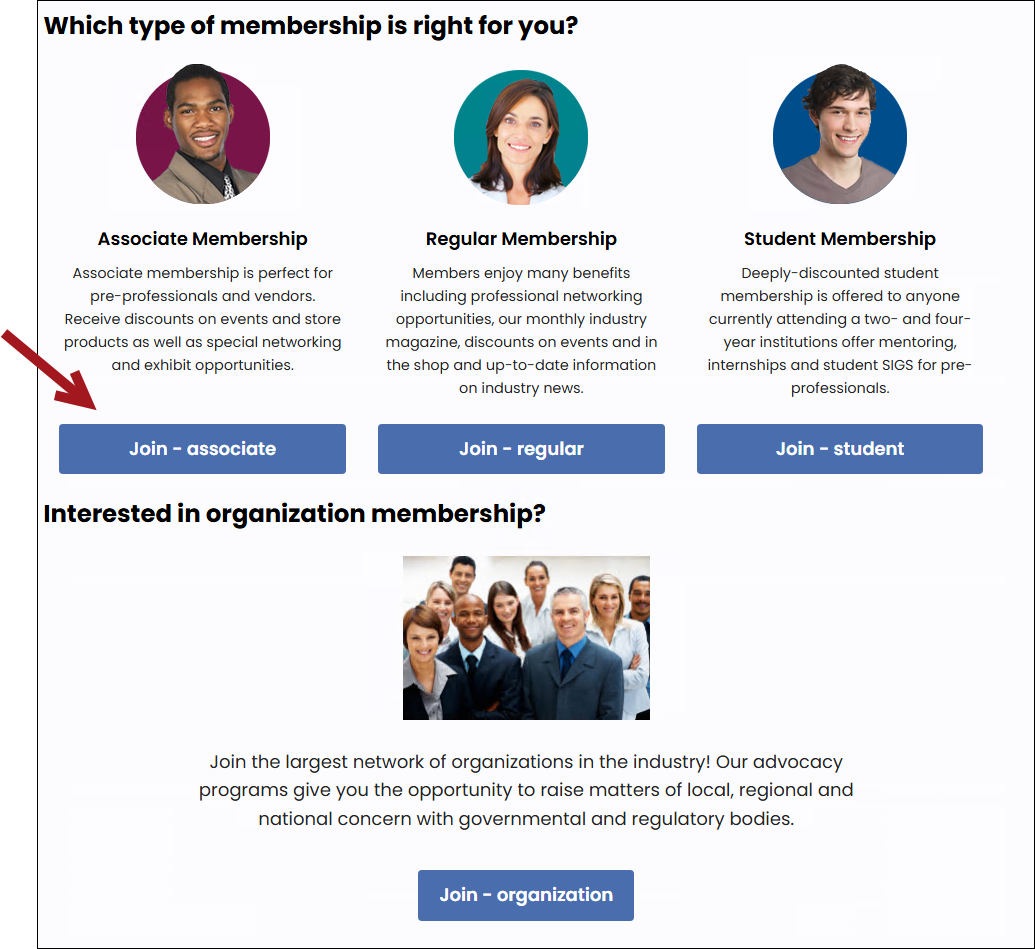
Then they click Compare Memberships or scroll down to the Our memberships section.
- The member clicks Join - associate.
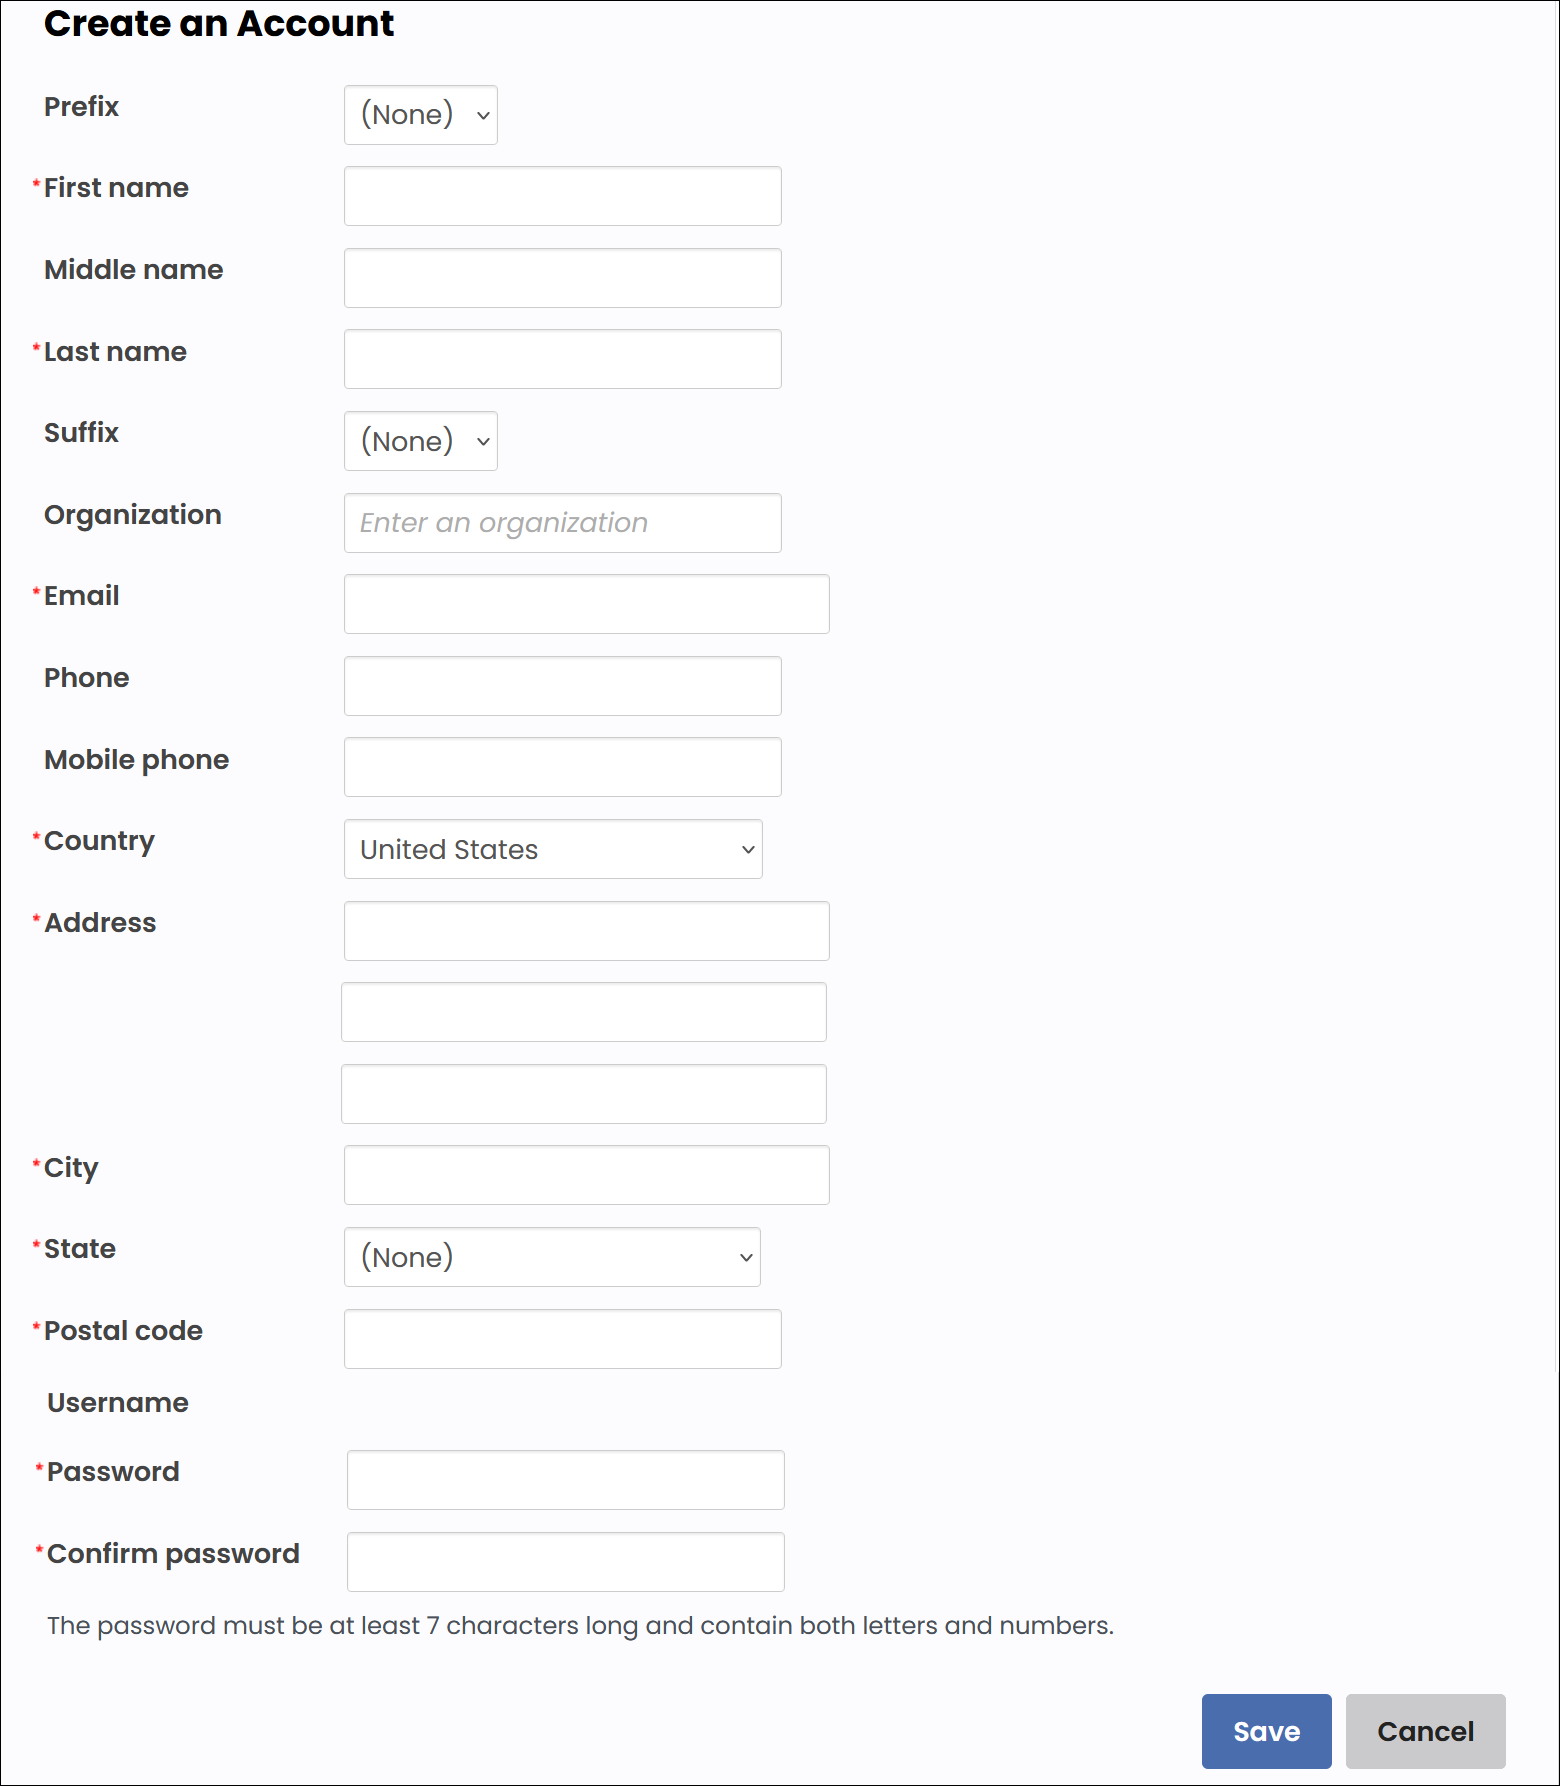
- The member is not logged in and does not have an account, so they are redirected to the Sign Up page and begin filling out the information.
- The member clicks Save and is directed to the Member Information demographics page.
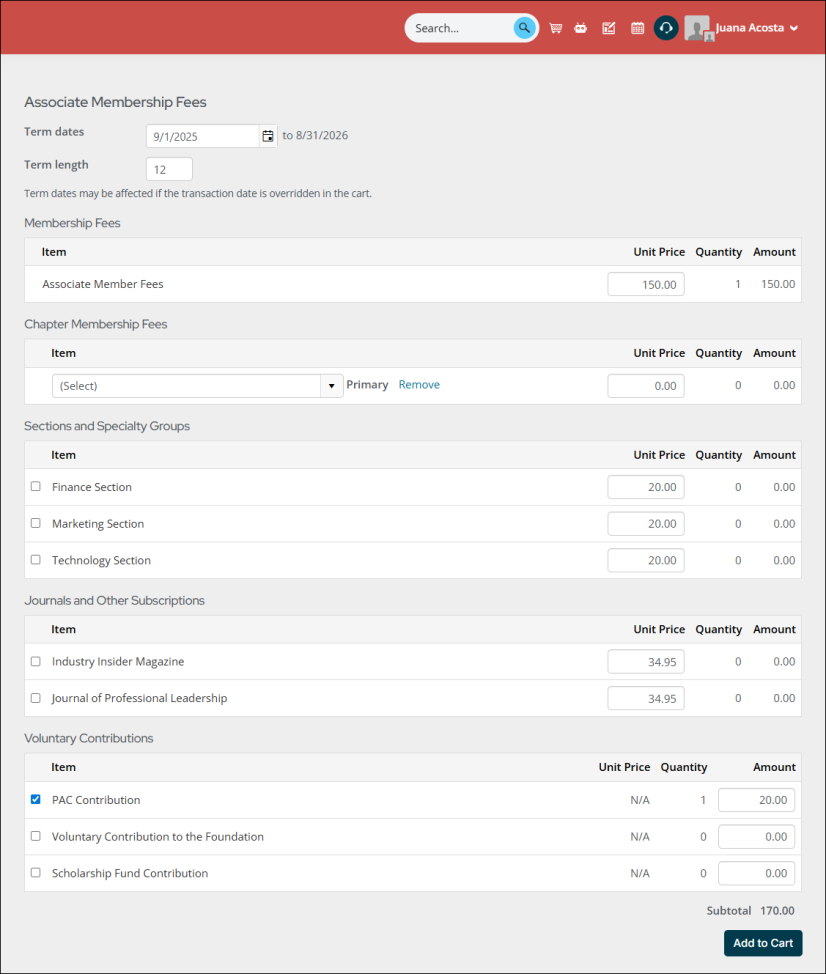
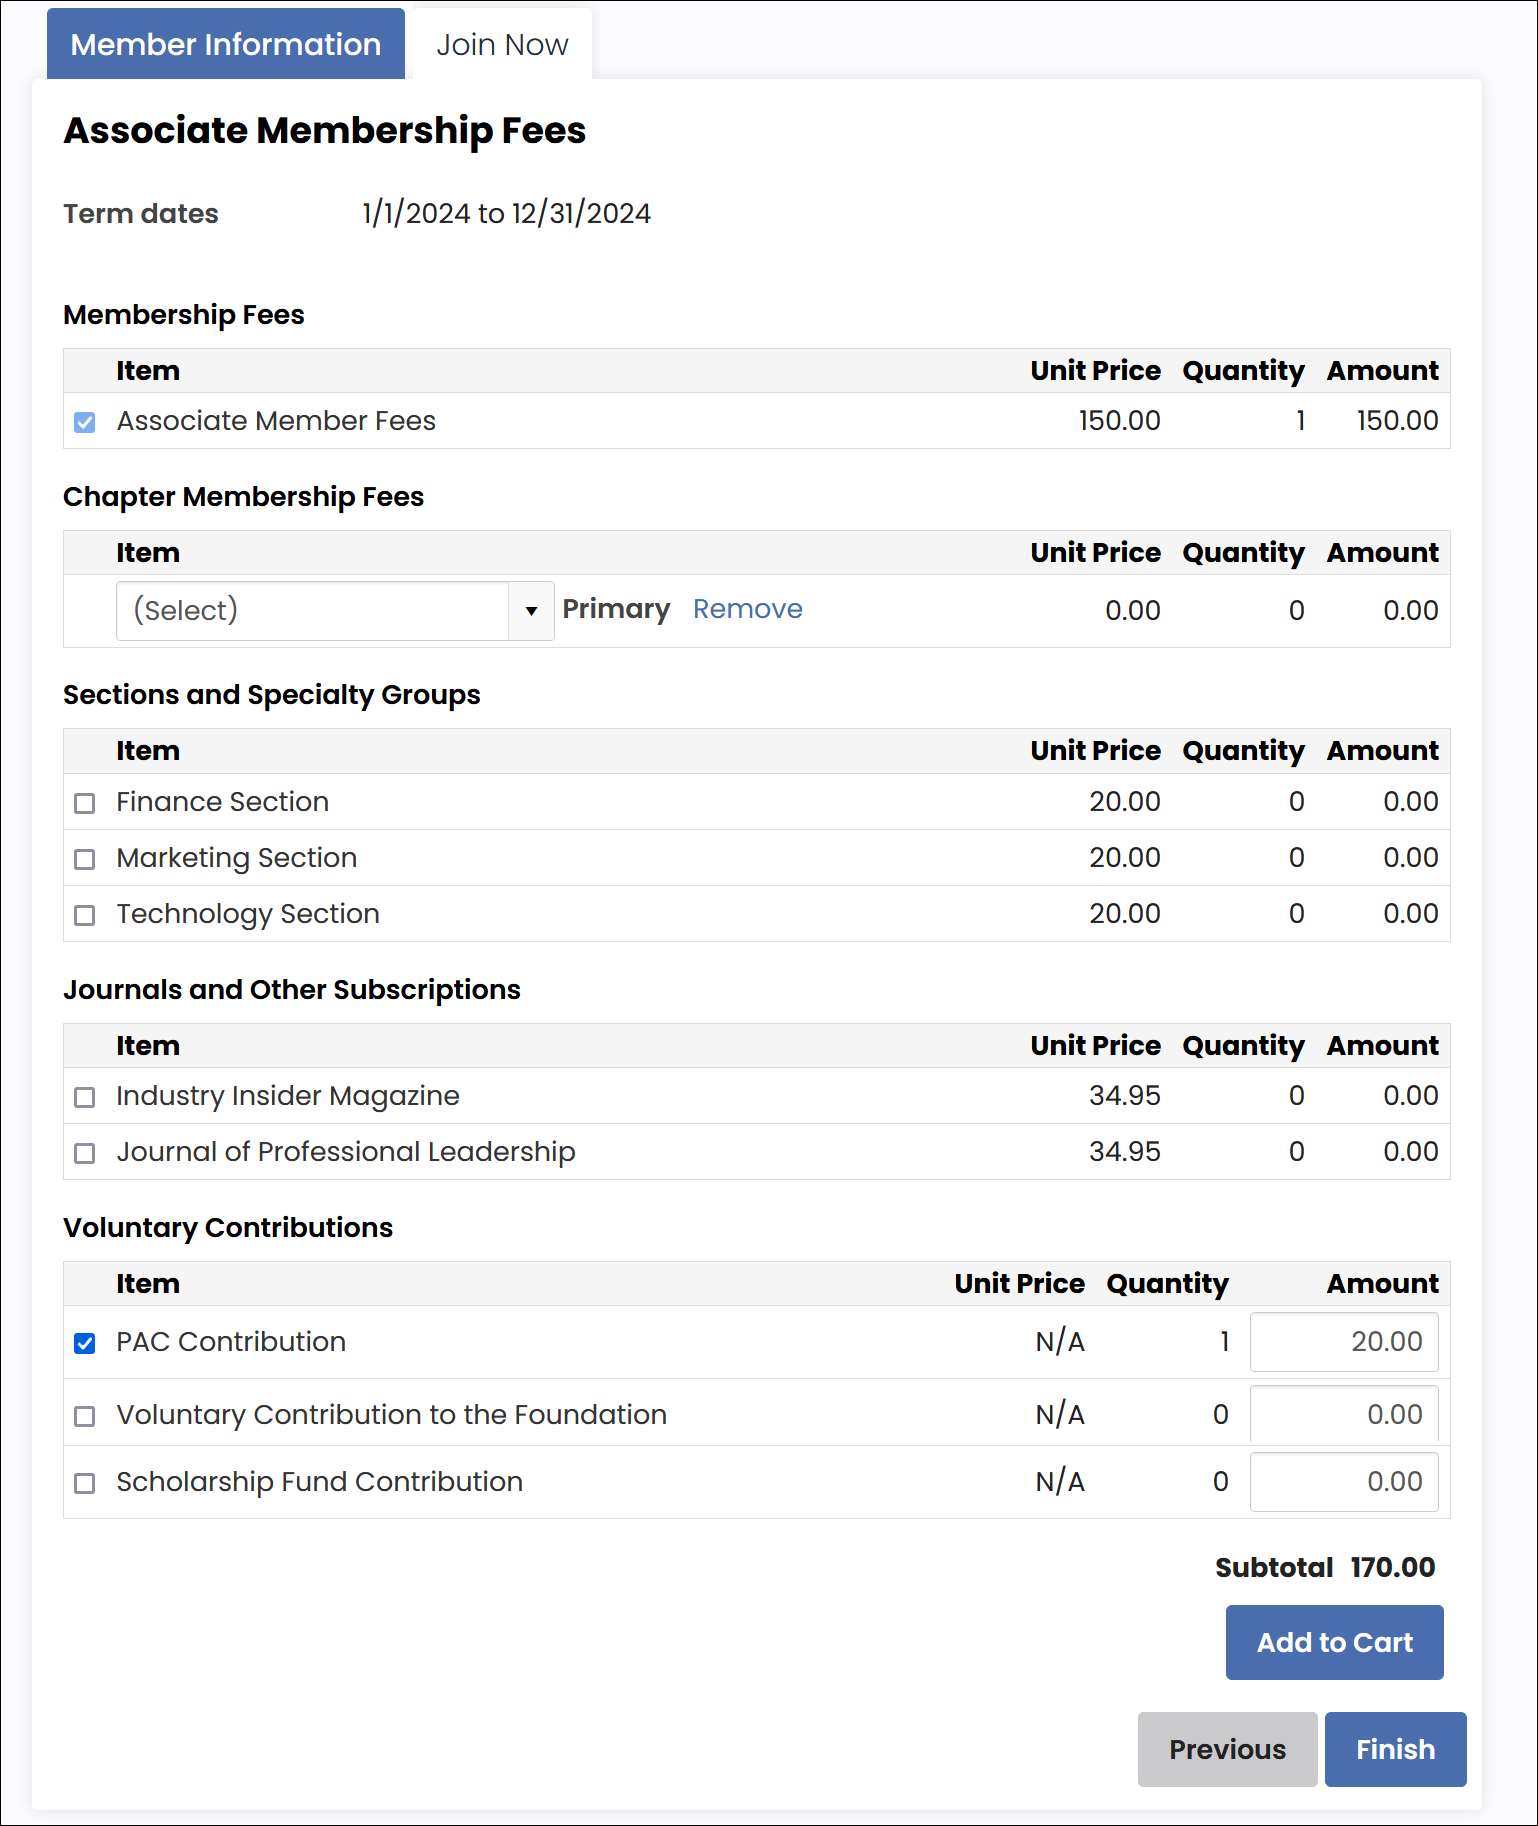
- After clicking Next, the Associate Member billing cycle is presented to the member. They tailor their membership to their liking, then they click Add to Cart.
- The member reviews the membership one last time, then clicks View Cart.
- From the cart, the member enters their payment details and clicks Submit Order. The member is now officially an Associate Member of the organization.

Staff user perspective: Join Now
The following is an example of how a staff user can join the organization on behalf of a member:
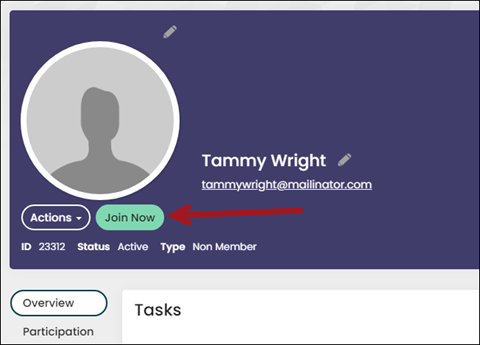
- The staff user navigates to the contact’s account page.
- The staff user clicks Join Now.
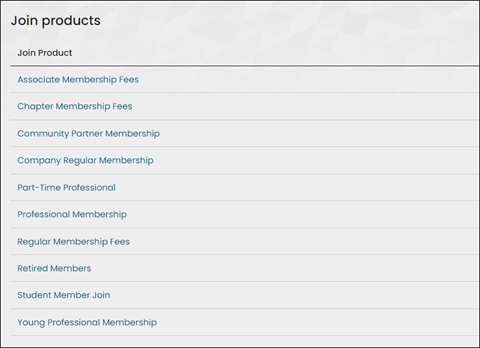
- The staff user chooses the billing cycle.
- The staff user updates the membership options, then clicks Add to Cart.
- The staff user reviews the selections one more time, then selects Proceed to Checkout.
- From the cart, the staff user can pay the membership using a payment method provided by the member, or they can select Pay Later. Selecting Pay Later adds an open invoice to the member’s account that can be paid later by the member or staff user.
- The staff user clicks Submit Order. The order is confirmed and the contact is officially a member of the association.
Note: If the contact does not have an account page, the staff user must first create one (Community > Add contact).
