Last updated on: January 27, 2026
In this article, you will learn how to update the homepage images for the Flat White, GlacierBay, and GreatBarrierReef themes.
In This Article
Flat White and Mocha themes
The following information uses the Flat White theme as an example, but the process and steps are the same for the Mocha theme.
This section assumes you have already made a copy of the Member Responsive site and are ready to begin customizing the copied website, starting with the homepage.
In this section, you will learn how to replace the following three images:

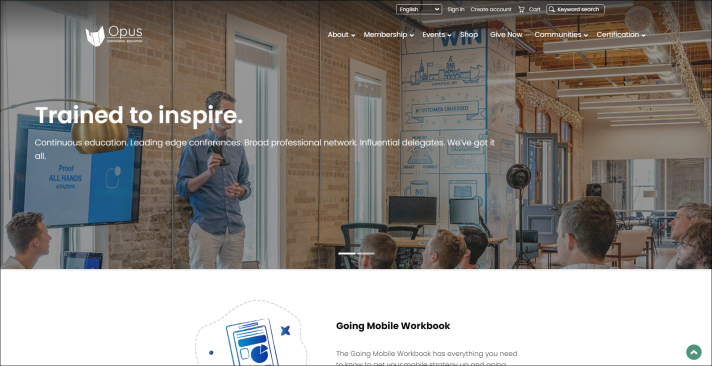
Top banner image and caption
Do the following to edit the Mocha theme's banner images and captions:
- As stated in the introduction, make sure you are already working with a copy of the Member Responsive site. See Creating a site for details.
- Go to RiSE > Page Builder > Manage content.
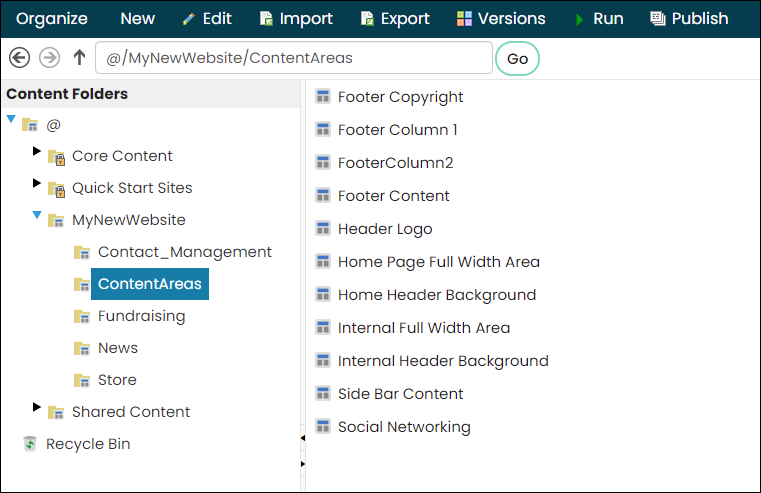
- When you created a copy of the Member Responsive site, the related out-of-the-box website content was also automatically copied. Locate the folder that matches the name of your website.
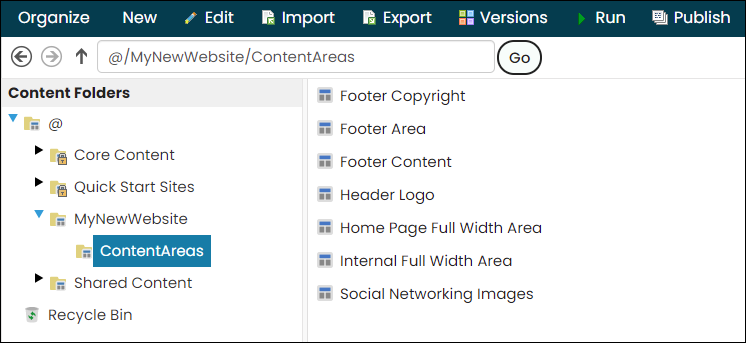
- Navigate to the following folder path: @/YourWebsiteName/ContentAreas
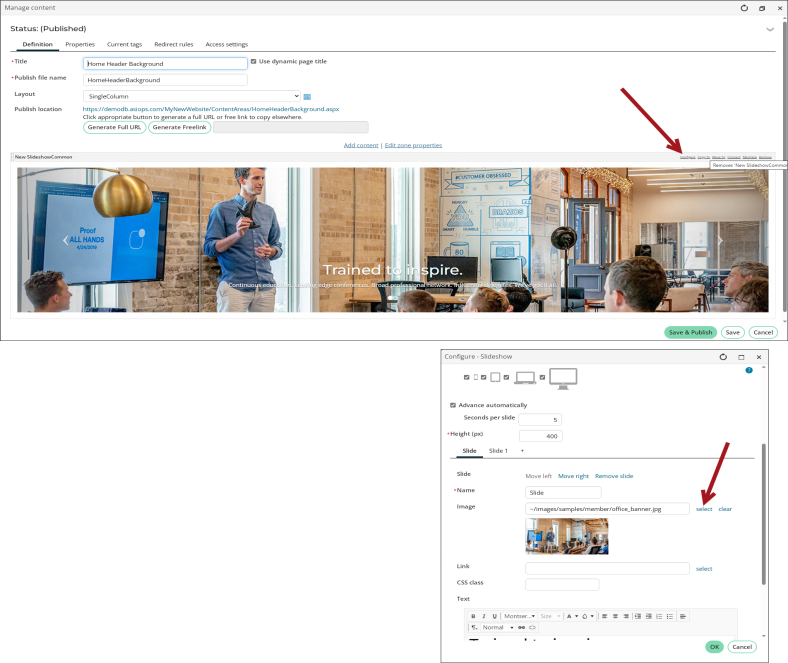
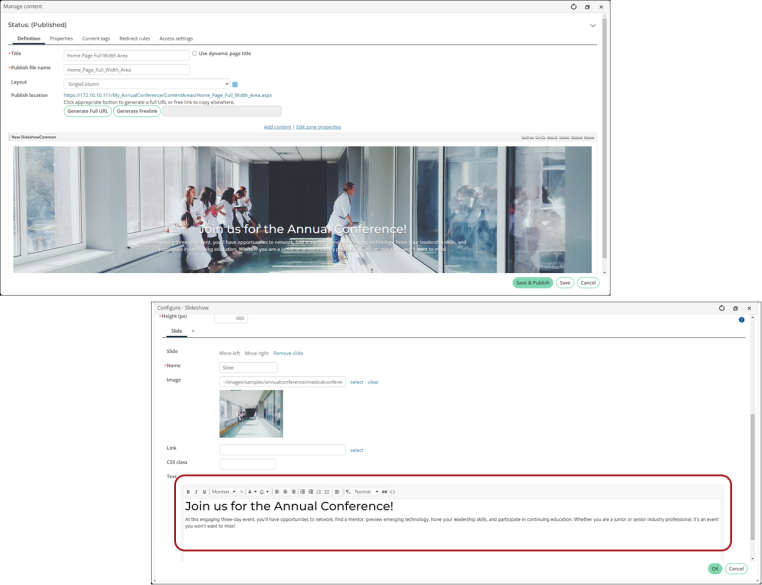
- Open the following pages to edit the homepage banner:
- Home Header Background - Edit the image that displays in the homepage banner when the user is not logged in.
- Home Page Full Width Area - Edit the caption that lays on top of the homepage banner image when the user is not logged in.
- Internal Header Background - Edit the image that displays in the homepage banner when the user is logged in.
- Internal Full Width Area - Edit the caption that lays on top of the homepage banner image when the user is logged in. The Mocha theme does not have a caption in this area.
Tip: Banner images should have a max size between 20 - 50 KB and have suggested dimensions between 1000 - 1400 (w) x 655 (h) px.
Note: The Flat White theme does not use the Internal Header Background and Internal Full Width Area content records. Only adjust the Home Header Background and Home Page Full Width Area content records if you are using the Flat White theme.
- Save & Publish the changes.
Middle banner image
The middle banner image is stored in the CSS. Do the following to edit the middle banner image:
- Go to RiSE > Site Builder > Manage websites.
- Select your website, then click the Look and feel tab.
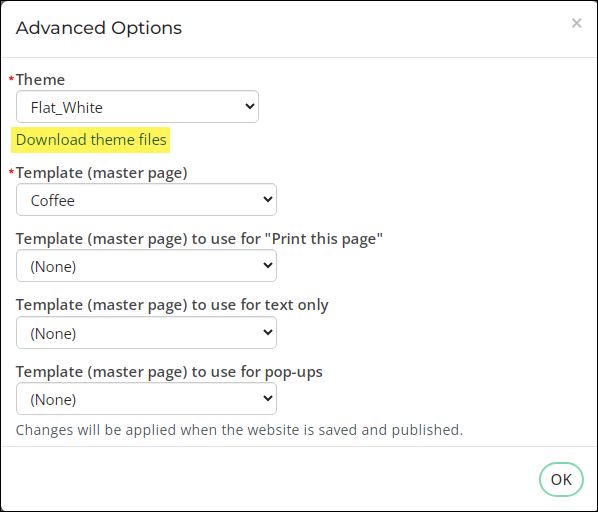
- Click Advanced Options.
- Locate the Theme drop-down, then select Download theme files.
- The theme downloads to your computer as a zip file. Extract the zip folder's contents.
- Add the desired image to the images folder.
- Open thetheme CSS file (99-Mocha.css or 99-Flat_White.css).
- Locate the following element and replace
backgroundwith the image you just added to the image folder: - Save the changes.
- See Making a custom theme available in iMIS to learn how to apply the new theme files to your website.

For the Mocha theme, edit the following element:
.FullWidthArea-StyleBg4:before {
				background: url("images/testimonialBackground.jpg") center center no-repeat;
				background-size: cover;
				content: '';
				position: absolute;
				height: 100%;
				width: 100%;
			}
For the Flat White theme, edit the following element:
.FullWidthArea-StyleBg3 {
				position: relative;
				overflow: hidden;
				background: url("images/testimonialBackground.jpg") center center no-repeat;
				background-size: cover;
			}
GlacierBay and GreatBarrierReef themes
The following information uses the GlacierBay as the example, but the process and steps are the same for the GreatBarrierReef theme.
This section assumes you have already made a copy of one of the out-of-the-box sites that is using the GlacierBay theme, such as the Annual Conference site. In this section, you will learn how to replace the following images on the homepage:
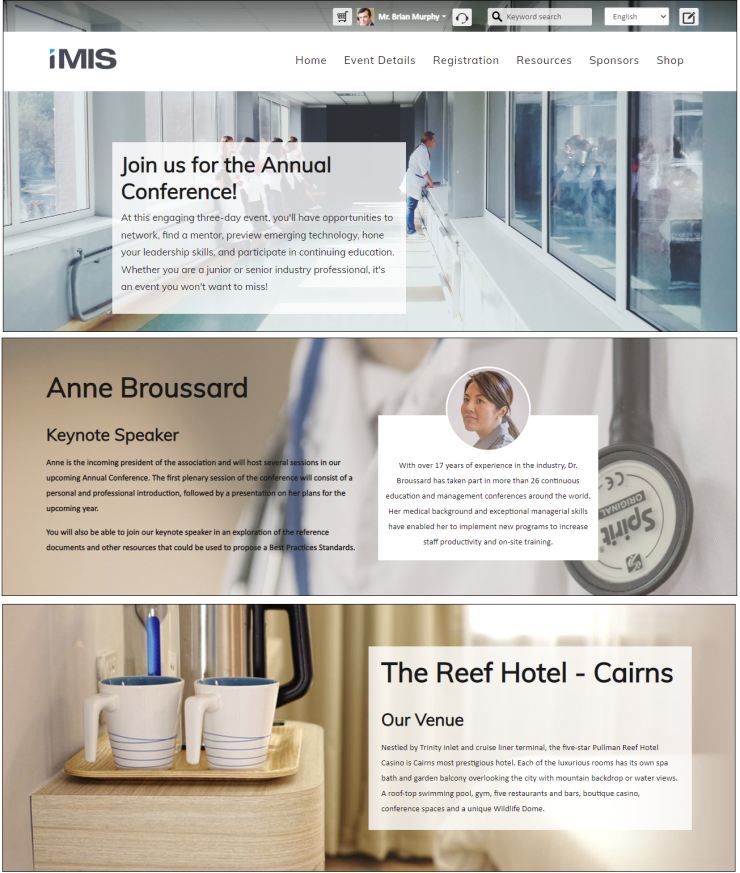
Banner image and caption
Do the following to edit the GlacierBay theme's banner images and captions:
- As stated in the introduction, make sure you are already working with a copy of one of the out-of-the-box sites that uses the GlacierBay theme, such as the Annual Conference. See Creating a site for details.
- Go to RiSE > Page Builder > Manage content.
- Locate the folder that matches the name of your website.
- Navigate to the following folder path: @/YourWebsiteName/ContentAreas
- Open the Home Page Full Width Area pages to edit the homepage banner, which includes the image and text.
Tip: Banner images should have a max size between 20 - 50 KB and have suggested dimensions between 1000 - 1400 (w) x 585 (h) px.
- Save & Publish the changes.
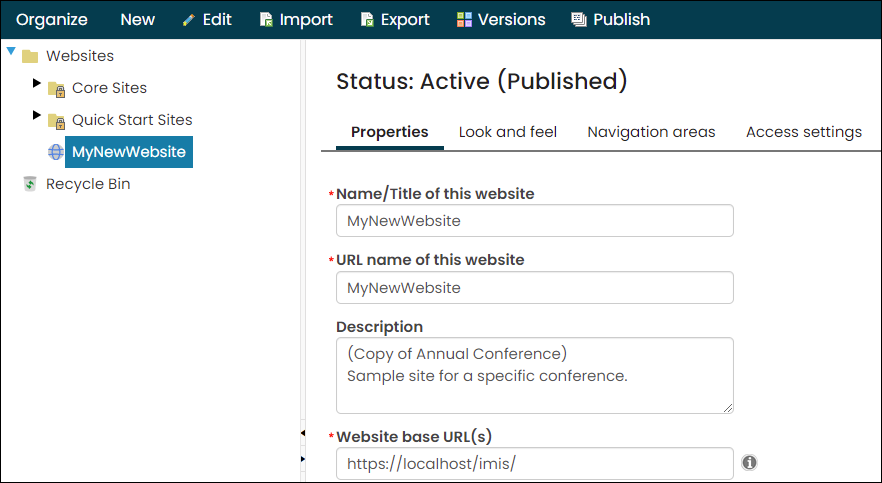
Icons and quote photo
Do the following to edit the homepage icons and photo that appears with a quote:
- Go to RiSE > Page Builder > Manage content.
- Open the content folder for the website.
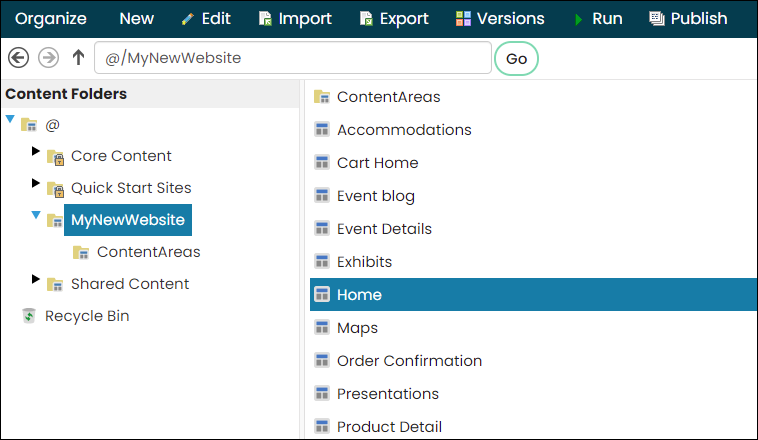
- Double-click the Home content record.
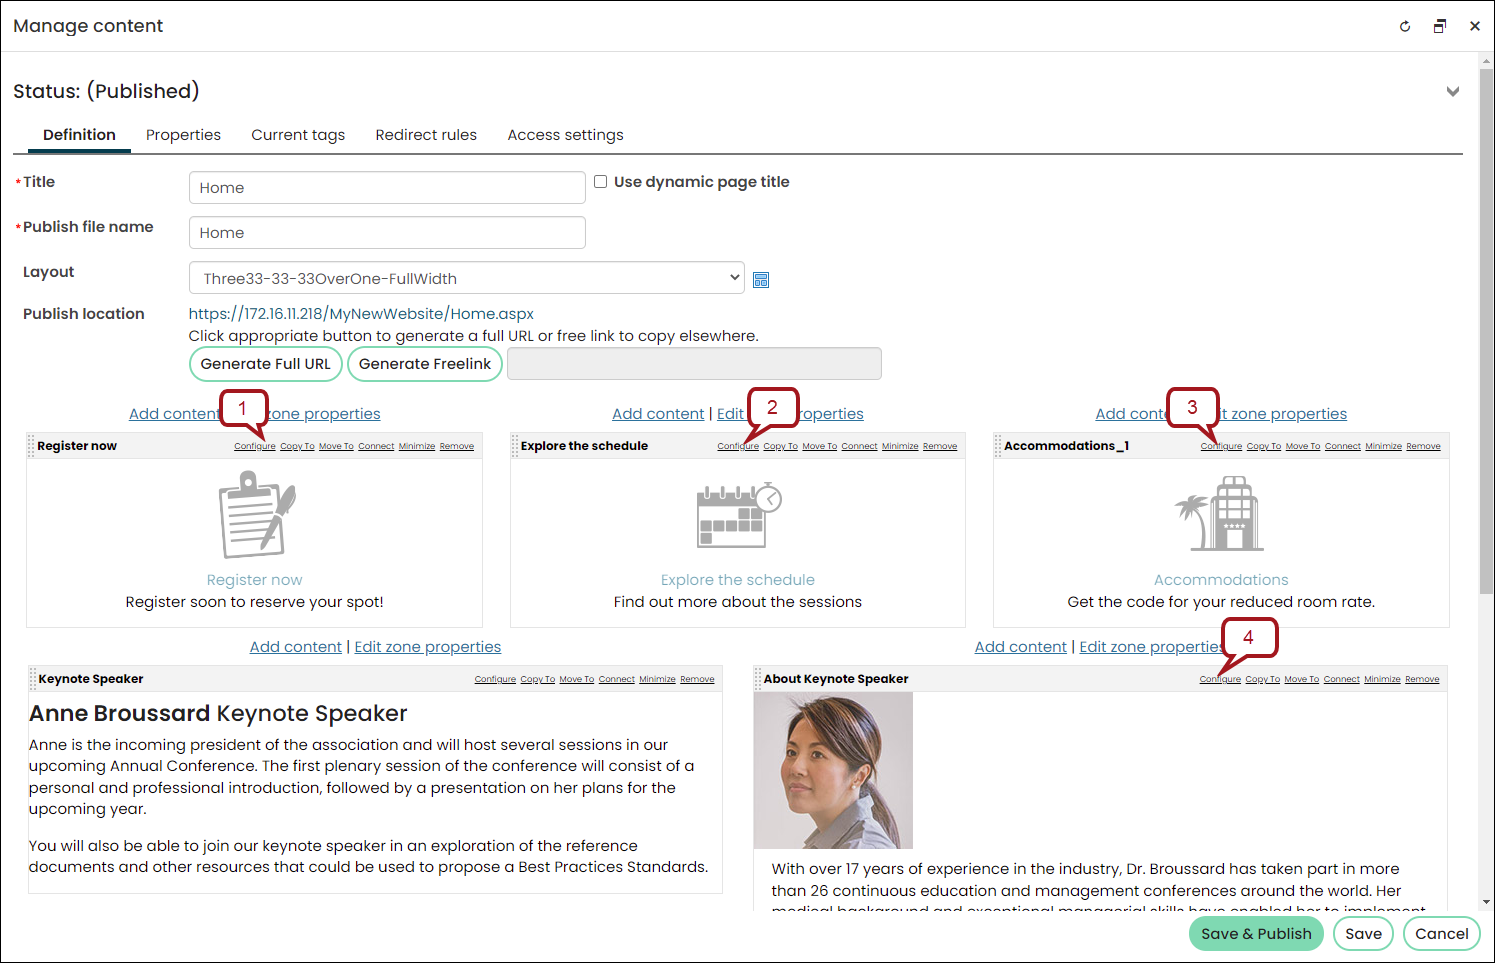
- Configure the various content items for the images you wish to update.
- Click Save & Publish.
Middle and last banner images and text
The middle and last banner images are stored in the CSS, while the text on top of the images are stored on the Home page in iMIS.
Tip: If you do not feel comfortable editing the CSS, see the next section, Editing the middle and last banner images through the layout.
Editing the images for the middle and last banner images
Do the following to edit the middle and last banner images:
- Go to RiSE > Site Builder > Manage websites.
- Select your website, then click the Look and feel tab.
- Click Advanced Options.
- Locate the Theme drop-down, then select Download theme files.
- The theme downloads to your computer as a zip file. Extract the zip folder's contents.
- Add the desired images to the images folder.
- Open the 99-GlacierBay_Responsive.css file.
- Locate the middle banner image:
- Locate the last banner image:
- Save the changes.
- See Making a custom theme available in iMIS to learn how to apply the new theme files to your website.
Find the following element and replace the image in the background property with the image you just added to the image folder:
.Wrapper-HomePage .FullWidthArea-StyleBg2 {
				background: #cab9ac url(images/FullWidthArea_Bg2.jpg) center top no-repeat;
				font-weight: bold;
				background-size: 100% auto;
}
Find the following element and replace the image in the background property with the image you just added to the image folder:
.Wrapper-HomePage .FullWidthArea-StyleBg4 {
				background: #cab9ac url(images/FullWidthArea_Bg4.jpg) center top no-repeat;
                               padding: 2em 1%;
                               min-height: auto;
				background-size: 100% auto;
                               background-position: 0 -220px;
}
Editing the text for the middle and last banner images
Do the following to edit the text that appears on top of the middle and last banner images:
- Go to RiSE > Page Builder > Manage content.
- Open the content folder for the website.
- Double-click the Home content record.
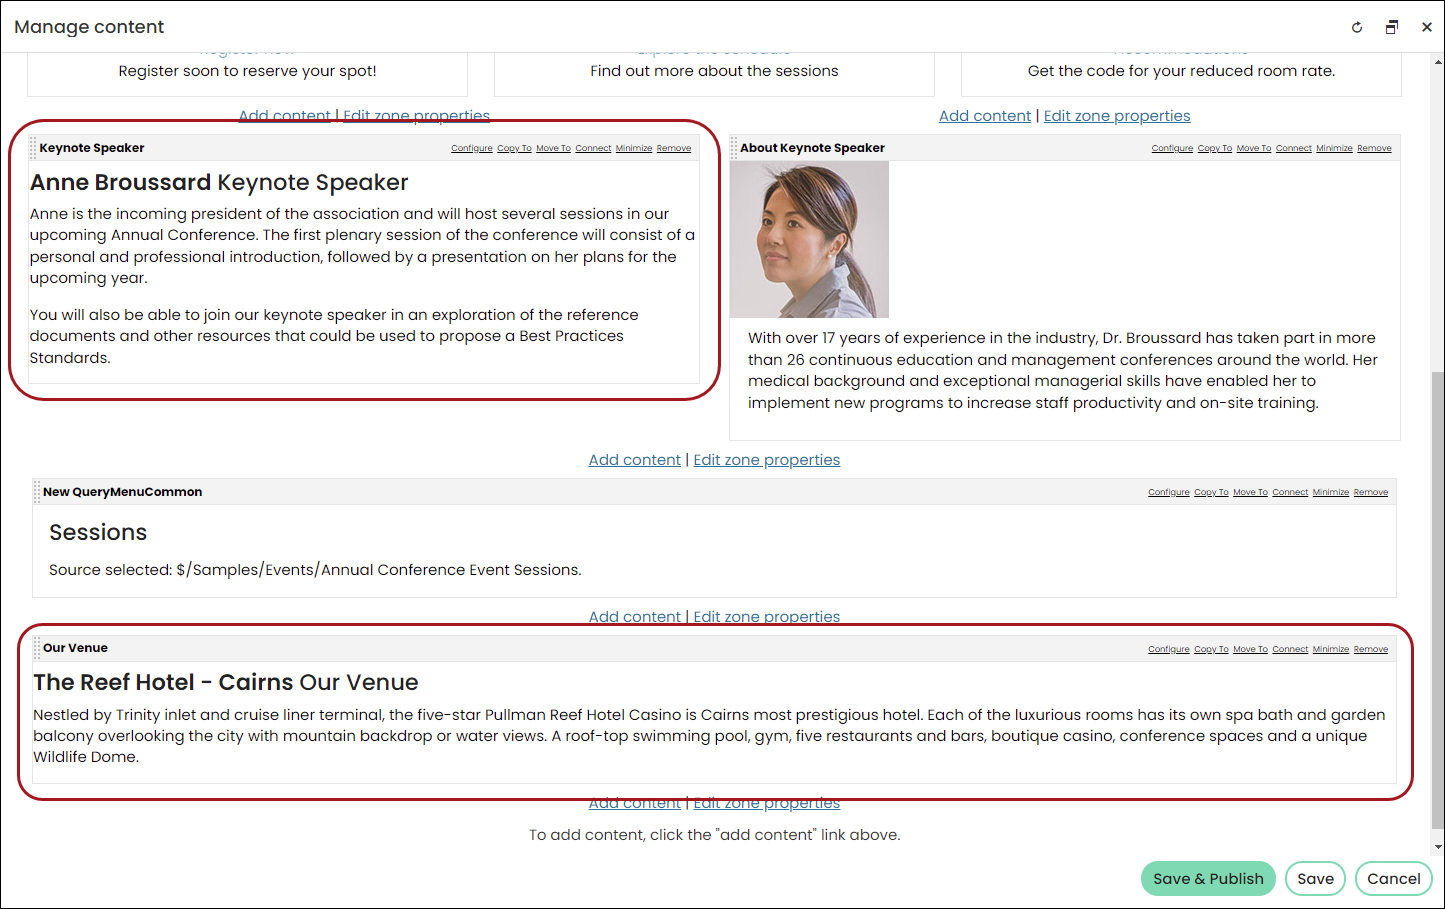
- Configure the various content items for the text you wish to update.
- Click Save & Publish.

Editing the middle and last banner images through the layout
As an alternative to editing the CSS file, you can edit the layout to change the middle and last banner images.
For example, in the Donor sample site there is content on the home page with animal pictures in the background. You could change the picture by applying a background-image style to the div:
<a href="[website]Get_Involved_/Volunteer/iSamples/Donor/Get_Involved_/Volunteer.aspx"
class="feature-link-with-image feature-link-1"
style="background-image:url('http://www.example.com/images/my-background-image.jpg')">
Do the following to edit the layout and add new images to your homepage:
- Navigate to RiSE > Page Builder > Manage layouts.
- Make a copy of the Three33-33-33OverOne-FullWidth layout and open your copy.
- Rename the copy so it is easy to identify.
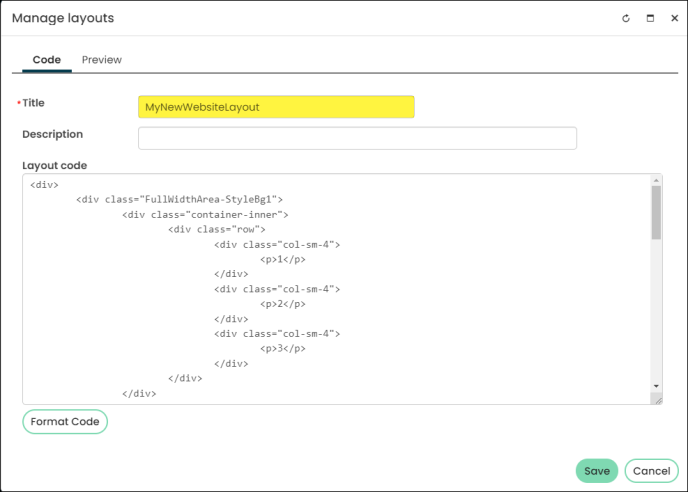
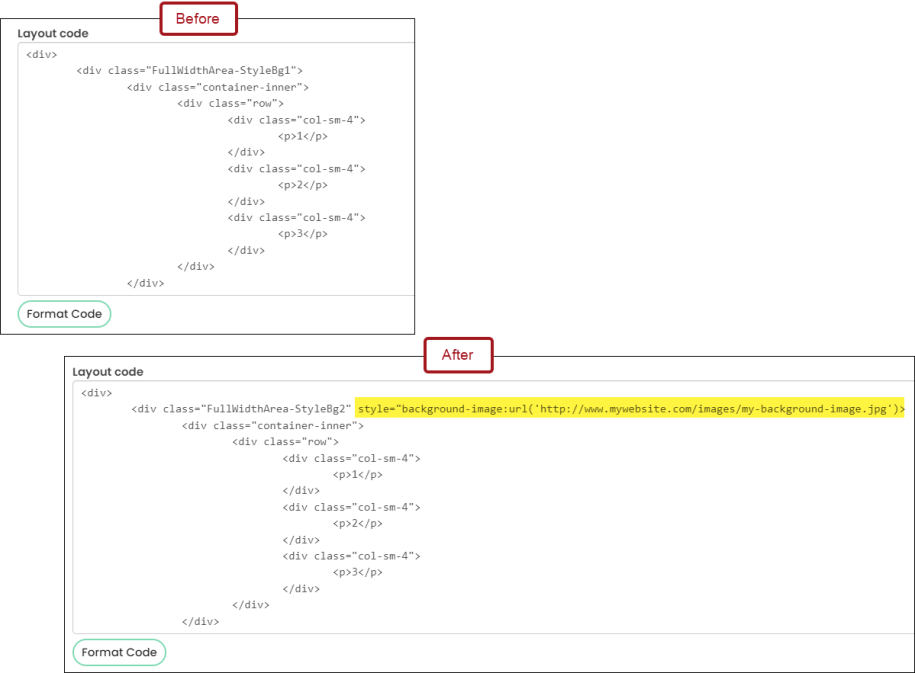
- (Code tab) In the Layout code area, change the background image using inline styling on the FullWidthArea
divyou want to change. For this example, you need to change FullWidthArea-StyleBg2 and FullWidthArea-StyleBg4. - Click Save.
- Update the homepage of your site to use your modified copy of the Three33-33-33OverOne-FullWidth layout.
For example:
<div class="FullWidthArea-StyleBg2"
style="background-image:url('http://www.example.com/images/my-background-image.jpg')">
Note: Make sure there are no spaces in your image path. This can prevent the image from being displayed.
