Last updated on: April 23, 2026
An event may have a few speakers or many. You may want to define the speaker details for each registration option and program item, to ensure event attendees know who is presenting at your event.
In This Article
- Adding speaker details to an event
Editing speaker details
Reviewing speaker details
Exporting speaker information
Adding speaker details to a public website
Adding speaker details to an event
Before defining speaker details, ensure the event already has the necessary registration options and program items defined. See Defining event pricing and registration options.
Do the following to add speaker details to an event:
- Go to Events > Find events.
- Search for an open the event.
- Do one of the following:
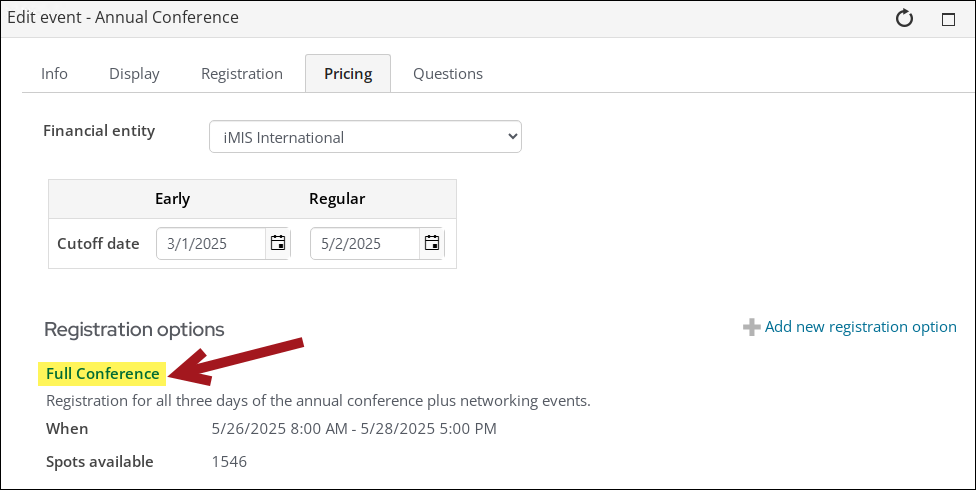
- To add speaker details to a registration option:
- Click the edit icon for the event.
- Click the Pricing tab.
- Select the registration option.
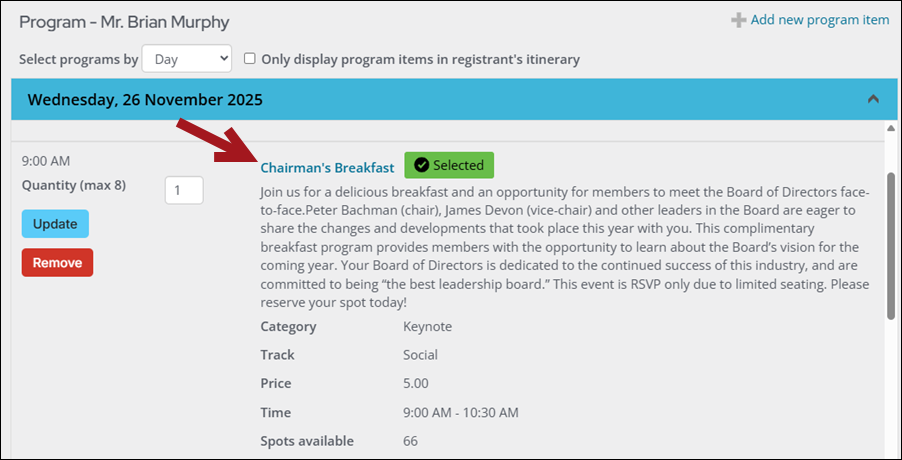
- To add speaker details to a program item:
- Scroll down to the Program section.
- Select the program item.
- Click the edit icon.
- To add speaker details to a registration option:
- Click the Plan tab.
- From the Speakers section, select Add speaker:
- Choose the Speaker Type.
- Select the Speaker.
- Enter the Speaker Bio.
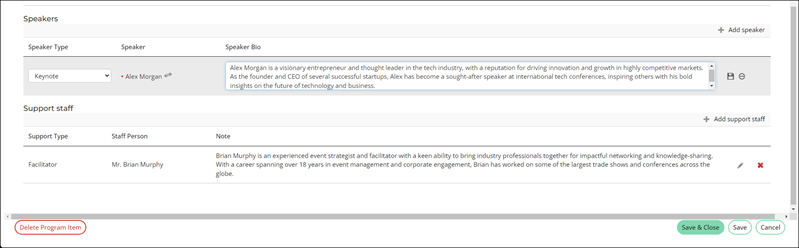
- Click the save icon.
- Click Save & Close.
- Repeat this process for all necessary registration options and program items.
Editing speaker details
To edit speaker details for registration options and program items, follow the same steps outlined in Adding speaker details to an event. Alternatively, you have the option to edit program items directly from the event-specific dashboard. The Program items query on the Speakers tab includes links to the program items, where staff users can edit the planned speakers.
To edit the speaker information for a program item from the event-specific dashboard, do the following:
- Go to Events > Find events.
- Search for and open the event.
- Click the Dashboard tab.
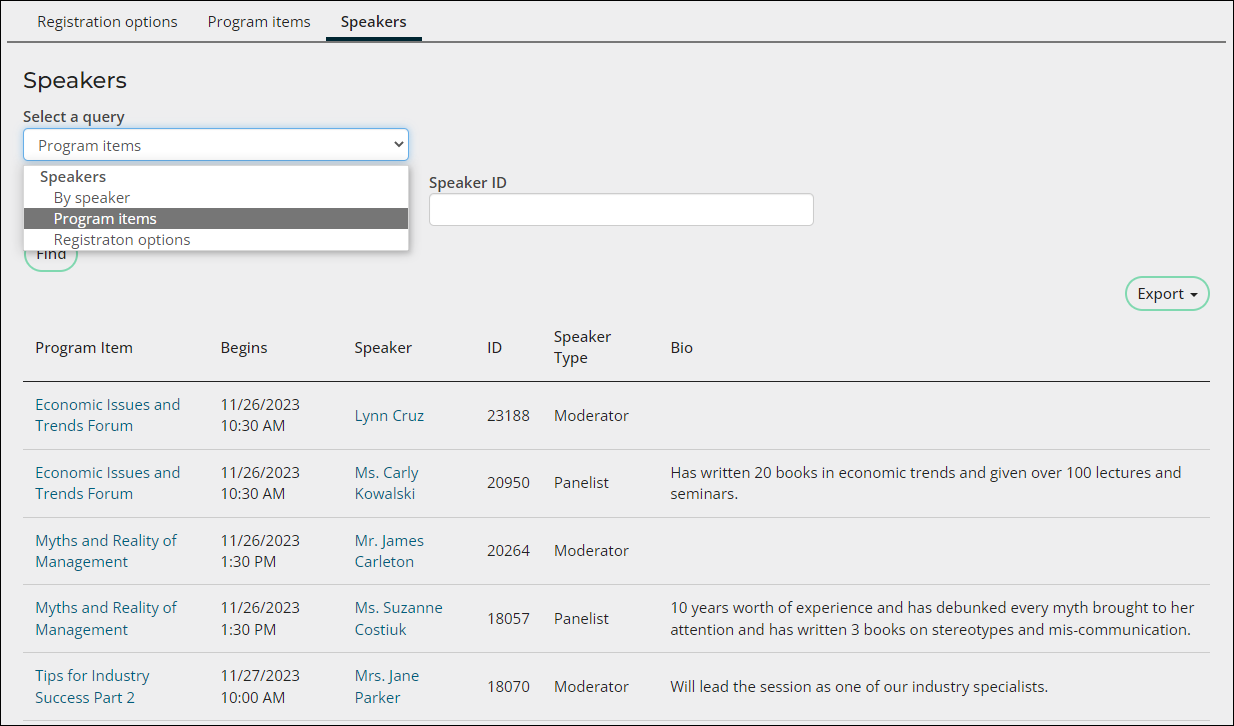
- Scroll down, then click the Speakers tab.
- From the Select a query drop-down, select Program items.
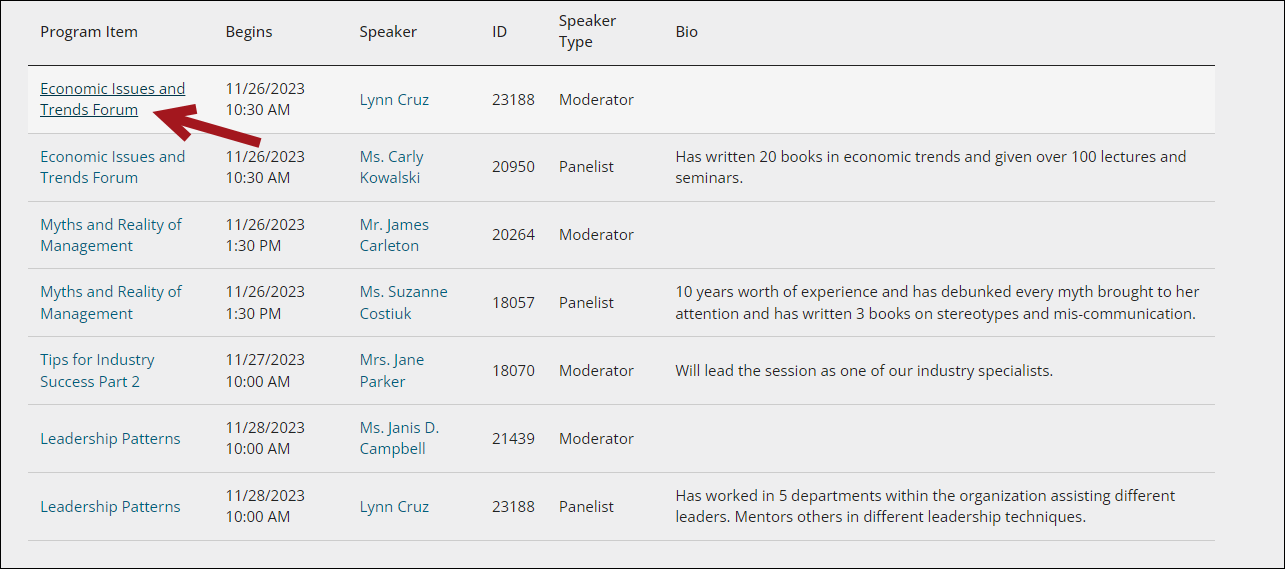
- Select the Program Item.
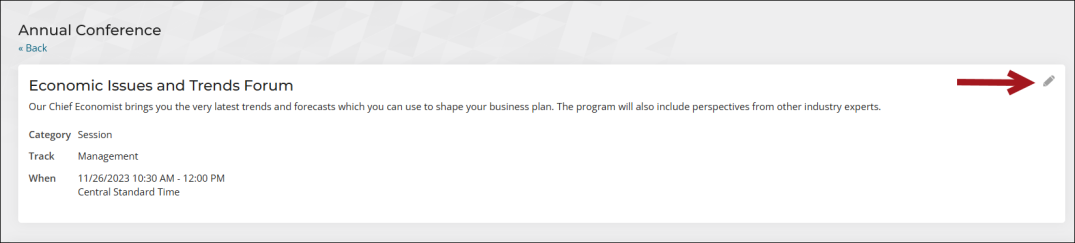
- From the program item, click the edit icon.
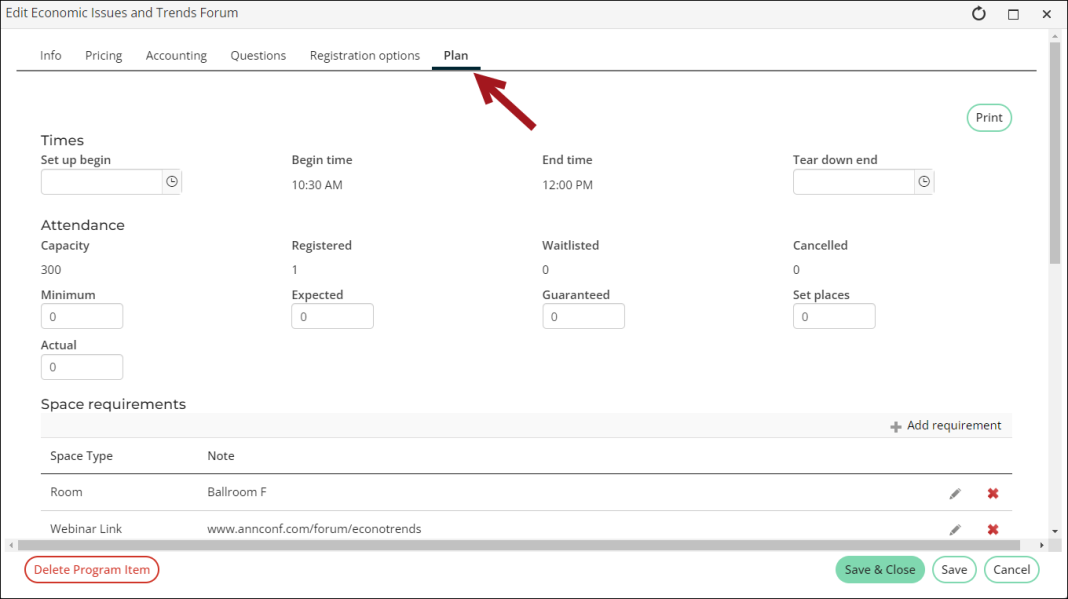
- Select the Plan tab.
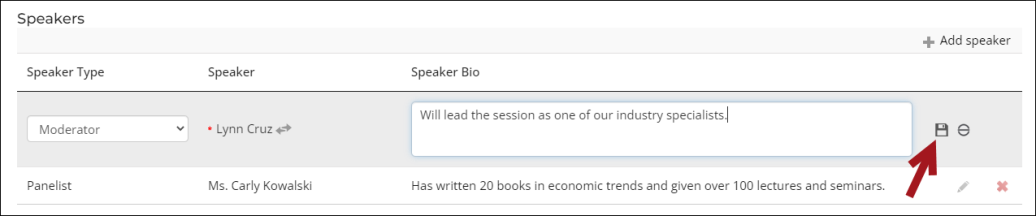
- In the Speakers area, edit the speaker plan by doing the following:
- Click Add speaker to add a speaker.
- Click the delete icon to remove the speaker.
- Click the edit icon to edit the speaker’s information.


- The following speaker information is available for edit:
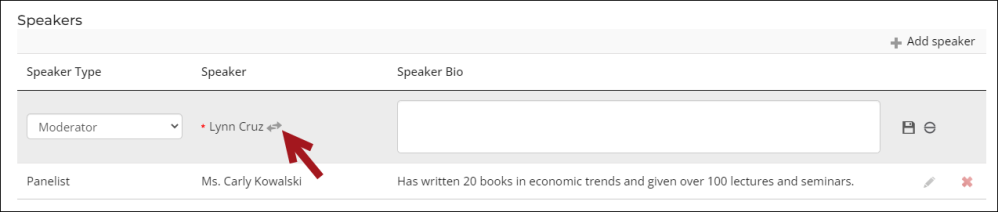
- Speaker Type – From the drop-down, select a different speaker type.
- Speaker – Click the Change icon to select a different speaker.
- Speaker Bio – Enter or edit the associated notes about the speaker.
Note: The Speaker Bio fields accept HTML. If inserting a link, be sure to add the target="_blank" attribute. For example: <a href="https://www.example.com/" target="_blank">Linked text</a>
- Click the save icon to save your edits.
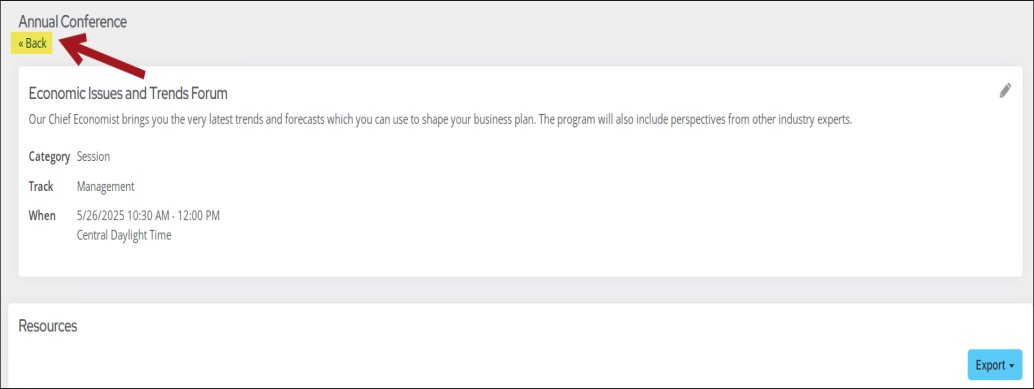
- Click Save & close.
- Click Back to return to the event dashboard
For more information, see Defining resources for functions.
Reviewing speaker details
From the event-specific dashboard, you can easily review and export event speaker details
To review speaker details for a specific event, do the following:
- Go to Events > Find events.
- Search for and open the event.
- Click the Dashboard tab.
- Scroll down, then click the Speakers tab.
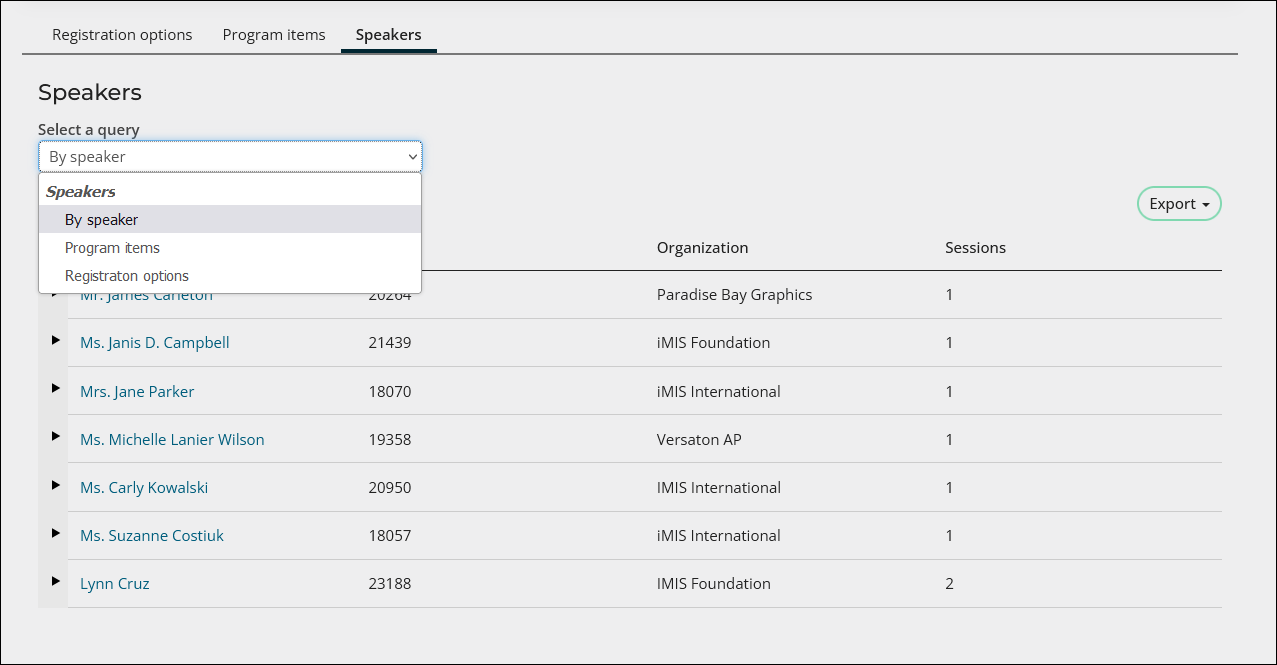
The Speakers tab of the event-specific dashboard contains the following queries:
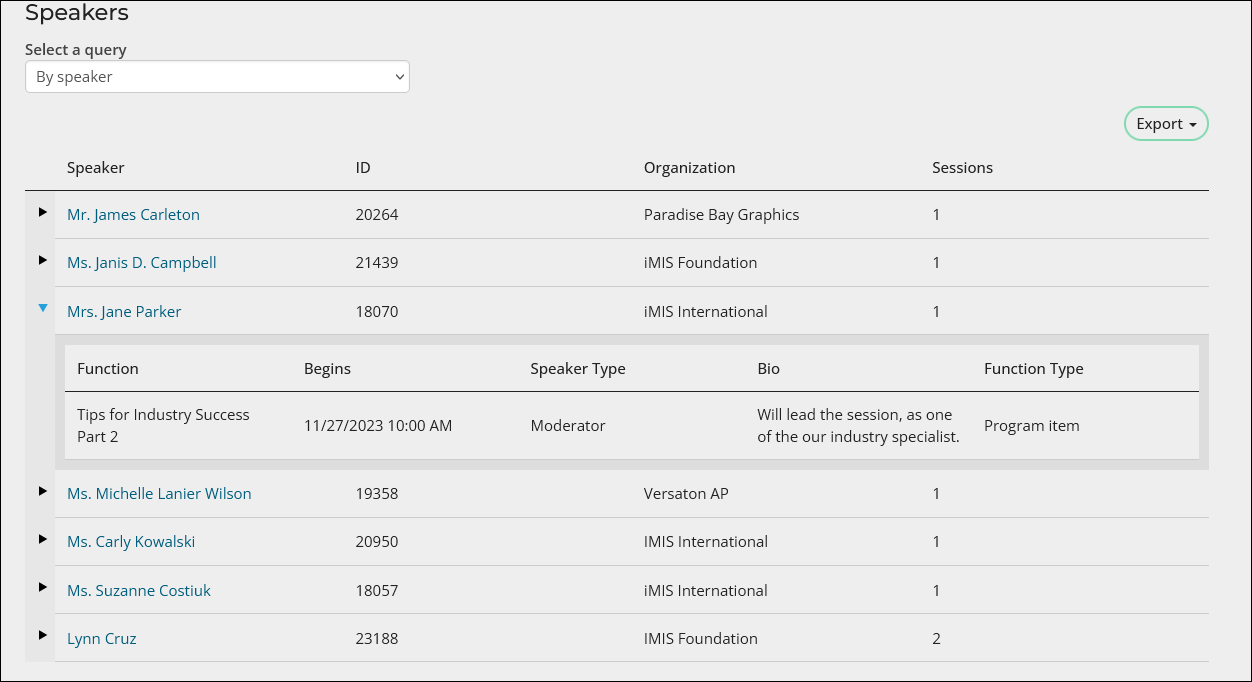
By speaker
The By speaker query lists each speaker for the event, their ID, Organization, and the number of Sessions they will present. Expand the row for a speaker to view the following information:
- Function – The registration option or program item for which the speaker will present.
- Begins – The date and time the speaker will present.
- Speaker Type – The type of speaker, such as keynote speaker, moderator, presenter, or panelist. To define additional speaker types, see Defining event resource types.
- Bio – Notes about the speaker.
- Function Type – The type of function for which the speaker will present, such as a program item or registration option.
Program items
The Program items query lists the speakers for each program item. Search for specific speakers using the available search filters.
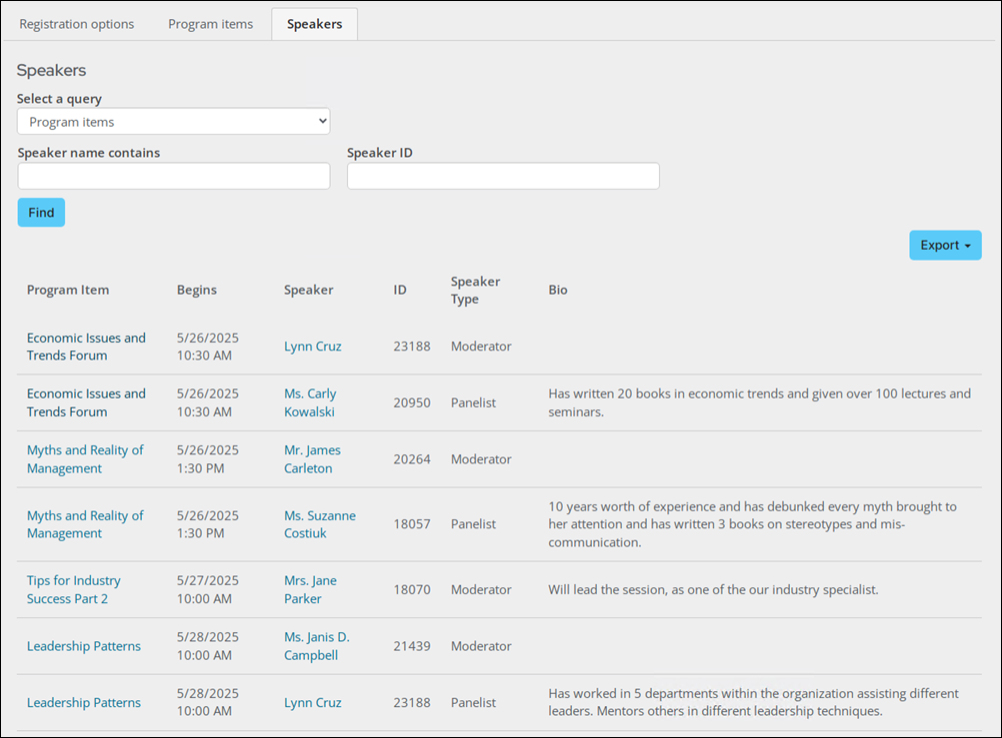
The Program items query includes links to the program items, where staff users can edit the planned speakers. For more details, see Editing speaker information.
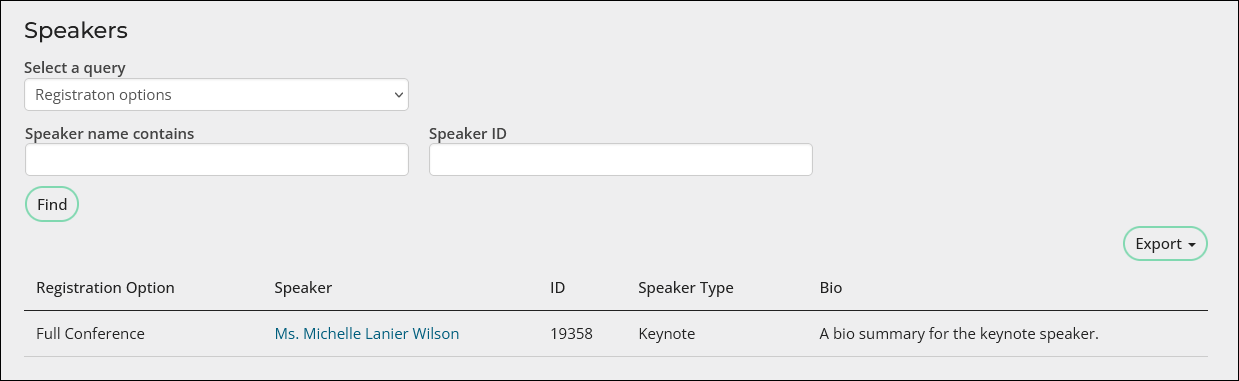
Registration options
The Registration options query displays the speakers for each registration option. Search for specific speakers using the available search filters.
Exporting speaker information
To export speaker data from the event-specific dashboard, do the following:
- Go to Events > Find events.
- Search for and open the event.
- Click the Dashboard tab.
- Scroll down, then click the Speakers tab.
- Select the desired query.
- (optional) For the Program items and Registration options queries, search for specific speakers using the available filters.
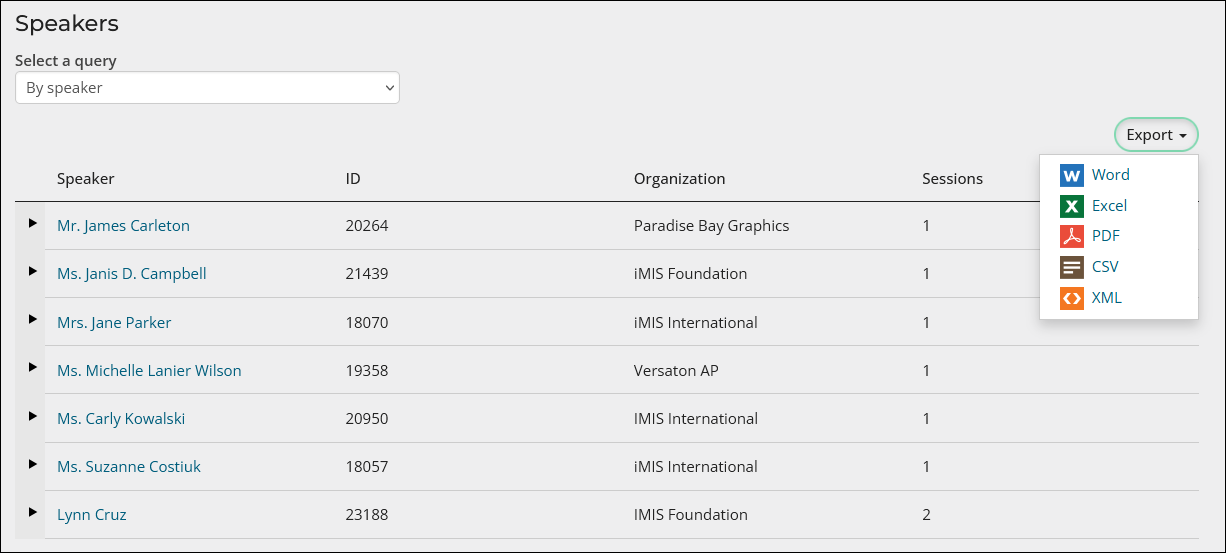
- From the Export button, select the desired file format. The query automatically exports to the selected file type.
Adding speaker details to a public website
After events are updated with speaker details and bios, you can create a separate content record that contains this information, so you may display the details on your public website.

To add speaker details to the public website, you must perform the following:
- Create the speaker query
- Add the query to a content record
- Add the content record to the sitemap
Tip: There are several ways to display speaker bios. The following example is simply one way to display event speaker information to public users.
1. Creating the speaker query
This example demonstrates how to duplicate an existing out-of-the-box query. You may modify the query by adding, removing, or adjusting parameters as needed. This serves as a guide for creating a customized event speaker query.
Do the following to create a speaker query:
- Go to RiSE > Intelligent Query Architect.
- Navigate through the following folder path: $/Samples/Dashboards/Events/Specific Events/Speakers
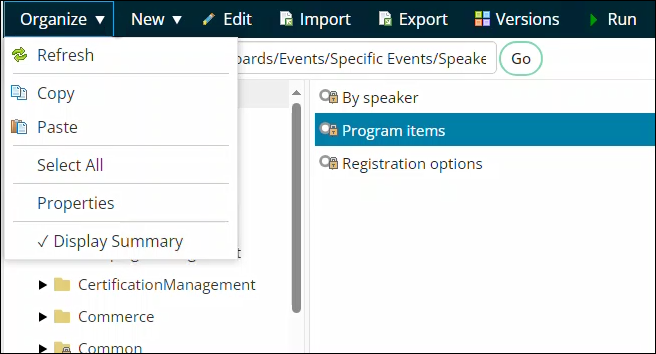
- Select the Program items query, then choose Organize > Copy.
- Navigate to a non-system query folder, then choose Organize > Paste.
- Open the query for edit.
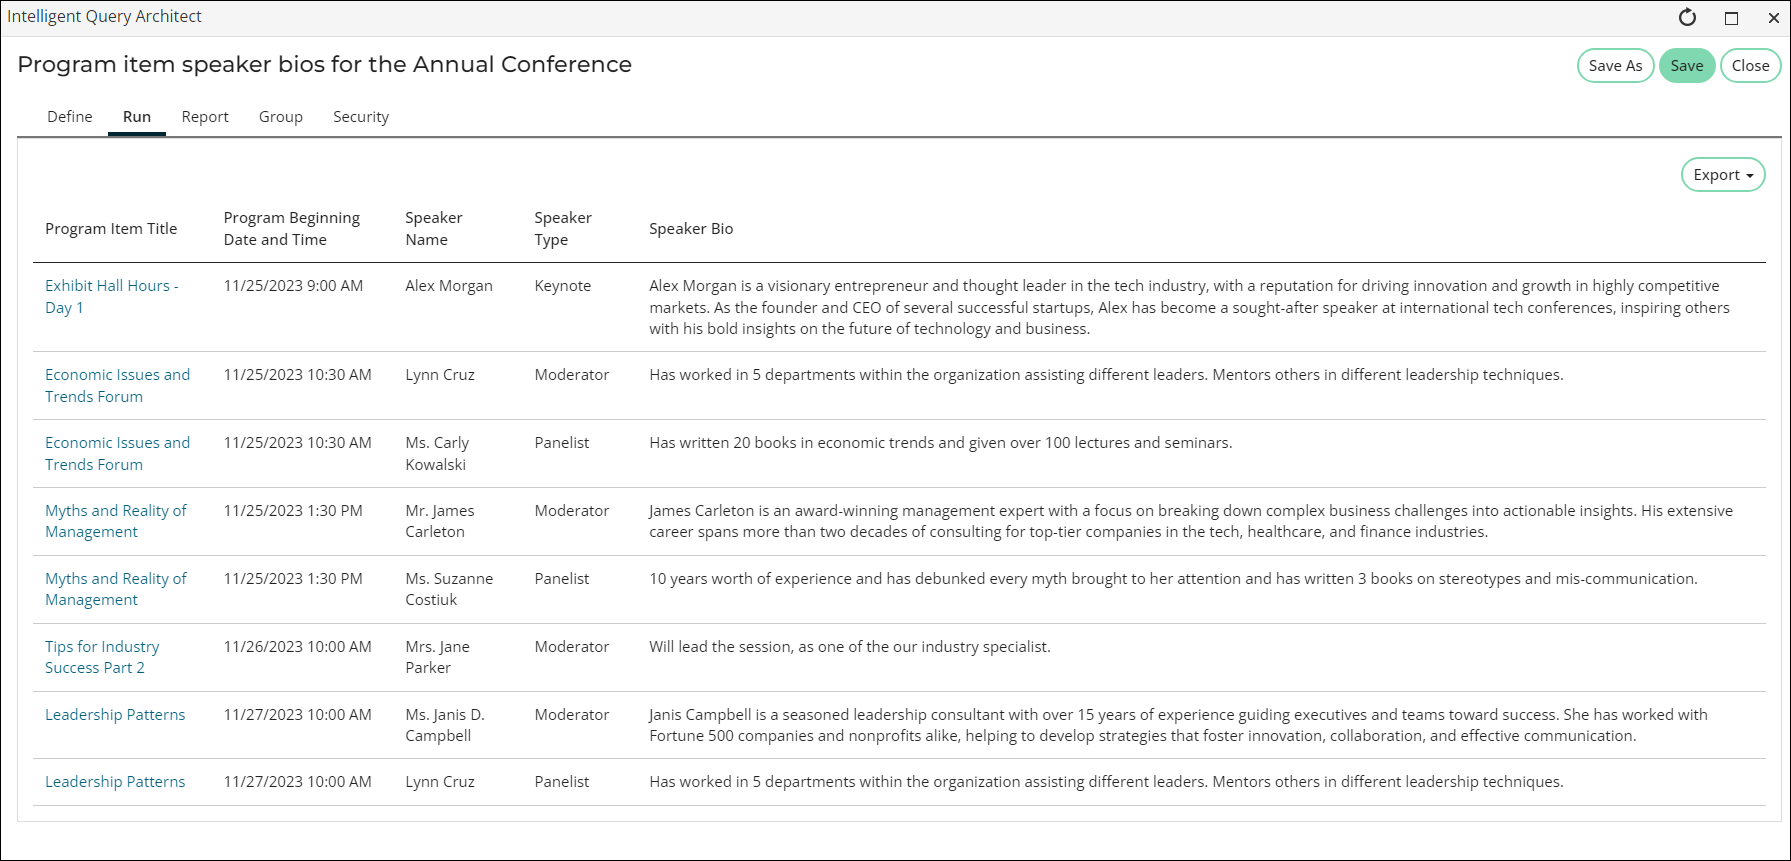
- From the Summary tab, enter a new Name for the query, such as Program item speaker bios for the Annual Conference.
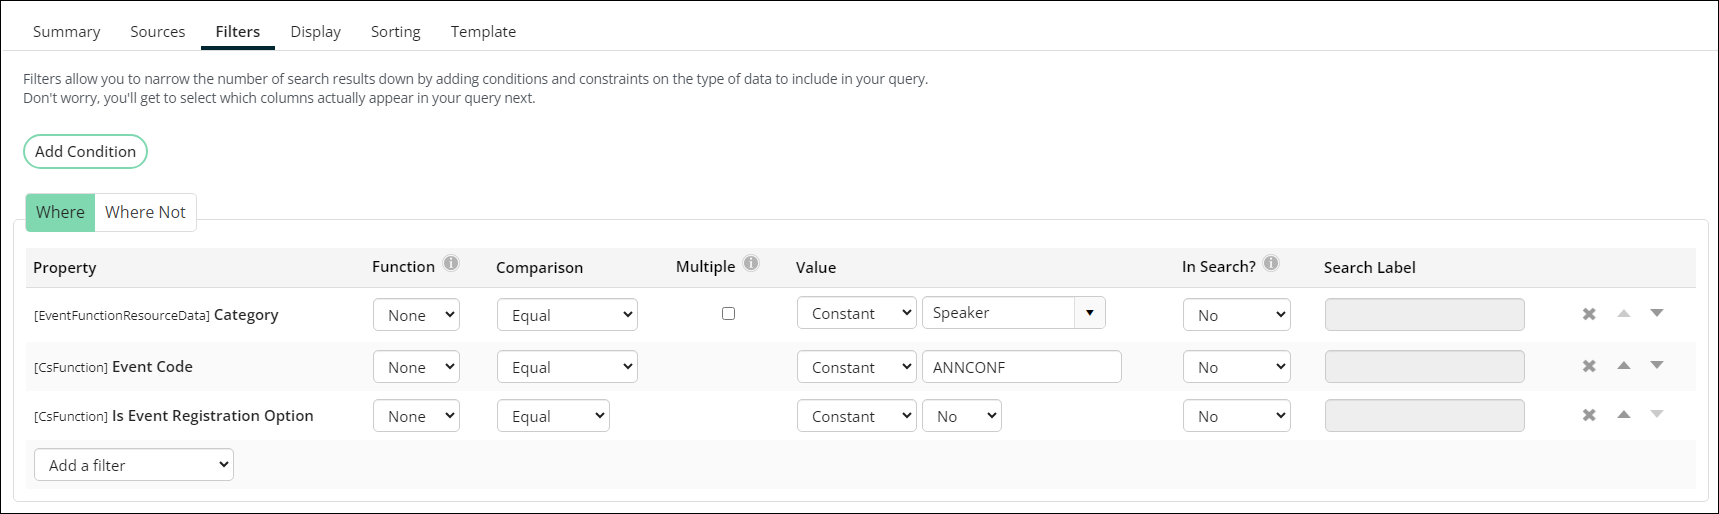
- Click the Filters tab:
- Remove the [NetContactData] Full Name and [NetContactData] Id filters.
- Update the [CsFunction] Event Code:
- Value: Constant
- Textbox: Add the event's code, for example, ANNCONF.
Note: If you plan to add this query to a content record where the event key is already included in the URL, there is no need to modify this value.
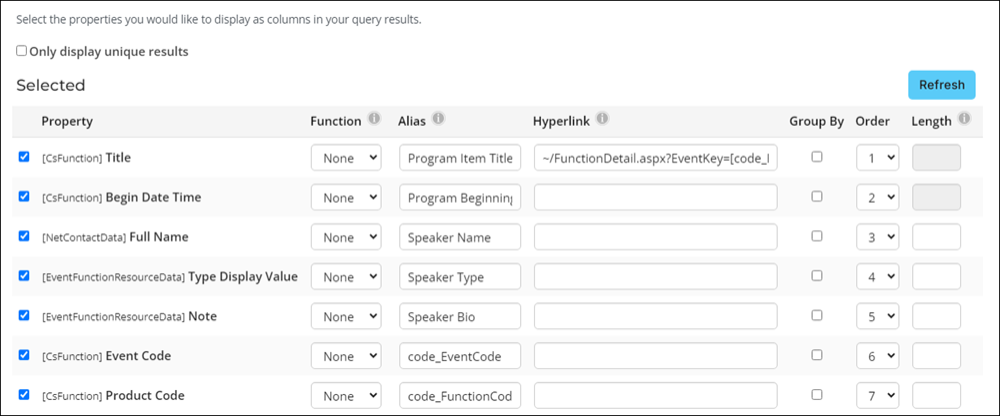
- Click the Display tab:
- Remove ~/Party.aspx?ID=[ID] from the [NetContactData] Full Name Hyperlink field.
- Remove the [EventFunctionResourceData] Party Id property.
- Update the Alias columns for each property as you see fit. This column headers are visible to end users. For example, update the Speaker Alias to Speaker's Name, if desired.
- Click the Security tab. From the Access mode drop-down, choose Everyone Read.
- Click Save.
- Run the query to confirm the results. Continue editing as necessary.

2. Adding the speaker query to a content record
Do the following to add the speaker query to a content record:
- Go to RiSE > Page Builder > Manage content.
- Select a non-system folder.
- Open an existing content record or choose New > Website Content.
- Enter the page Title.
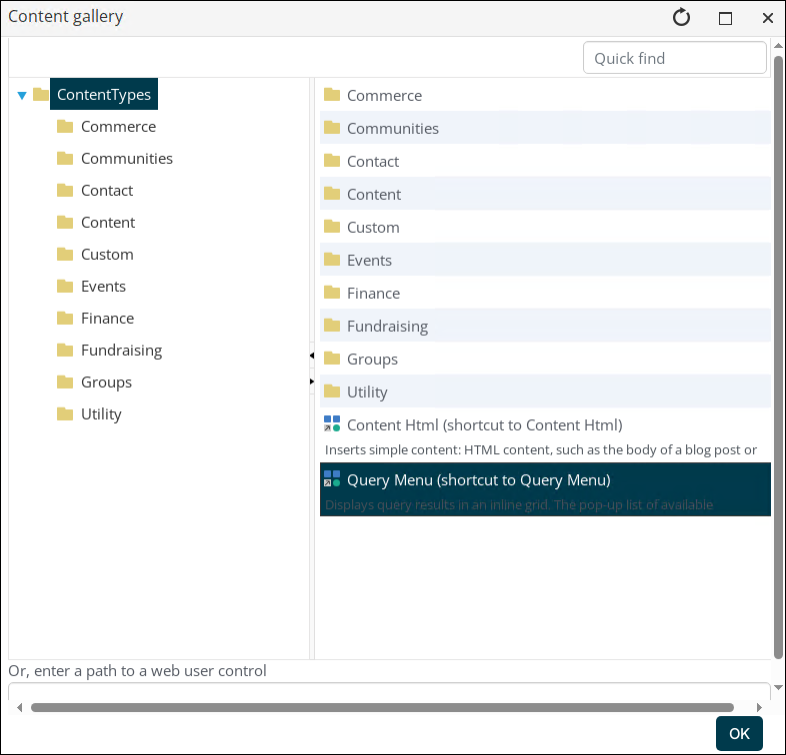
- Select Add content.
- Choose Query Menu.
- Enter a Title, such as Annual Conference 2024 - Event speaker bios.
- From the Source query or folder, select the query you just created.
- Click OK.
- Continue updating the content record as desired.
- Click Save & Publish.

3. Adding the content record to the sitemap
To add the content record to the public website, do the following:
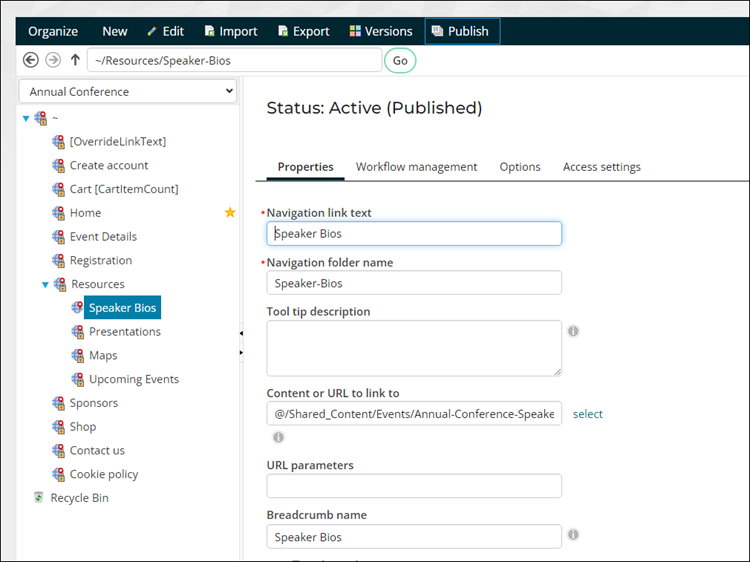
- Go to RiSE > Site Builder > Manage sitemaps.
- From the drop-down, choose the desired website.
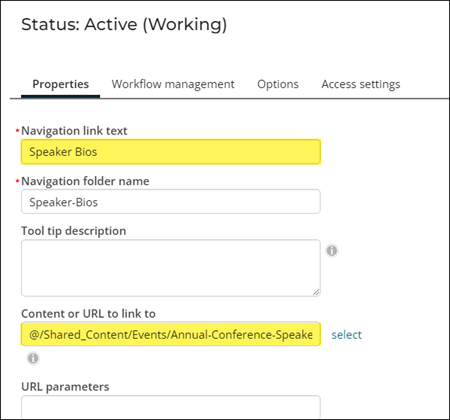
- Choose New > Website Navigation Item.
- Enter the Navigation link text.
- From the Content or URL to link to field, choose the content record you just created.
- Click Save.
- Move the new sitemap item to the desired location.
- Click Save, then click Publish.
Navigate to the public website and confirm the results.