Last updated on: January 27, 2026
You can create content that only members are allowed to view by configuring the appropriate settings. Additionally, you can create a custom sign-in page that details why the user must sign in before they can view the content.
Note: The Member status and Contact status do not affect the determination of whether a user is considered a member. Only the Customer type is used to determine whether the user is a member.

To create member-specific content with a custom sign-in page, do the following:
- Go to RiSE > Page Builder > Manage content.
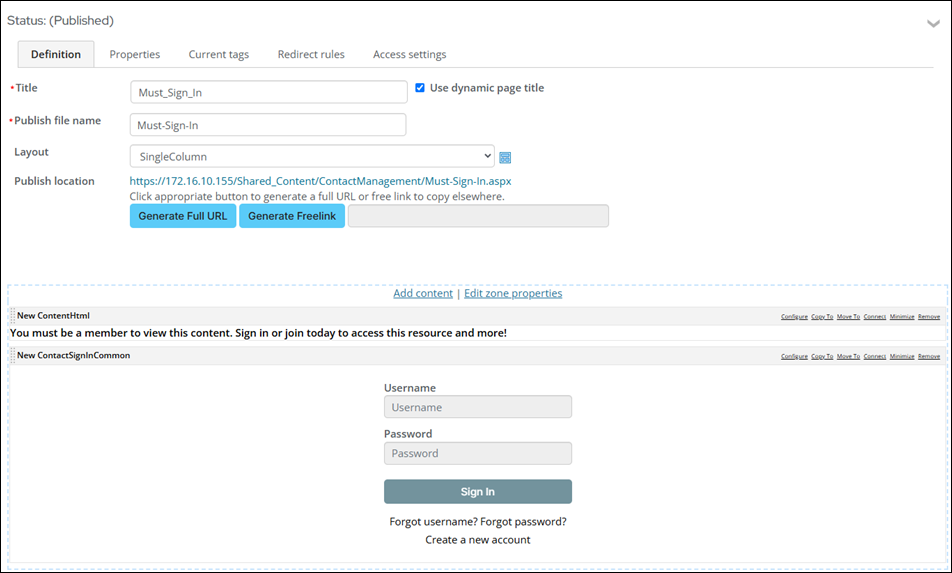
- From the Shared Content folder, create a new content record (New > Website Content):
- Using the Content Html content item, add a message similar to the following: "You must be a member to view this content. Sign in or join today to access this resource and more!"
- Below the Content Html content item, add the Contact Sign In content item:
- Select Add content.
- Open the Contact folder.
- Select the Contact Sign In content item.
- Click OK.
- Click Save & Publish for the content record.
- From the Shared Content folder, create a new content record for the member-only content (New > Website Content):
- Add the content to the content record.
- (Properties tab) Enable Content is restricted to members.
- (Redirect rules tab) From the Conditions for redirect drop-down, select Define rules:
- Rule : Logged-in user | Is non-member
- Redirect to: URL or Content
- Select: Content record created in step 2.
- Click Save & Publish.
- Add the member-only content record to the desired location.
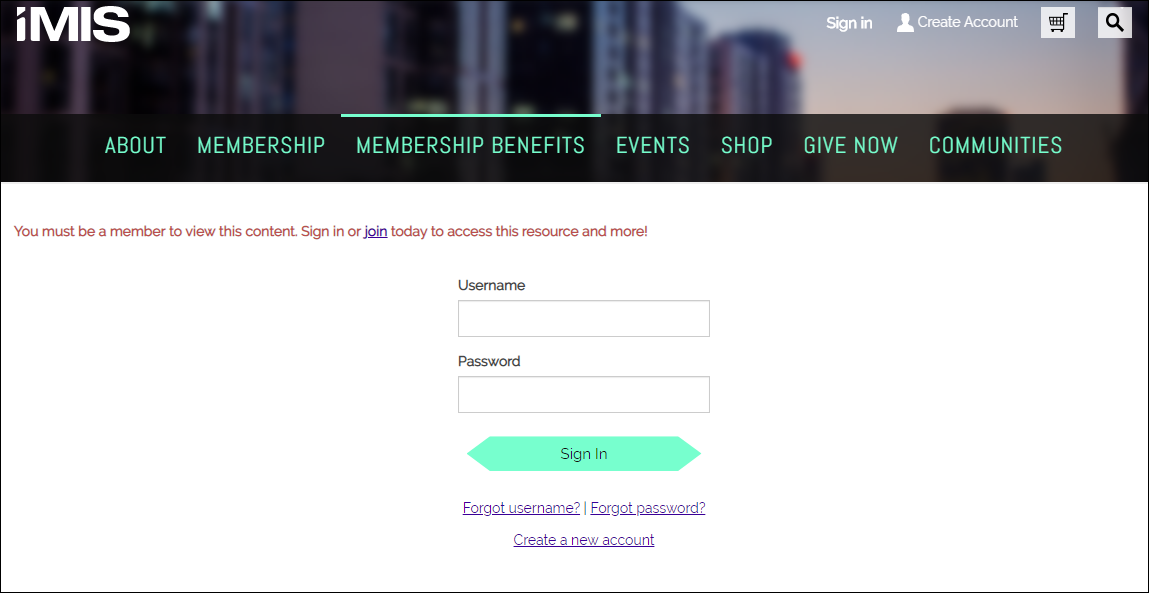
If a non-member navigates to the member-only content record, they are redirected to the custom sign-in page. After the user signs in as an active member, they can view the member-only content.
