Last updated on: May 26, 2026
Note: Due to a change in an external API, filtering a Chained or Dashboard Report using a URL parameter value is no longer supported. ExpressView and Advanced Reports are still supported.
The Use URL query string parameters for filter values configuration option in the Report Writer Display content item allows you to pass a URL parameter from the report, so the results are filtered based on the query parameter.
Note: Report Writer does not support queries with dynamic filters. Instead, dynamically filter the report by enabling Use URL query string parameters for filter values on the Report Writer Display content item.
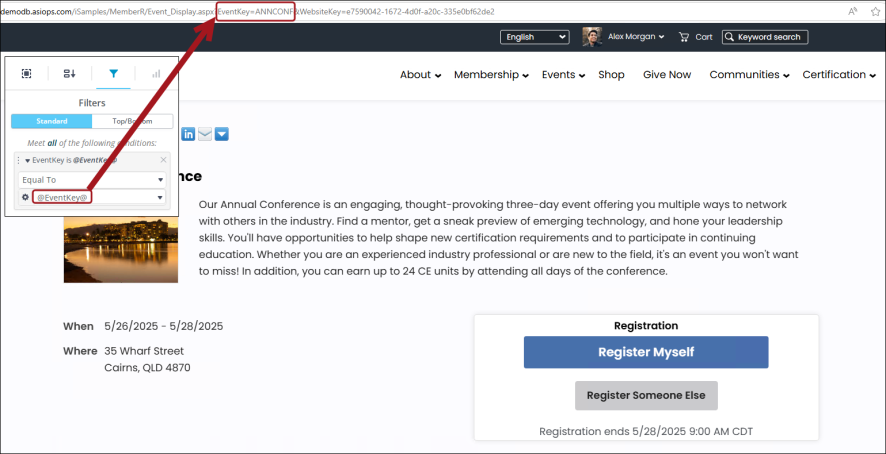
In the report filter, set the value equal to "@URLParam@", where "URLParam" is the name of the URL parameter which should be used. When the page containing this content item is loaded, the current value in the URL for "URLParam" will be used as the value for the report filter.
Important! All parameters must use the following format for the filter value: @[URL query string parameter]@
The [URL query string parameter] name is case sensitive.
Example: You are creating a report that details every event registrant with an outstanding balance. You need this report to display on the event-specific dashboard for every event. Instead of creating one report per event, you can pass in a URL parameter that will filter the results of the report automatically for each event.
In This Article
Creating the report
Do the following to create the above example using Report Writer:
- Go to Reports > Report Writer.
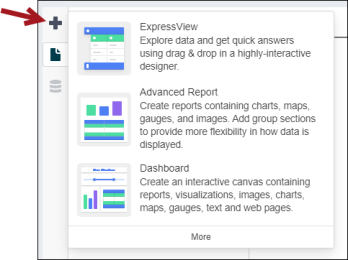
- Select the folder the report will be added to, then click New > ExpressView.
- From the Fields pane, expand the first drop-down, then expand Event registrations.
- Add the EventCode, FullName, and Balance properties.
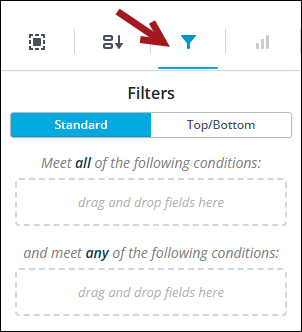
- From the properties pane, click the Filters icon.
- Drag-and-drop the Balance property to the top of the Filters pane. Change Equal To to Greater Than, then enter 0.00 to the text box.
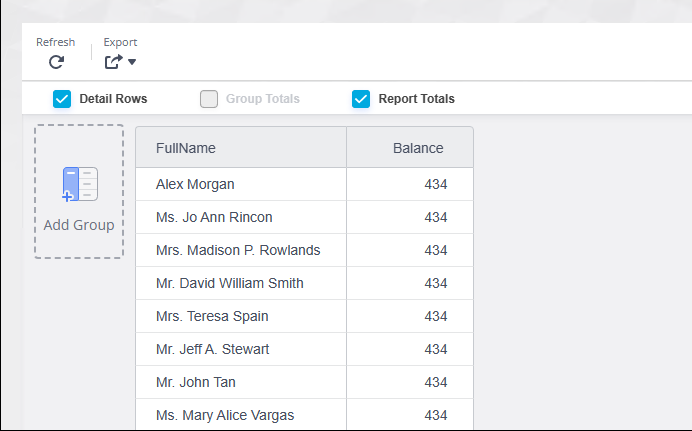
- Click Run to begin reviewing the report data. From the EventCode column, you can see all events are displaying in the report.
- Remove the EventCode property from the report.
- Add the EventCode property to the Filters pane. Add @EventKey@ to the text box. This is the filter that the URL parameter will use in the Report Writer Display content item.
- Click Run again.
- Save the report. Enter a Name, optional Description, and select the folder to save to.
- Click Save.


All parameters must use the following format for the filter value:
- @[URL query string parameter]@
The [URL query string parameter] name is case sensitive.
You will see that the report does not display any results, because of the @EventKey@ filter. Any report containing a URL parameter will not display any results when viewed from Report Writer or the Document System. It is suggested that reports containing a URL parameter are kept in a different folder or are organized in a way so that all staff understand not to run these reports from Report Writer or the Document System.
Adding the report to content and displaying the content
Note: If you have not already made a copy of the event-specific dashboard, you will not see the edit icon and must first make a copy of the dashboard. See Modifying the event-specific console.
Do the following to display the report and utilize the filter:
- Go to RiSE > Page Builder > Manage content.
- From a Shared Content folder, create a new content record (New > Website content).
- Add the Report Writer Display content item to the content record (Utility folder).
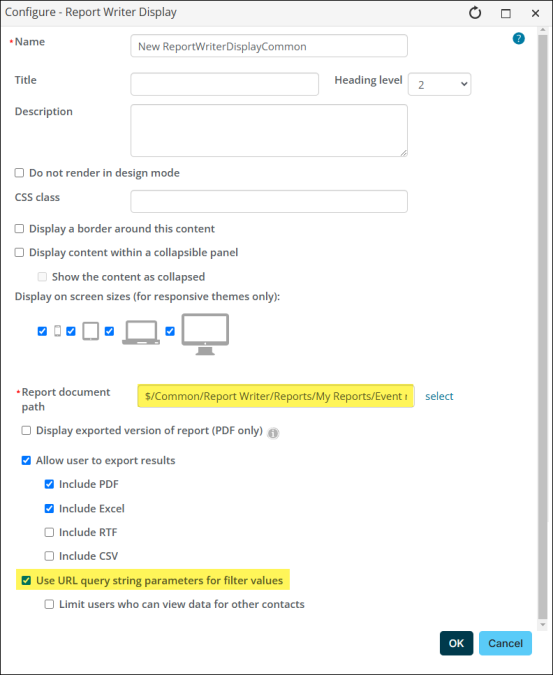
- From the Report document path field, select the report you just created.
- Enable Use URL query string parameters for filter values.
- Click OK, then click Save & Publish.
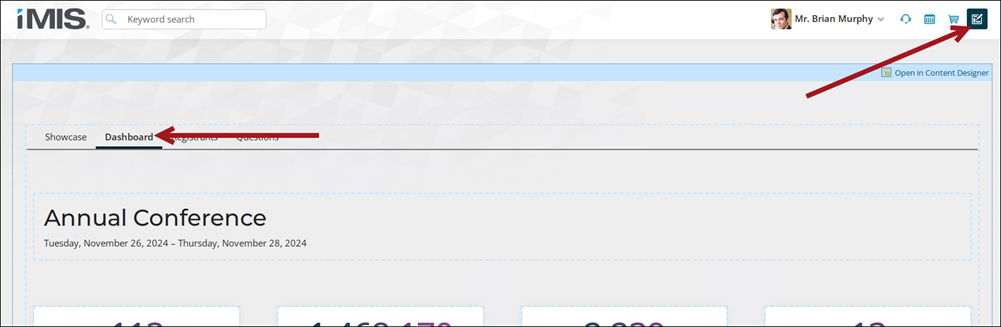
- Navigate to the event-specific dashboard for any event.
- Enable Easy Edit.
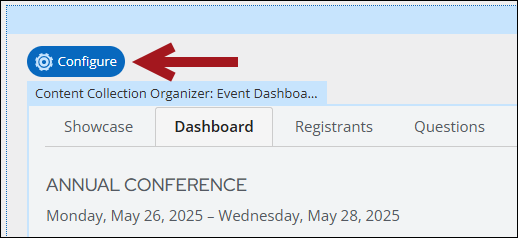
- Click the Dashboard tab.
- Hover over the content, then click Configure.
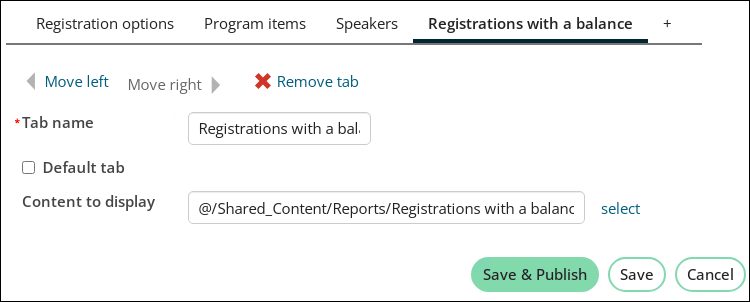
- Add a new tab and enter the Tab name.
- From the Content to display field, select the content record containing the Report Writer Display content item, then click Save & Publish.
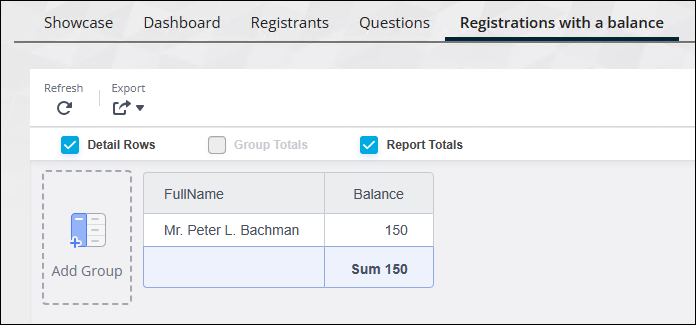
- Click the new tab you just added. You will see the balances displayed for the specific event, instead of all balances for all events.
- If you navigate to a different event-specific dashboard and click the same tab, you will see that event’s open balances.
Important! When displaying an invoice-, order-, or payment-related report, you must also enable Limit users who can view data for other contacts. This option prevents unauthorized users from viewing invoice- or order-related reports for contacts they do not have access to. Unauthorized access attempts will result in error messages.
Note: If you have not already made a copy of the event-specific dashboard, you will not see the edit icon and must first make a copy of the dashboard. See Modifying the event-specific console.