Last updated on: January 27, 2026
Contact images and logos for your organization help identify your company to users and make reports unique.
Note: To learn how to replace a logo image, see Adding and replacing report logos.
In This Article
Adding contact images to Report Writer reports
Adding contact images to Report Writer reports helps to personalize the reports and make it easier to identify people.
Do the following to add contact images to a Report Writer report:
Step 1 – Creating the business object and shortcut
- Go to RiSE > Business Object Designer.
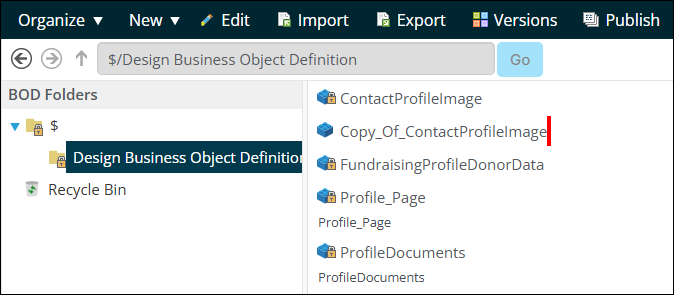
- Locate and select the ContactProfileImage business object.
- Click Organize > Copy,then click Organize > Paste.The business object is created with the name Copy_Of_ContactProfileImage.
- Open Copy_Of_ContactProfileImage for edit and change the name to AllContactsWithPicture.
- Click Save, then click Publish.
- Go to RiSE > Document system.
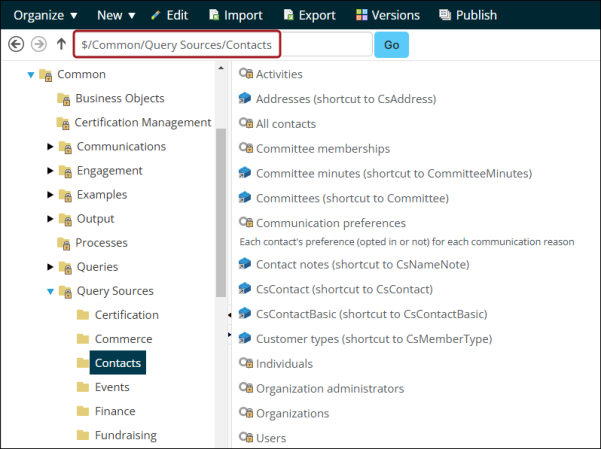
- Navigate through the following folder path: $/Common/Query Sources/Contacts.
- Click New > Shortcut and fill out the following:
- Document Name: All Contacts With Picture
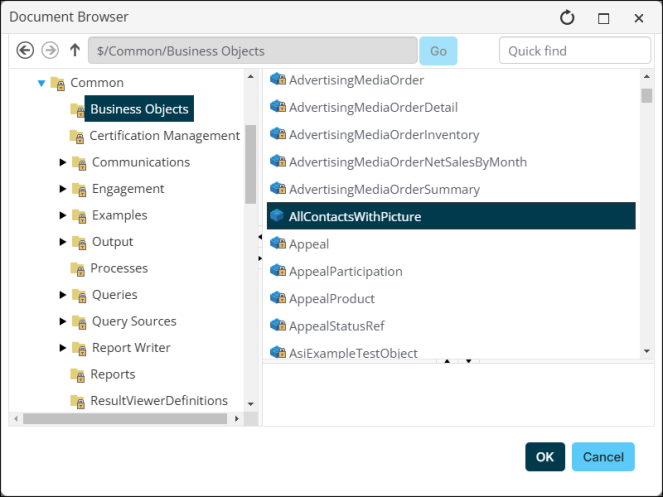
- Related document: Select the AllContactsWithPicture business object from the $/Common/Business Objects folder.
- Click OK.
Note: This name is used in the formula inserted into the Report Writer report. If you do not use the same name, be sure to update the formula with the new name.
- Click Save.
Step 2 - Creating the contact image
The formula required in Report Writer to use contact images needs a valid image to properly function. If an organization does not have a contact image already, a blank image can be created and substituted.
- Create the blank image using any photo software, ensuring the name is BlankImage.png.
- Go to RiSE > Document system.
- Click the images folder.
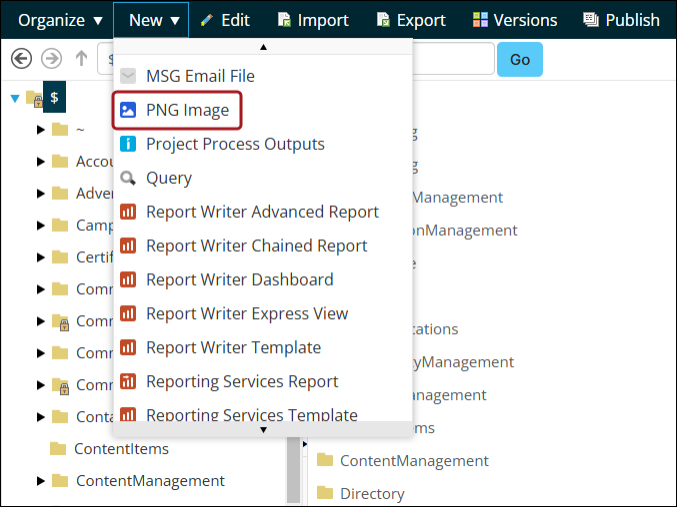
- Click New > PNG Image.
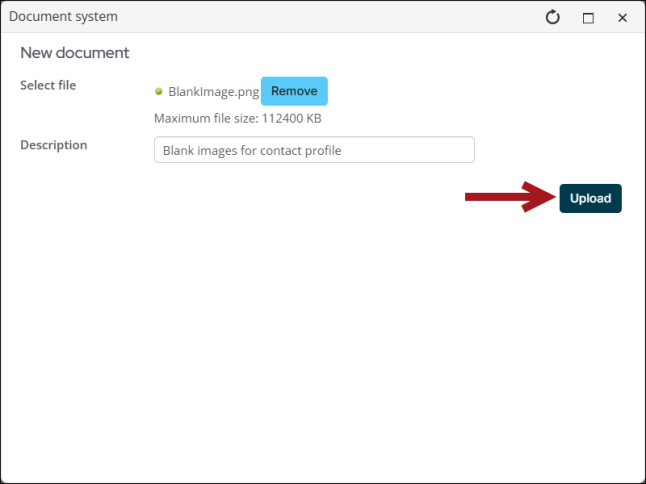
- Select the BlankImage.png file.
- Click Upload.
Important! The blank image must be the same color as the background of the report you want to create and be 1 x 1 px. This is important when inserting the necessary formula to display the contact image.
Step 3 - Inserting the contact image into Report Writer
- Go to Reports > Report Writer.
- Open an existing report, or create an ExpressView, Advanced Report, Chained Report, or Dashboard Report.
- On the cell you want to insert the contact image, right click and select Insert > Formula.
- Insert the following formula, keeping in mind the important notes below:
LoadImage(If(LEN({All Contacts With Picture.Image})>0, {All Contacts With Picture.Image}, '[Client URL]/images/BlankImage.png'))
Important! If you named the shortcut something other than All Contacts With Picture, be sure to replace both instances in the formula with the correct name. The name is case sensitive.
Important! Replace [Client URL] with the URL of the website.
Note: An error message will appear if your images in corrupted or contains bad data.
Adding organizational logos to Report Writer reports
Do the following to add organizational logos to a Report Writer report:
- Create a report. See the ExpressView, Advanced Report, Chained Report, or Dashboard Report documentation for more information.
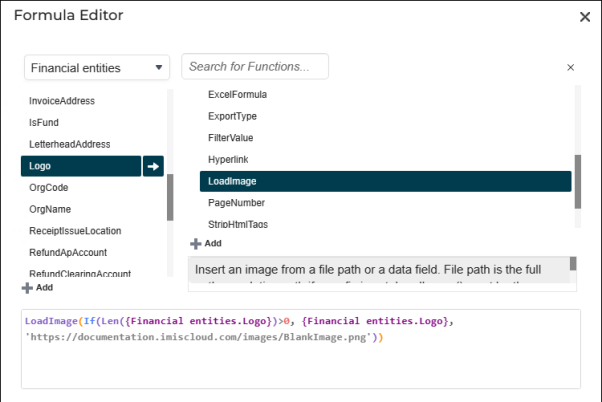
- On the cell you want to put the logo, right click and select Insert > Formula.
- In the Search for Functions search bar, type LoadImage or go to Other > LoadImage.
- Click Add.
- Click Financial entities.Logo and begin typing the name of your logo.
- Click OK.
Note: LoadImage() must be the outermost function in a cell. It may not be used inside conditional functions or nested in other functions.