Last updated on: June 08, 2026
Invoice-based panels are custom displays of data that you can name, build, arrange in grids, and add to invoices. You can add single- or multi-instance panels to invoices by creating panel definitions.
Note: Only staff users and system administrators can create, edit, view, and delete invoice panels.
In This Article
Creating invoice panel sources
Only invoice panel sources are supported with invoice panels. Do the following to create a panel source for an invoice:
- Go to RiSE > Panel Designer > Panel sources.
- Select Add new panel source.
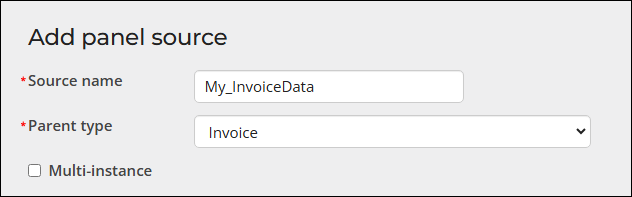
- Enter a Source name.
- From the Parent type drop-down, select Invoice.
- (optional) Enable Multi-instance to allow multiple entries for each property.
- Click Save.
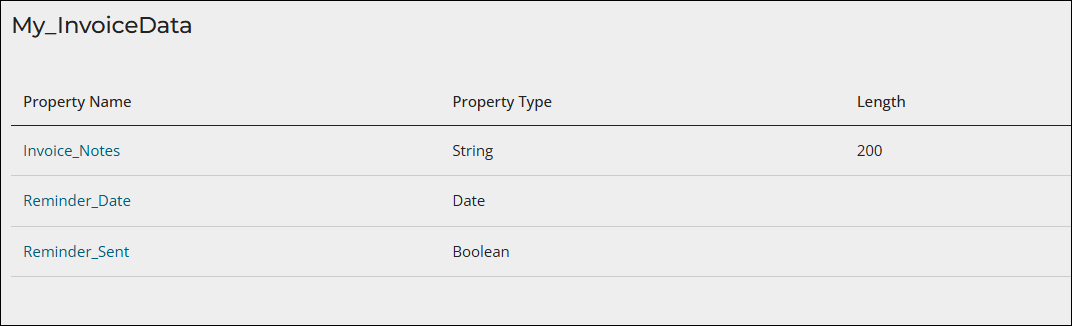
- Select Add new property.
- Enter a Property name. Special characters, such as spaces, are not allowed in the Property name.
- From the Property type, select the type of property to create.
- Click Save & Close.
- Continue adding properties.
Note: The File upload property type is not supported with invoice panels.
Note: To prevent errors when adding a property to a panel source when the panel source already has data in it, disable any Process Automation scheduled tasks with an On a database change trigger type that use the panel source as a Table Name.
For full details regarding creating panel sources, see Creating panel sources.
Note: The Log all changes option is not supported with invoice panels.
Creating invoice panels
Do the following to create an invoice panel:
- Ensure you have created invoice panel sources.
- Go to RiSE > Panel Designer > Panel definitions.
- Select Add panel definition.
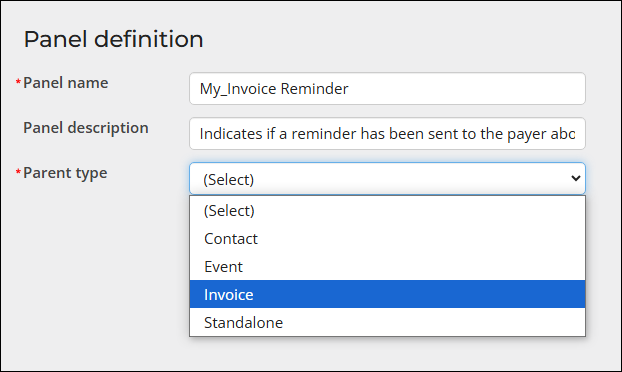
- Enter a Panel name and an optional Panel description.
- From the Parent type drop-down, select Invoice.
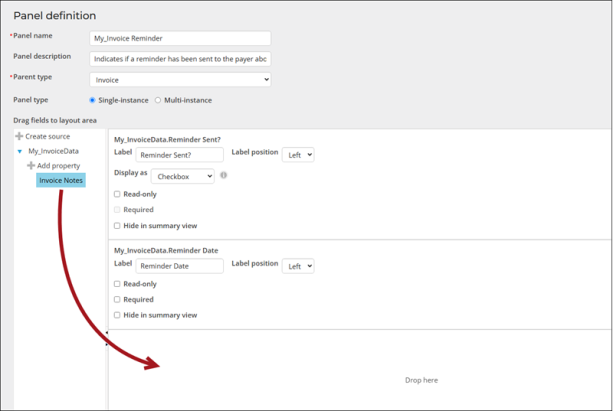
- Select either Single-instance or Multi-instance from the Panel type.
- Drag the properties to the grid, then click Save & Exit.
Adding the panel to an invoice page
See Adding invoice panels to invoice pages.