Last updated on: June 19, 2026
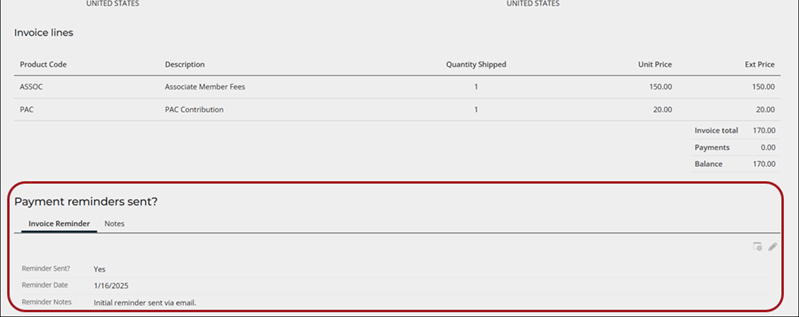
Staff users can add invoice panels to custom invoice pages. For example, a custom field for adding notes to ensure all details of a transaction are recorded accurately and available for future reference.
In This Article
- Ensuring the use of custom invoice pages
Creating an invoice panel
Adding the panel to the custom invoice content records
Updating shortcuts
Ensuring the use of custom invoice pages
Out-of-the-box, there are many invoice content records that can be customized. Before adding a panel to an invoice page, first ensure you are working with custom invoice pages. By default, there are out-of-the-box invoice pages that must be copied before they can be edited. To determine which invoice content can be customized, review Customizing invoices.
Tip: Determine which invoice content records need to be customized with staff entered properties. For example, if you only need to add custom data to Fundraising pledge invoices, only update the fundraising related invoices.
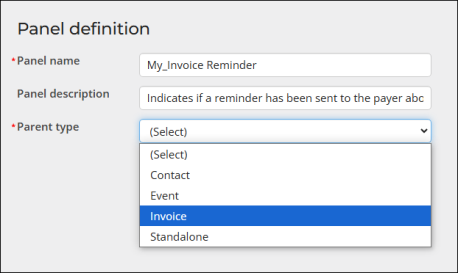
Creating an invoice panel
See Creating invoice-based panels.
Adding the panel to the custom invoice content records
Display invoice panels using the Panel Editor and Panel Collection Editor content items.
Note: Only staff users and system administrators can create, edit, view, and delete invoice panels.
To add invoice panels to invoice pages, do the following:
- Go to RiSE > Page Builder > Manage content.
- Open the invoice content record for edit.
- Select Add content.
- Select the Content folder.
- Add the Panel Editor or Panel Collection Editor content item:
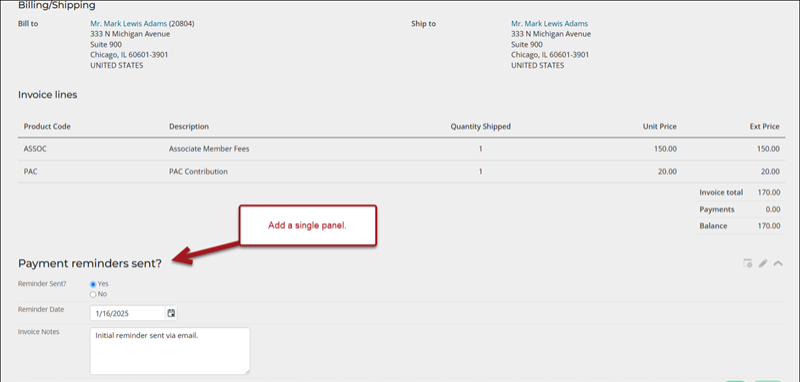
- Panel Editor: This content item displays a single panel. Select the invoice panel from the Panel drop-down.
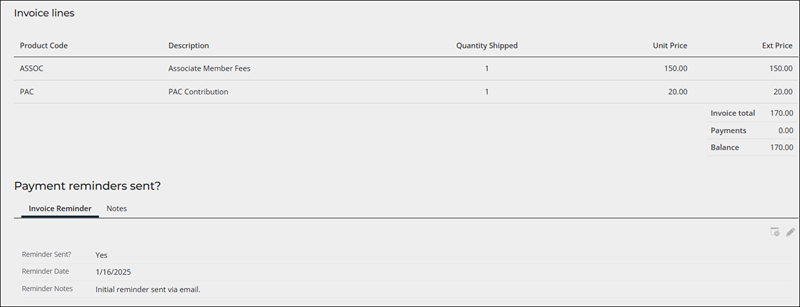
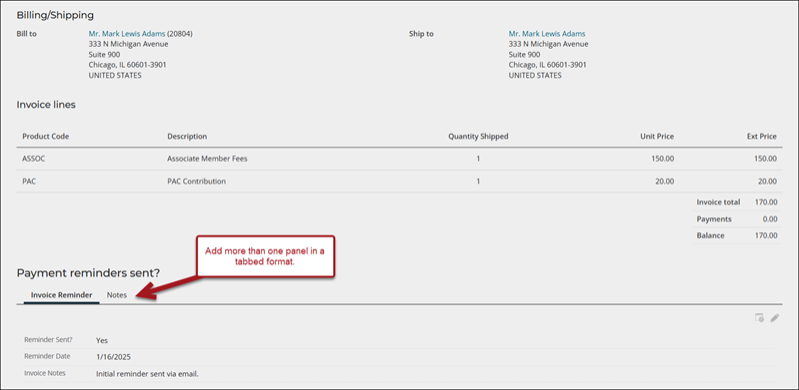
- Panel Collection Editor: Displays a collection of panels in a tabbed format. Select the panels in the Panels field.
- Enable Allow users to edit.
- Configure the content item as desired, then click OK.
- Click Save & Publish.
Updating shortcuts
Once the invoice content records have been updated, be sure to update the associated shortcuts. See Customizing invoices for details regarding which shortcuts to update.