Last updated on: January 27, 2026
When you have many users changing data, it is easy for data to be incorrectly updated. Logging changes to panel data allows you to review who changed the data and what the data was before and after the change.
To log changes to panel data, the Change History Display content item must be added to the content record where the panel is located.
Note: You cannot log changes to Standalone panels.
Important! Change logging only applies to changes, not initial inserts. Panel properties begin logging changes once the initial insert to the panel property is changed and saved.
In This Article
- Configuring account pages to log panel changes
Reporting on the change-log history
Reporting on merged accounts
Configuring account pages to log panel changes
If the panel is already added to the account page, you can do the following to log changes to panel data:
- Make sure the panel properties are enabled for logging:
- Go to RiSE > Panel Designer > Panel definitions.
- Select the panel.
- If the property is in the panel layout area, delete it from the layout.
- Right-click the property and select View.
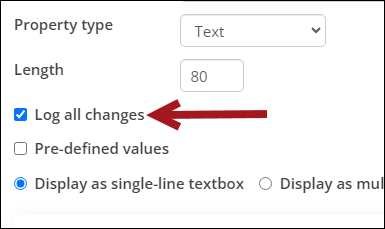
- Enable Log all changes.
- Click OK.
- Add the property back to the panel, then click Save.
- Add the Change History Display content item to the account page.
- Make a change to the fields you wish to log, and then refresh the page to see if your changes are displayed in the Change History panel.
- If your changes are not displayed, then those particular fields are not configured for changes to be logged. Do the following as necessary:
- Open the panel in Panel Designer. Click the gear icon.
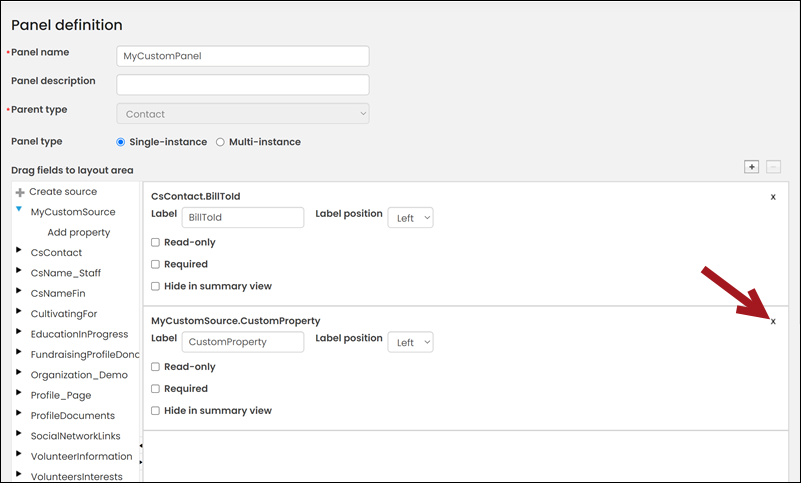
- If the property is already in the layout area, click the X to remove the property.
- Right-click a property for which you want to log changes, and select View.
- In the Edit Property window, select the Log all changes checkbox.
- Click OK.
- Add the property back to the layout area of the panel.
- Click Save & Close.
Note: If you are not already working with a copy of the standard account page, you must save a copy before you can save and publish a change. You must also update your site shortcuts to point to your new page. See Understanding and modifying account pages for details.
Reporting on the change-log history
The Change History Display content item enables you to review the change history for a single contact. Using the ChangeProperty, ChangeLog, and NetContactData business objects, you can query on the change history for more than one contact at a time.
Do the following to report on the change-log history for multiple contacts in a specific date range:
- Go to RiSE > Intelligent Query Architect > New > Query.
- (Summary tab) Enter a Name.
- (Sources tab) Add the NetContactData, ChangeProperty, and ChangeLog business objects with the following relations:
- ChangeLog.Change Log Key = ChangeProperty.Change Log Key
- NetContactData.Contact Key = ChangeLog.Object Key
- (Filters tab) To narrow the results to a specific date range, add the following filter:
- Property: [ChangeLog] Created On
- Comparison: Between
- In Search?: Optional
- (Display tab) Select the following display properties:
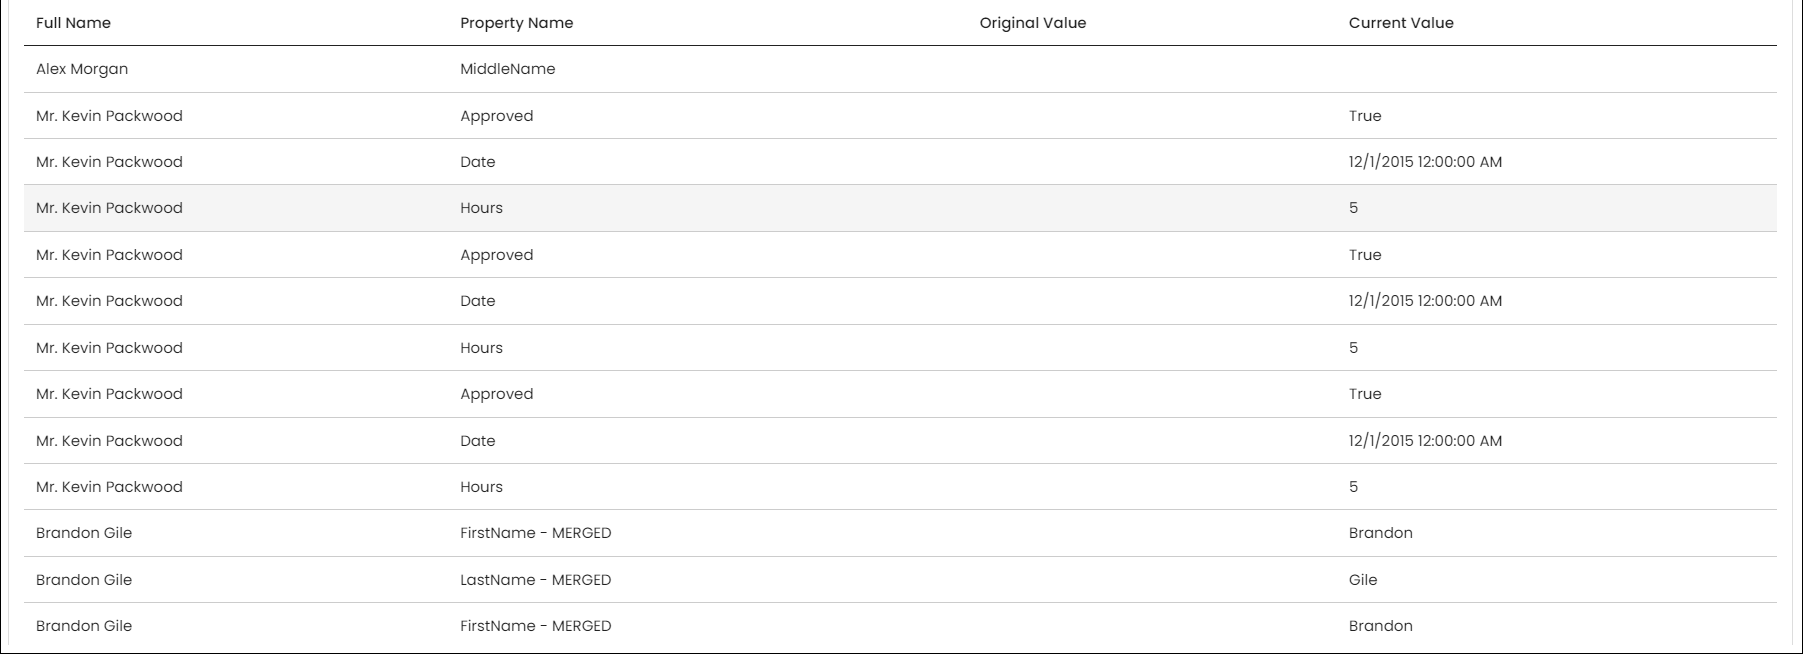
- [NetContactData] Full Name
- [ChangeProperty] Property Name
- [ChangeProperty] Original Value
- [ChangeProperty] Current Value
- Click Apply.
- Click Run.
- Enter the desired date range. To review changes made for today’s date, enter today’s date in both date fields.
- Click Find. The change history for all contacts within the specified date range display.
- (optional) To group the changes for each contact, navigate back to the Display tab, then enable Group By for the name property.
Reporting on merged accounts
Use the CsNameLog business object to review accounts that have already been merged:
- Go to RiSE > Intelligent Query Architect > New > Query.
- (Summary tab) Enter a Name.
- (Sources tab) Add the CsNameLog business object.
- (Filters tab) Add the following filter:
- Property: Sub Type
- Value: MERGE

- (Display tab) Select the available properties:
- Id - The ID of the contact that was merged and kept.
- User Id - The username of the contact that performed the merge.
- Date Time - Date and time of when the merge occurred.
- Log Text - The two IDs that were merged and which was kept.
- Log Type - Will return as CHANGE.
- Sub Type - Will return as MERGE.

- Click Apply.
- Click Run.


