Last updated on: June 08, 2026
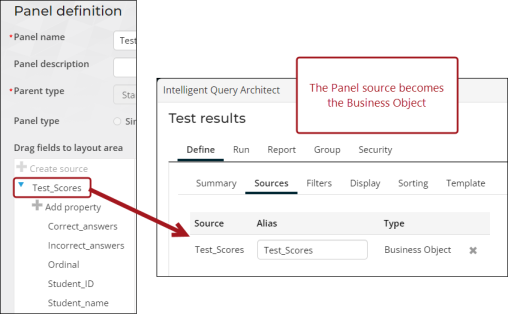
Panel Designer grants you the ability to use your own data sources when creating IQA queries. When querying panel data, panel sources function as business objects, and properties can be used as filters and display columns. When you create a new panel source, a new business object is saved to the iMIS database for future use in queries and reports.
In This Article
Reporting on custom panel data
Any panel source can be added to a query, so that you may report on its data.
Example: You have a custom panel source called Test_Scores and you would like to report on the associated data.
Do the following to create a query using a custom data source:
- Go to RiSE > Intelligent Query Architect.
- Click New > Query.
- (Summary tab) Enter a Name.
- (Sources tab) Do the following:
- Select All sources.
- Use the Quick find search to locate the custom panel source.
- Select the source and click OK.
- Add any additional business objects.
- For this example, add the NetContactBasic business object.
- Create a custom relation where Test_Scores.Student_ID = NetContactData.Id.
Note: If the panel does not include certain data, such as name, address, or email address, you must add additional business objects.
- (Filters tab) Add any desired filters.
- (Display tab) Select the desired display columns and click Apply.
- Click Save As and save the query to a non-system folder.
- Run the query to see the returned results.

Review the data
Once the query has been created, you can easily add it to your staff or public site to keep track of the data.
Adding the query to a content record
Add the query to a content record using the Query Menu content item:
- Go to RiSE > Page Builder > Manage content.
- From a non-system folder, click New > Website content.
- Enter a Name.
- Select Add content.
- From the Utility folder, select the Query Menu content item.
- In the Source query or folder field, select the query, and click OK.
- Click Save & Publish.

Adding the content record to the sitemap
Add the content record to a website sitemap, so it is easily accessible to review the data in the future:
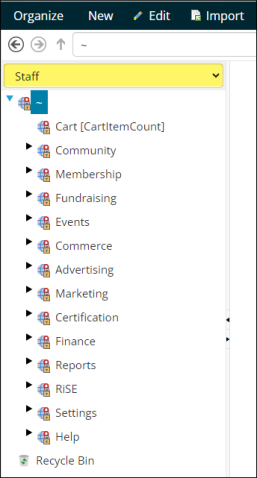
- Go to RiSE > Site Builder > Manage sitemaps.
- Select the site from the drop-down field.
- Select the navigation item you want to place the content record under.
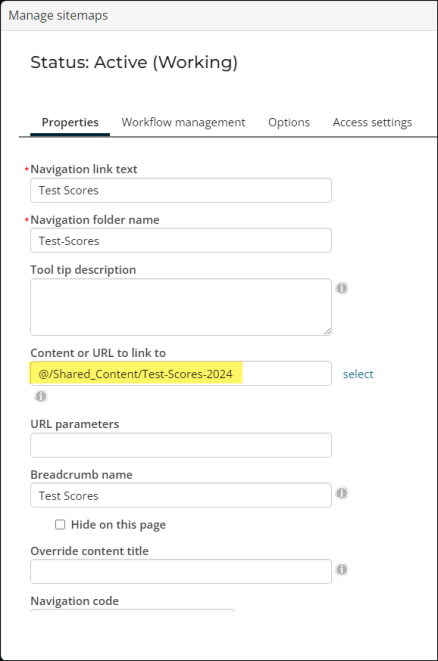
- Click New > Website Navigation Item.
- Enter a Navigation link text.
- In the Content or URL to link to field, select the content record you previously created.
- Click Save.
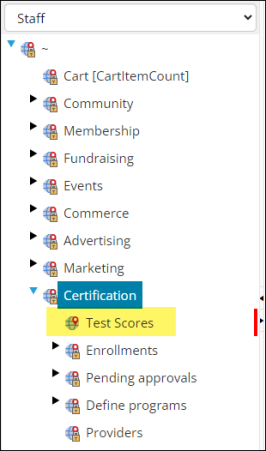
- The new navigation item appears in the navigation tree.
- Click Publish.
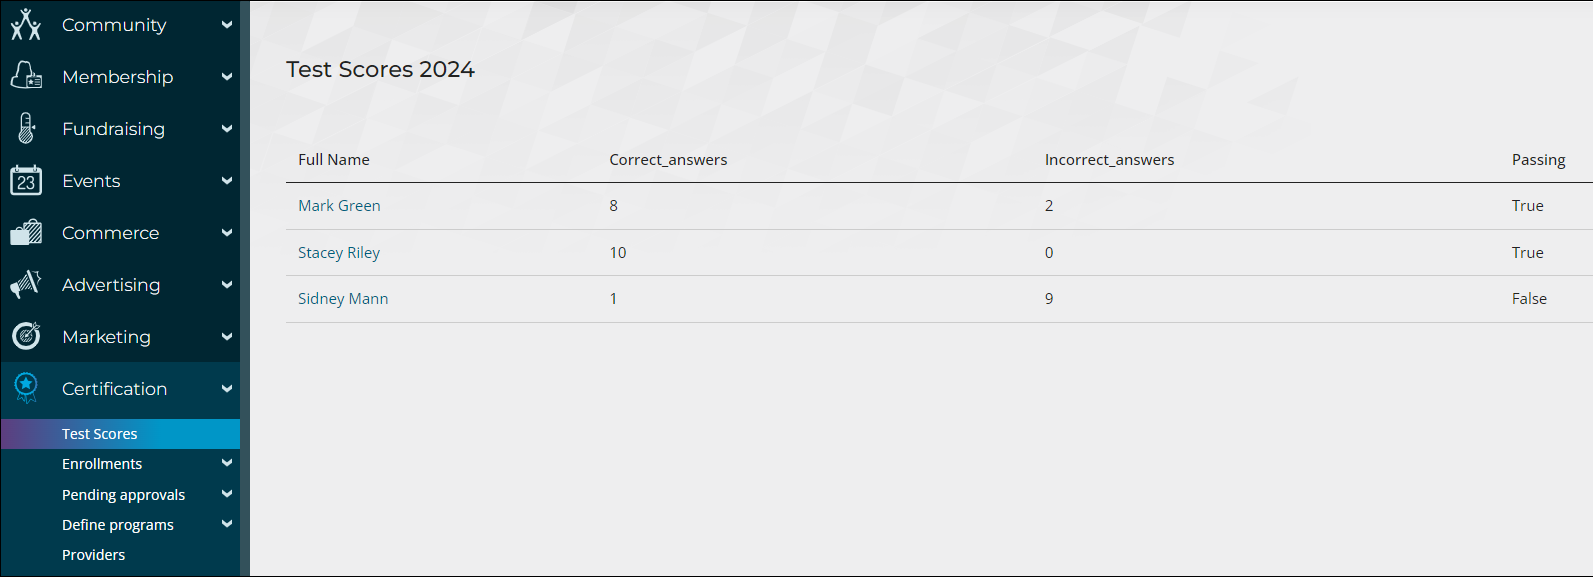
- Verify that your new navigation item is live. Depending on its location and parent site, you may need to clear your browser cache or Purge System Cache to see the changes.