Last updated on: January 27, 2026
After starting the panel creation process, you can configure the File upload panel property to display as an image.
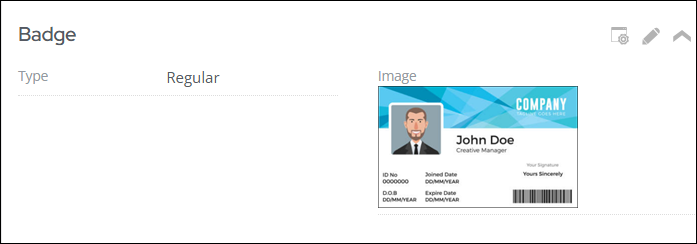
The File upload panel property can be configured to display an image rather than displaying a link to download the image. The Display as image checkbox appears after you drag the panel property to the panel layout area.

Do the following to display images on panels:
- Go to RiSE > Panel Designer > Panel definitions.
- Open the desired panel for edit.
- Locate the panel source and expand it to reveal the existing properties.
- Drag the desired properties to the panel layout area. If the property has a Property type of File upload, you will see the Display as image checkbox.
- Enable Display as image under the source Label. You can define the image width. The default size is 200 px.
- Click Save & Exit. The attachment now displays as an image.


If someone uploads a non-image file, the file will upload, but it will display the Download file link instead of an image. To restrict the file types to images only, be sure to populate the Allowed file types field with image file extensions.
To learn how to display the images in an IQA query, see Displaying images uploaded through panels in an IQA query.