Last updated on: January 27, 2026
iUpdate Cloud
iUpdate Cloud allows staff users to update or insert iMIS data using an IQA query. The result set from an IQA selection becomes the source records for your updates. iUpdate is often used in conjunction with iSchedule to schedule iUpdate Task to run off hours and/or on a recurring basis. In conjunction with iSchedule, it is possible to use iUpdate using Webhooks and Triggers.
Use Cases
The following list demonstrates possible uses for iUpdate:
- Create to-call Activities for records who attended last year’s conference but have not registered for this year
- Change a person’s member type based on demographics
- Erase a field on every record
- Save data for future reporting purposes
- Calculate a score for each member and populate a panel
- When a Company renews, mark everyone attached to the Company as a Member
- When Company a expires, mark everyone attached to the Company as a Non-Member
- Update Primary email if it's blank but filled in on another address
- Find locked out users and unlock them
- Update checkboxes based on multiple factors
- Remove people from a committee if they are no longer a member or violated an agreement
- Automatically set or remove communication preferences
- Create missing user credentials
- Create activities for workflows
Updating From IQA Query
Importing or updating from an IQA is similar to importing from a file. Instead of uploading an Excel file, updating from an IQA query uses the query to pull data from the iMIS database.
To begin running an iUpdate Job, select a query. Click the Select button to open the IQA query search dialog. Navigate to your query and select the IQA query you want to import or update iMIS records.
If Cloud ID Account Linking is enabled, select the Cloud ID to run the IQA query from. This is enabled if you have configured Cloud ID Linking. This option allows staff users to run IQA queries (and pull subsequent data) from other iMIS databases.
Note: The IQA query cannot have a slash (/ or \) in the query's name. IQA queries should have the Only display unique results setting enabled in the Display tab of the IQA query editor.
Tip: We recommend that IQA queries are configured so that only contact records that require updating are updated (instead of everyone being updated). See Optimizing iUpdate jobs by updating only the contacts that need changes for more information.
Exporting tasks
Do the following to export tasks:
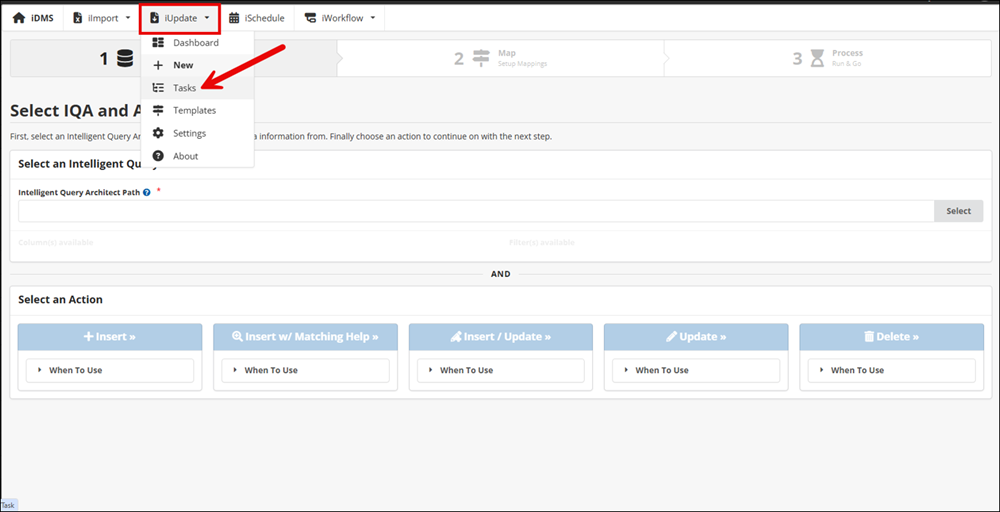
- Go to iUpdate.
- In the top navigation, go to iUpdate > Tasks.
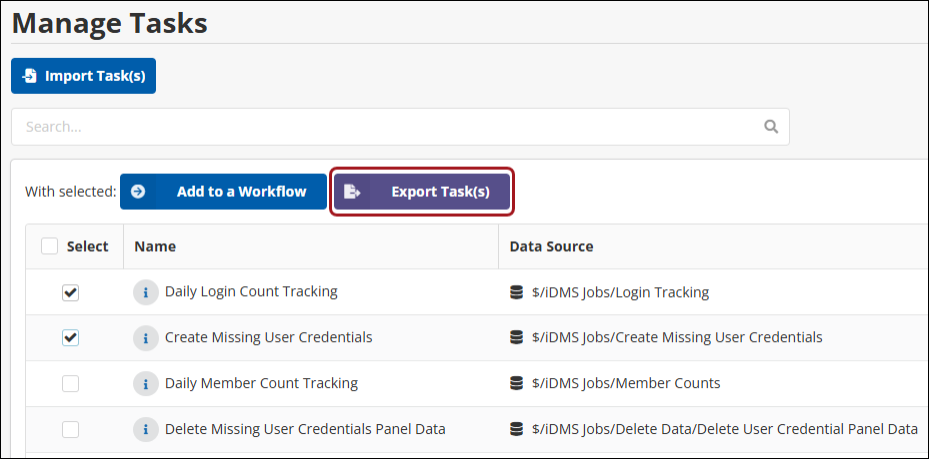
- Select the Task(s) to export.
- Click Export Task(s).
Importing tasks
To update tasks, do the following:
-
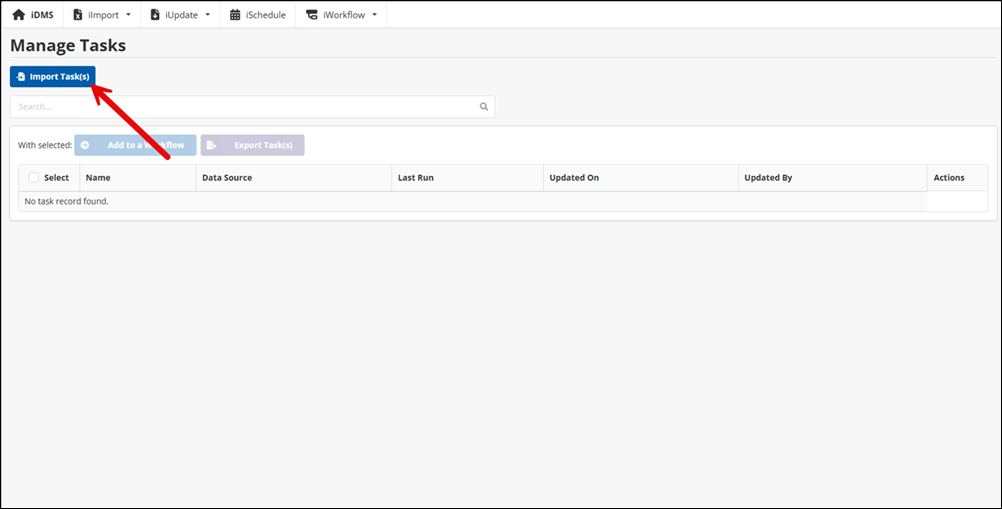
- Go to iUpdate > Tasks.
- Click Import Task(s).
- Do one of the following:
- Drag and drop the task file into the upload area.
- Click the upload area and select the task file.
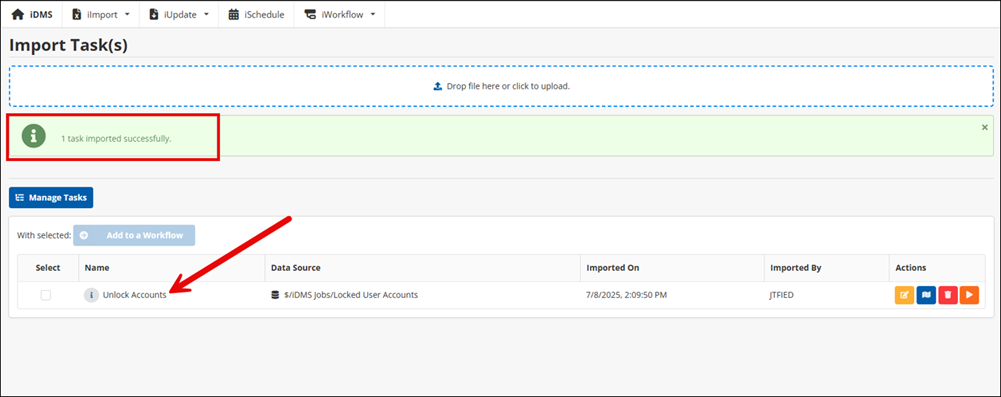
If the import process is a success, the new task appears in the task list. If the import fails, ensure that the IQA query exists in iMIS before trying the import process again.