Last updated on: June 08, 2026
Customize how the order confirmation is sent.
In This Article
- Custom order confirmation for a specific RiSE website
Custom order confirmation for Give Now donations
Troubleshooting: Website is not sending custom order confirmation
Sending a custom order confirmation template for a specific RiSE website
You can create custom order confirmation templates for specific RiSE websites by creating an OrderConfirmation shortcut for each website.
Creating the custom order confirmation template
Do the following to create the custom order confirmation template:
- Go to Marketing > Communication templates.
- Navigate through the following folder path: $/Common/Communications/Templates/Samples/Order confirmations
- Choose one of the sample communication templates as a starting point for your own custom template.
- Select Organize > Copy.
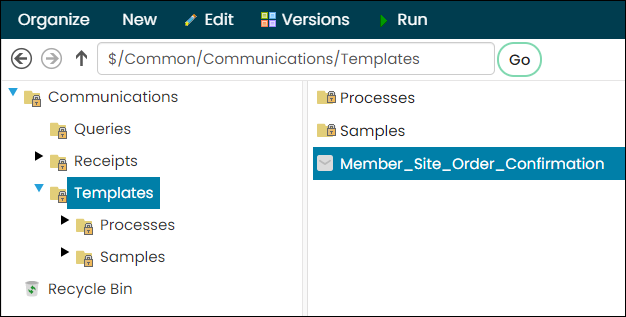
- Click the Templates folder, then select Organize > Paste.
- Make the desired edits to the communication template, such as the image, body content, and footer content. The following information must be configured in the template:
- The From address
- The To address defined as {#party.Email}
- Type = Billing
- The {orderdetailsblock} placed within the body. This placeholder will be replaced with a grid containing order details such as the order number, shipping address, item lines, and transaction totals. When previewing the Order Confirmation template on the Staff site, the {orderdetailsblock} will display an error. This error is not displayed when an order confirmation is sent.
- Save the template.
Choosing the custom template to send from your RiSE website
To choose a custom order confirmation to send for a specific RiSE website, do the following:
- Go to RiSE > Page Builder > Manage content.
- If you already have a custom Order Confirmation page, locate that page and open it for edit; otherwise, make a copy of the out-of-the-box Order Confirmation page:
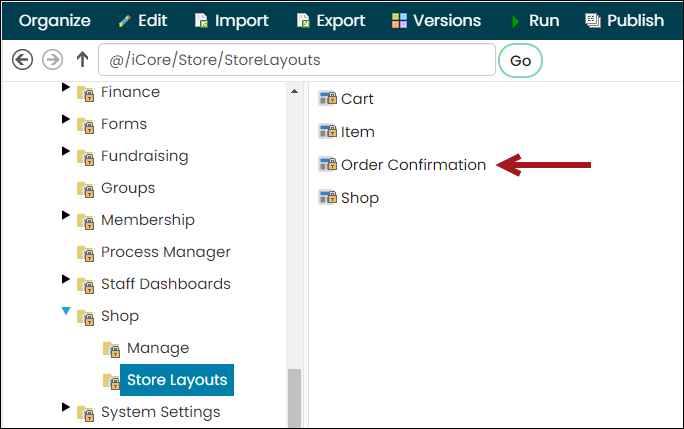
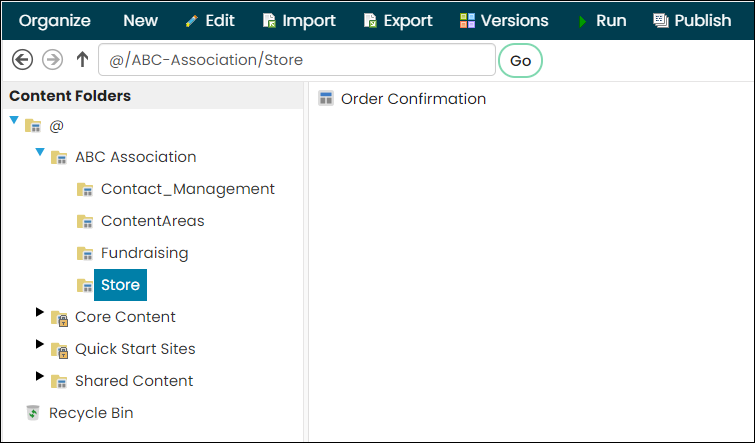
- Navigate through the following folder path: @/iCore/Store/StoreLayouts
- Copy the Order Confirmation content record (Organize > Copy).
- Paste the content record in your website’s content folder (Organize > Paste).
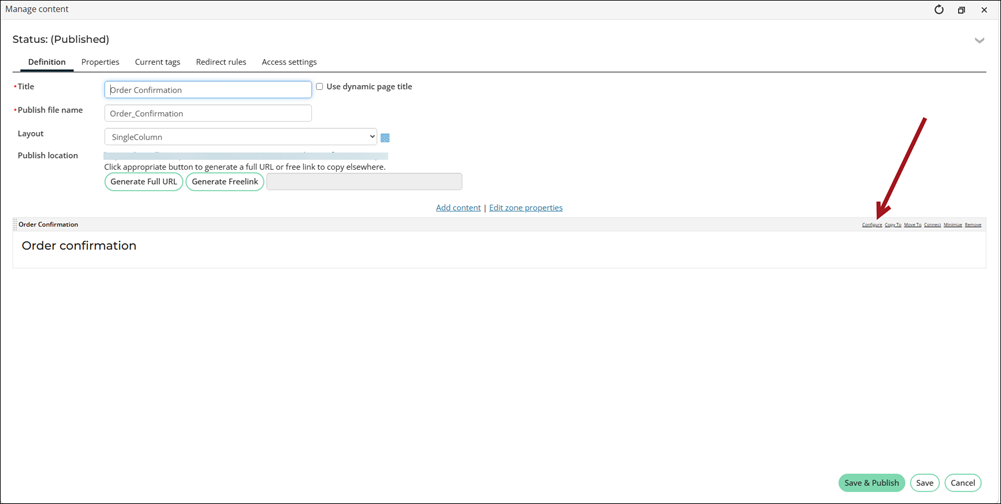
- Open the Order Confirmation page for edit.
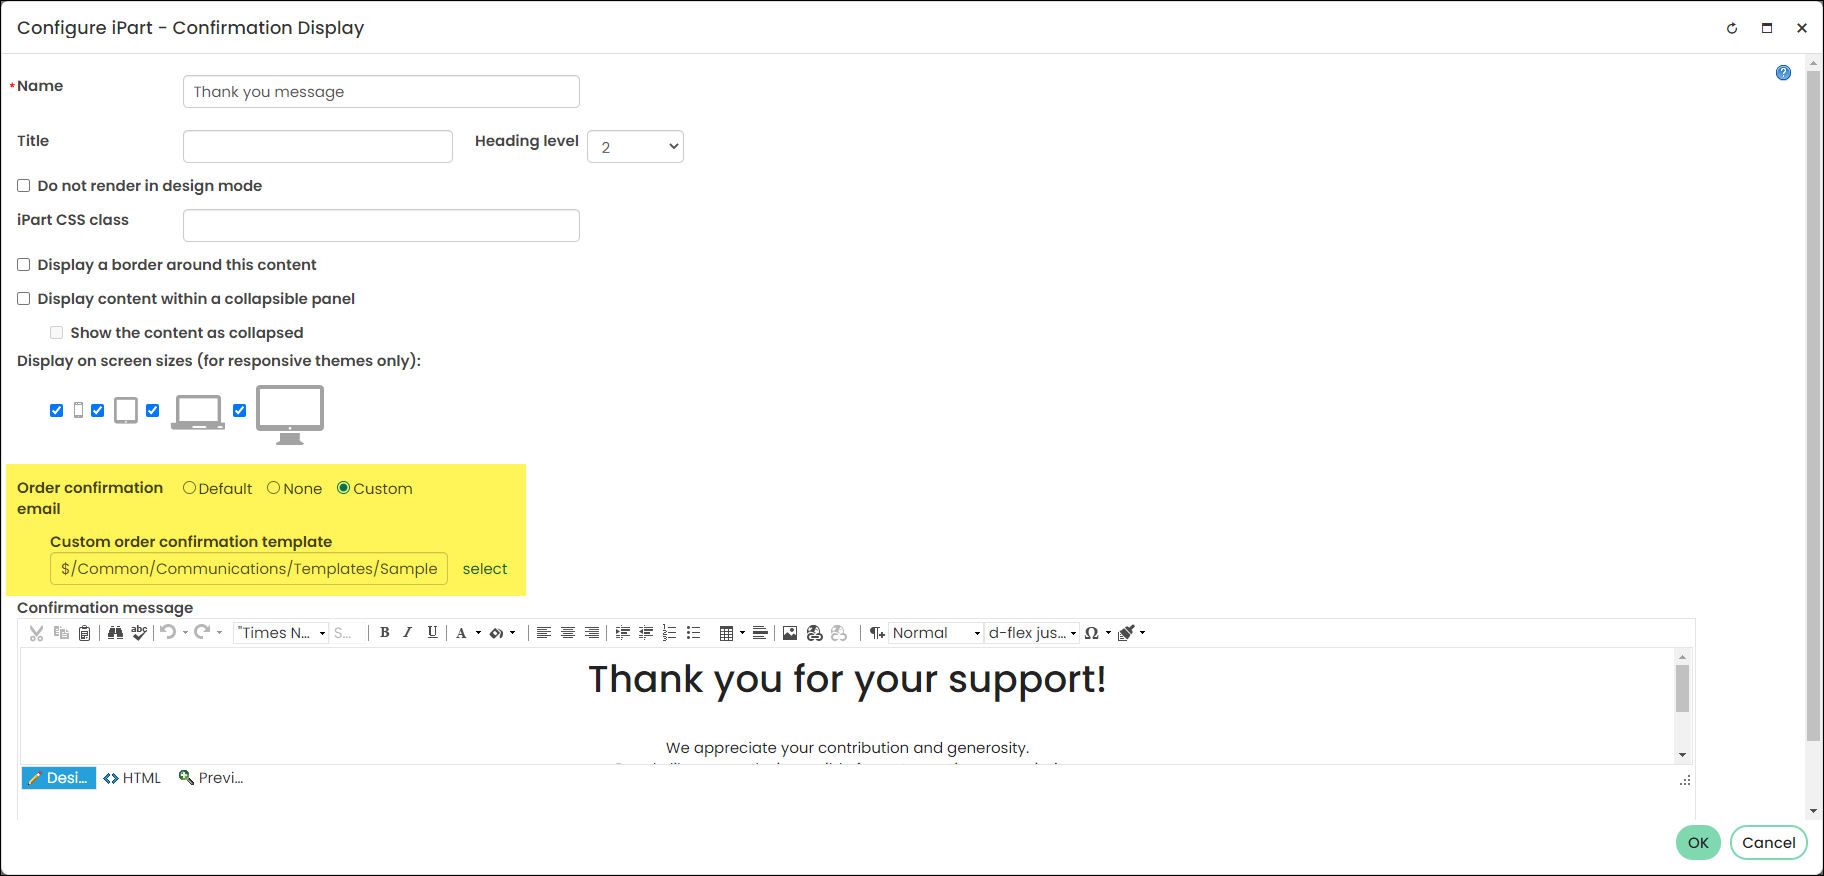
- From the Order Confirmation Display content item, select Configure.
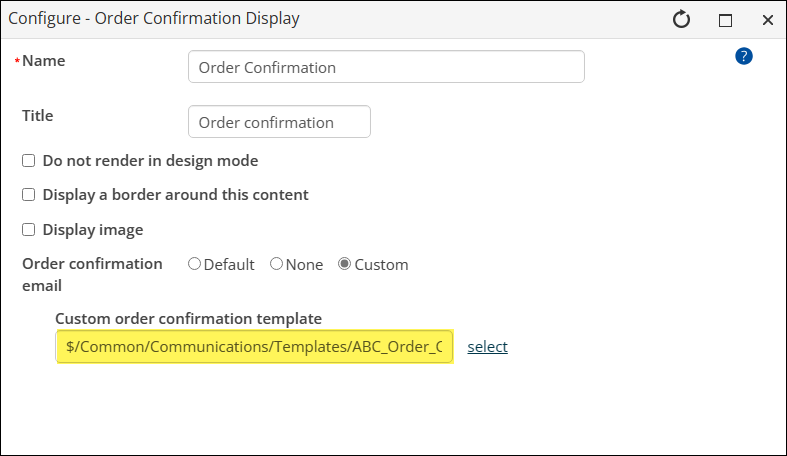
- From the Order confirmation email field, choose Custom.
- From the Custom order confirmation template field, choose the template you created in the above section.
- Click OK, then click Save & Publish.
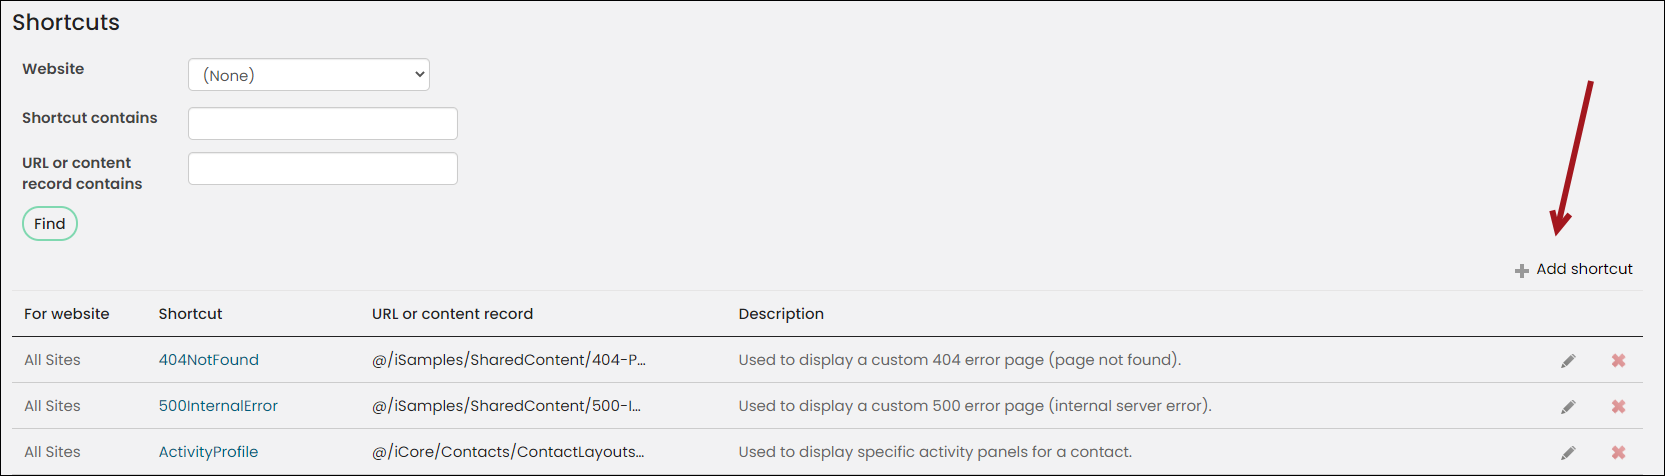
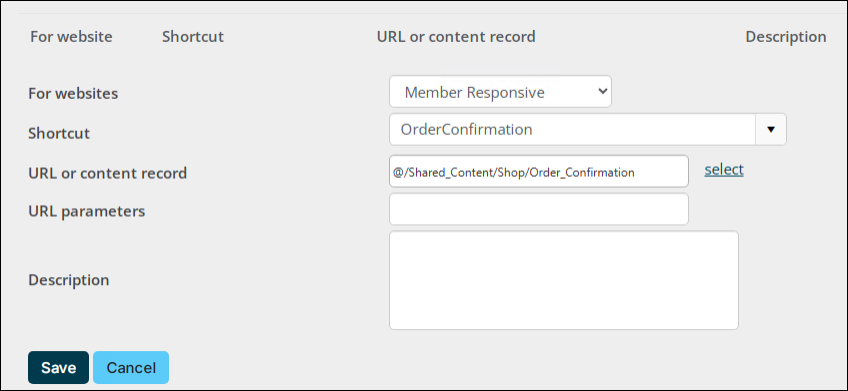
- Go to RiSE > Site Builder > Manage shortcuts.
- Click Add shortcut.
- For websites – Choose the specific RiSE website you want the order confirmation to be associated with.
- Shortcut – Choose OrderConfirmation.
- URL or content record – Choose the Order Confirmation content record you just edited.
- Click Save.
Tip: If you wish to configure certain RiSE websites to not send an order confirmation at all, choose None, and continue with the remaining steps.
Now when any purchases are made from this specific RiSE website, they are sent the custom order confirmation email you just added to the Order Confirmation page. Repeat these steps for all other RiSE websites for which you want to send a custom order confirmation template. Other RiSE websites that do not have a custom template defined will use the default order confirmation template (Settings > Commerce > General).
Important! If the website is still not sending the custom order confirmation template after following the above instructions, ensure the website's Cart page is using the OrderConfirmation shortcut. See Ensuring the Cart is using the OrderConfirmation shortcut.
Sending a custom order confirmation template for Give Now donations
You can designate a specific order confirmation template for donations made through a Give Now page. The default order confirmation (Settings > Commerce > General) would still send for any other purchases made outside of the Give Now page, if you do not have a custom order confirmation defined.
Note: You can also configure the Give Now page to not send order confirmations at all. To suppress the order confirmation for the Give Now page, see Suppressing the order confirmation for Give Now donations.
Tailoring the order confirmation template for Give Now donations
Do the following to create an order confirmation template specifically for Give Now donations:
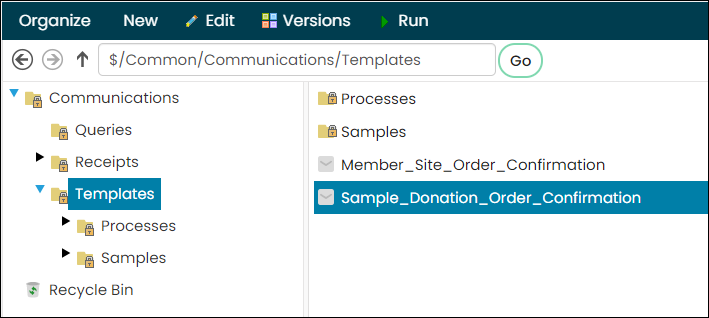
- Go to Marketing > Communication templates.
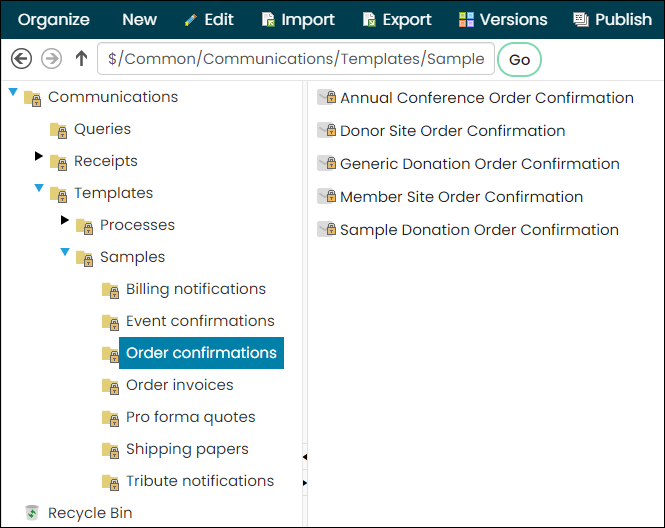
- Navigate through the following folder path: $/Common/Communications/Templates/Samples/Order confirmations
- Choose one of the sample donation communication templates as a starting point for your own custom template:
- Donor Site Order Confirmation
- Generic Donation Order Confirmation
- Sample Donation Order Confirmation
- Select Organize > Copy.
- Click the Templates folder, then select Organize > Paste.
- Make the desired edits to the communication template, such as the image, body content, and footer content. The following information must be configured in the template:
- The From address
- The To address defined as {#party.Email}
- Type = Billing
- The {orderdetailsblock} placed within the body. This placeholder will be replaced with a grid containing order details such as the order number, shipping address, item lines, and transaction totals. When previewing the Order Confirmation template on the Staff site, the {orderdetailsblock} will display an error. This error is not displayed when an order confirmation is sent.
- Save the template.
Choosing the custom order confirmation template to send from the Give Now page
Do the following to select your custom order confirmation template to send from the Give Now page:
- Go to RiSE > Page Builder > Manage content.
- Locate the Give Now page and open it for edit.
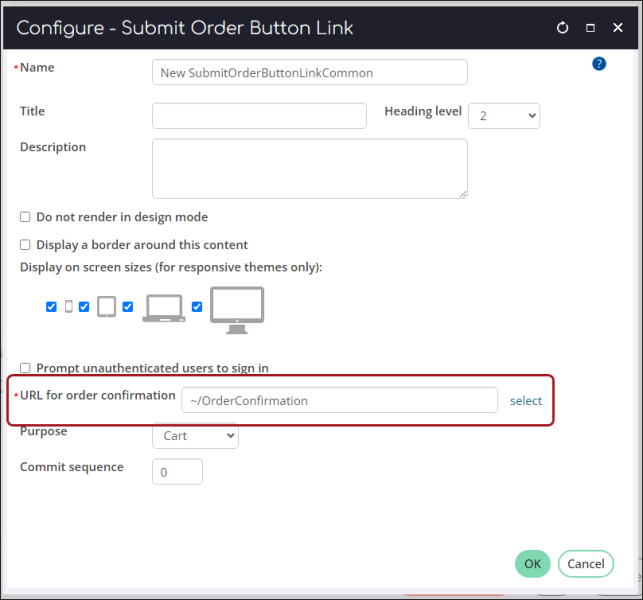
- Scroll down to the bottom and locate the Submit Order Button Link content item.
- Select Configure.
- Make note of the content record defined in the URL for order confirmation field. This is the page that must be edited to point to the custom order confirmation template.
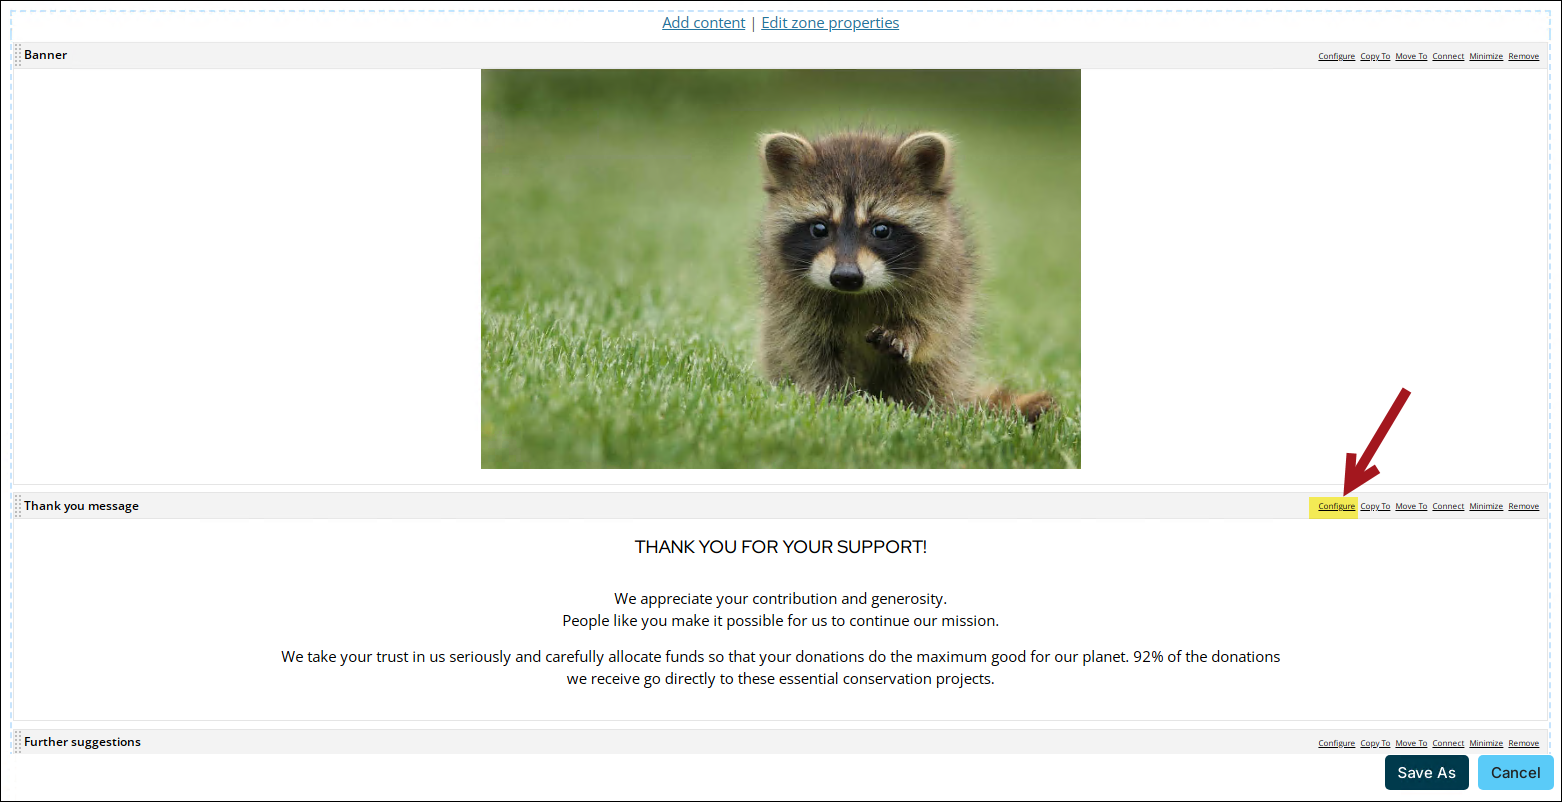
- Close the Give Now page and navigate to the content record that is defined in the URL for order confirmation field.
- Open the page for edit and locate the Confirmation Display content item.
- Select Configure.
- From the Order confirmation email field, select Custom.
- From the Custom order confirmation template field, choose the custom order confirmation template you created for the Give Now page.
- Click OK, then click Save & Publish.
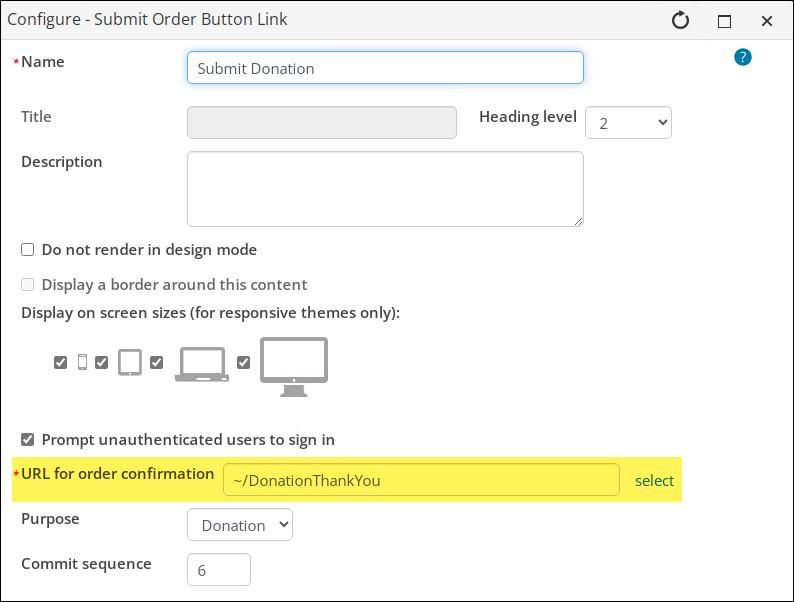
Out-of-the-box, the Give Now page is pointing to the ~/DonationThankYou shortcut, which is pointing to the Donation Thank You Page.
Note: You may want to use this shortcut if you have multiple Give Now pages on your website. Update the DonationThankYou shortcut (RiSE > Site Builder > Manage shortcuts) with your custom content and replace the URL for order confirmation content with ~/DonationThankYou.
Tip: If you wish to not send an order confirmation at all after a donor submits their donation from the Give Now page, choose None here and continue with the remaining steps.
When donations are made from your custom Give Now page, the donor is sent the order confirmation template specifically created for Give Now donations.
Ensuring the Cart is using the OrderConfirmation shortcut
If the website is not sending the custom order confirmation template, ensure the website's Cart page is using the OrderConfirmation shortcut:
- Navigate to the website that should be sending the custom order confirmation template.
- Click the Cart icon.
- Enable Easy Edit.
- Hover over the Submit Order Button Link content item, then click Configure.
- Review the URL for order confirmation field. If this field is not using the ~/OrderConfirmation shortcut, update it now to use the shortcut.
- Click Save & Publish.
- Repeat this process for all websites using a custom order confirmation shortcut.