Last updated on: June 29, 2026
You can customize the layout and organization of the account page to better suit your staff’s workflows.
In This Article
- Adding an out-of-the-box tab to custom account pages
Editing the layout of an account page tab
Editing the name and order of the account page tabs
Deleting a tab from an account page
Adding an out-of-the-box tab to a custom account page
There are many out-of-the-box tabs that should be used on custom account pages, for example, the Membership and Security tabs.
To add out-of-the-box tabs to custom account pages, do the following:
- Go to RiSE > Page Builder > Manage content.
- Navigate through the following folder path: @/iCore/Contacts/ContactLayouts/Staff/Tabs
- Choose the desired tabbed content.
- Click Organize > Copy.
- Navigate to the folder location where the custom account page tabs are saved. The recommended location is the following: @/Shared_Content/Staff/Tabs
- Click Organize > Paste.
- Choose the newly pasted content records, then click Publish.
Tip: Hold down Ctrl to choose more than one content record.
(optional) Updating the account page main content to include the new tabs
If you are saving custom account page tabs in the @/Shared_Content/Staff/Tabs folder, then nothing else is required. If you are saving your account page tabs in a different location, you may need to update the account page main content to include the new tabs.
Do the following:
- Go to any account page.
- Enable Easy Edit.
- Select Open in Content Designer.
- From the Account page tabs content, select Configure.
- Add a new tab (+).
- Enter the Tab name.
- Select the Content to display.
- Click OK, then click Save & Publish.
- Repeat this process for each new tab.
Editing the layout of an account page tab
Do the following to edit the layout of an account page tab:
- Go to RiSE > Page Builder > Manage content.
- Navigate to @/Shared_Content/Staff/Tabs.
Note: Your custom account pages may be in a different folder. If your account page tabs are not located in the Shared Content folder, locate the account page tabs.
- Double click on the tab you want to rearrange.
- Click and drag the various content items to their new locations you want them to display at. Available areas to move the content item to highlight in gray.
- Click Save & Publish.
Editing the name and order of account page tabs
Do the following to edit the name or change the order of account page tabs:
- Go to RiSE > Page Builder > Manage content.
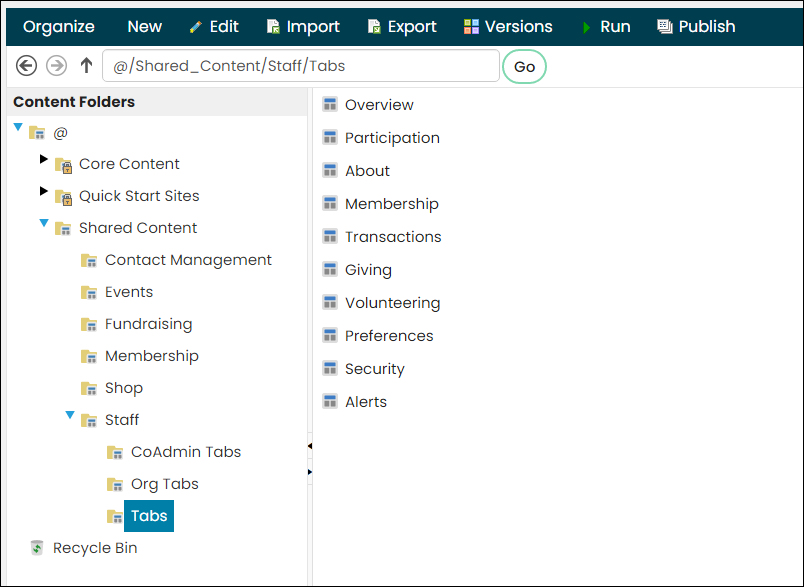
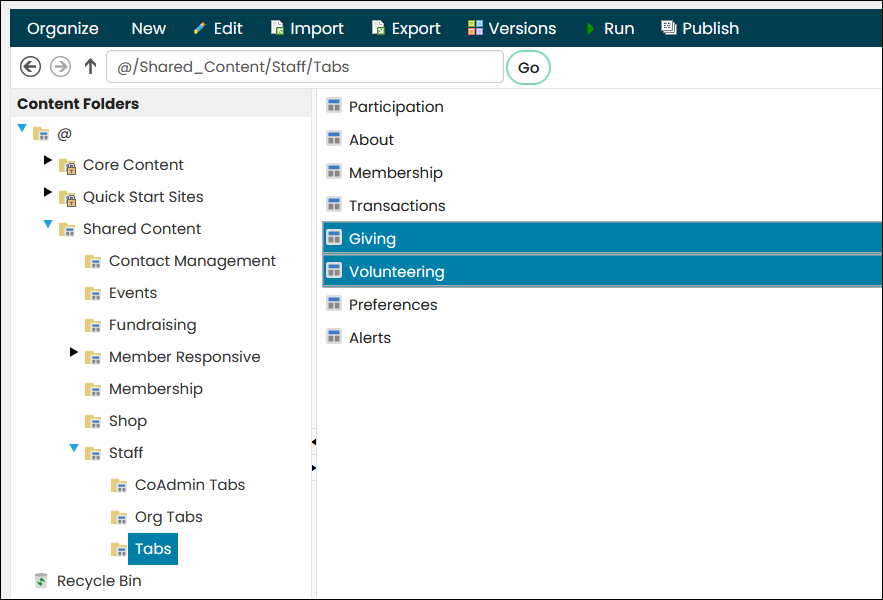
- Navigate to the folder location of the custom account page tabs. The out-of-the-box location is @/Shared_Content/Staff/Tabs.
- Open the content record for edit.
- (optional) Update the Title if you want to change what is displayed in the title of a browser window or browser tab.
- Update the Publish file name:
- Changing the name of the tab: Enter the new name in the Publish file name field to change the name of the tab.
- Changing the tab order: Entering a number as the first character of the Publish file name will specify the order the tab appears on an account page, beginning with zero.
Important! You will want to change the number of the other tabs as well to ensure the tabs are in the correct order after you begin modifying the numbers.
-
Click Save & Publish.

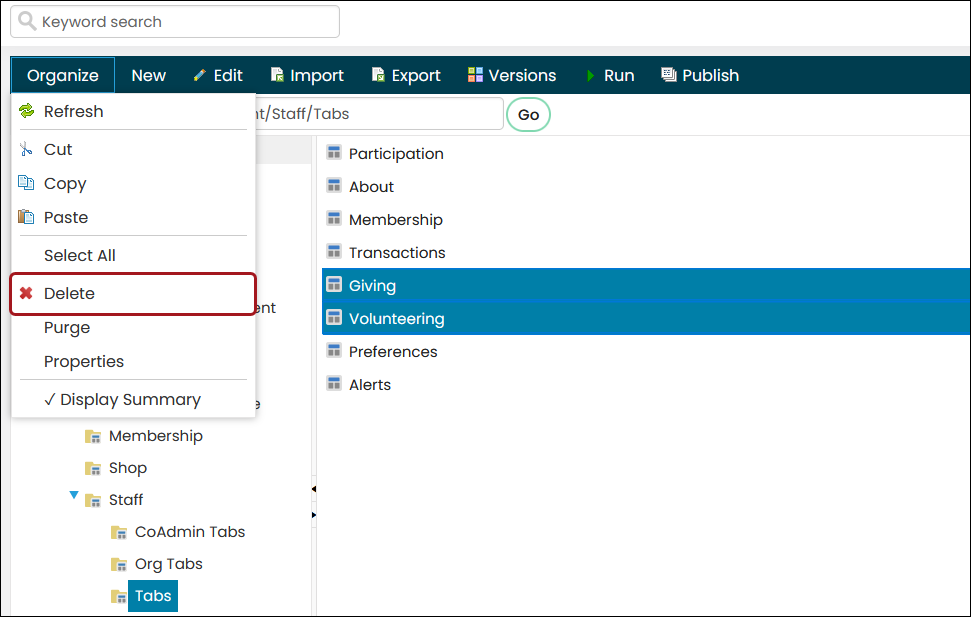
Deleting a tab from an account page
To delete a tab you do not want or need to use, simply delete the related content record from the @/Shared_Content/Staff/Tabs folder:
- Select the content records, for example, Volunteering and Giving.
-
- Go to Organize > Delete.
Note: To select multiple content records at once, hold down Ctrl on your keyboard, then click each content record.