Last updated on: June 29, 2026
The following options allow you to change the account page banner:
- CSS classes - Enable users to change the banner color on account pages.
- Layout - Enable users to use the out-of-the-box banner on account pages.
Note: Only one class can be used at a time.
In This Article
- Using CSS classes to change the banner color
Updating the Layout to use the out-of-the-box banner
Customizing the query to display different contact properties
Using CSS classes to change the banner color
The following table outlines the available CSS classes and the associated hex code color.
| Class to enter in the 'Page contain CSS class' field | Hex code |
|---|---|
| account-banner-bg-color-1 | #ffffff |
| account-banner-bg-color-2 | #413d6b |
| account-banner-bg-color-3 | #6b458f |
| account-banner-bg-color-4 | #9b4c81 |
| account-banner-bg-color-5 | #ca4d48 |
| account-banner-bg-color-red | #d03528 |
| account-banner-bg-color-orange | #e98300 |
| account-banner-bg-color-yellow | #e8d92d |
| account-banner-bg-color-green | #68bd49 |
| account-banner-bg-color-blue | #00a9e0 |
| account-banner-bg-color-purple | #413d6b |
| account-banner-bg-color-mps-1 | #007fa8 |
Do the following to update the account page banner to use a color:
- Navigate to a contact account page and enable Easy Edit.
- Select Open in Content Designer.
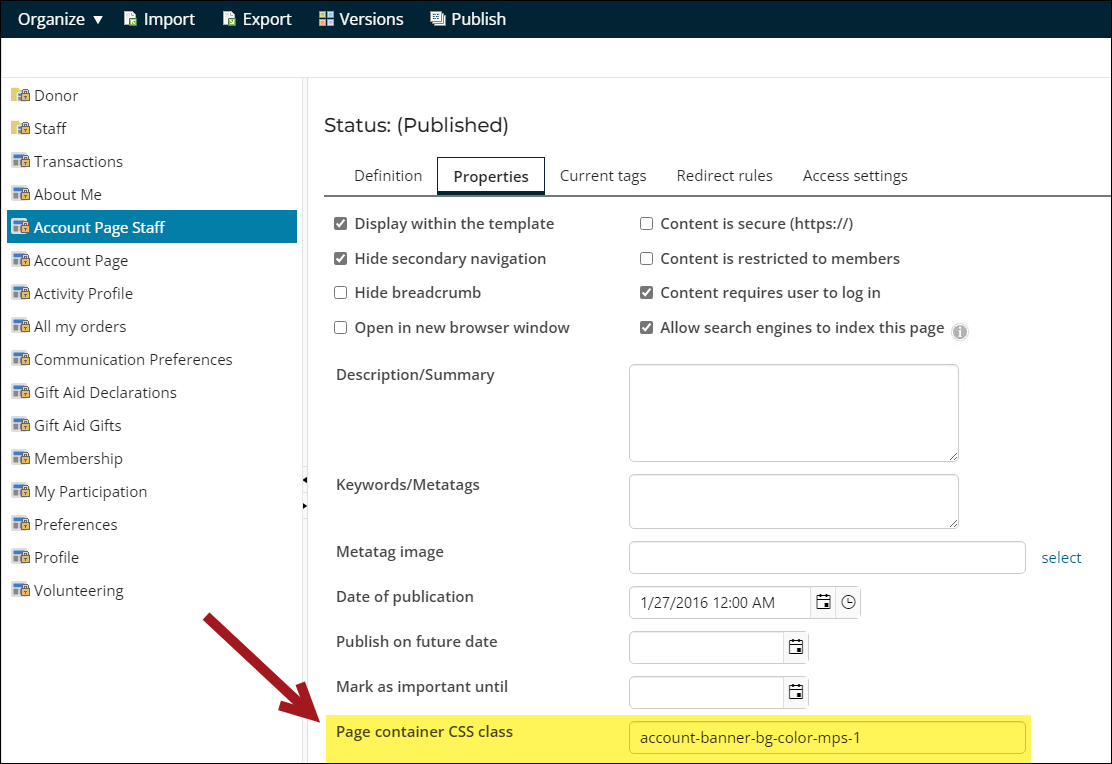
- Click the Properties tab.
- From the Page contain CSS class field, add the desired class.
- Click Save & Publish.
Updating the Layout to use the out-of-the-box banner
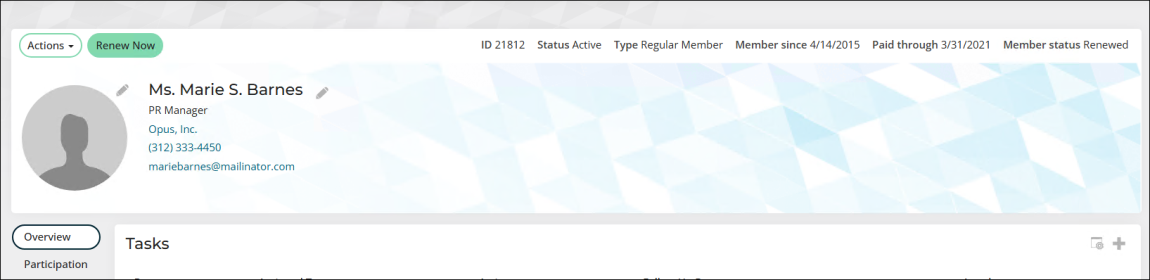
The out-of-the-box account pages use a banner that is controlled by a page layout.
Do the following to update the account page to use the out-of-the-box banner:
- Go to RiSE > Page Builder > Manage content.
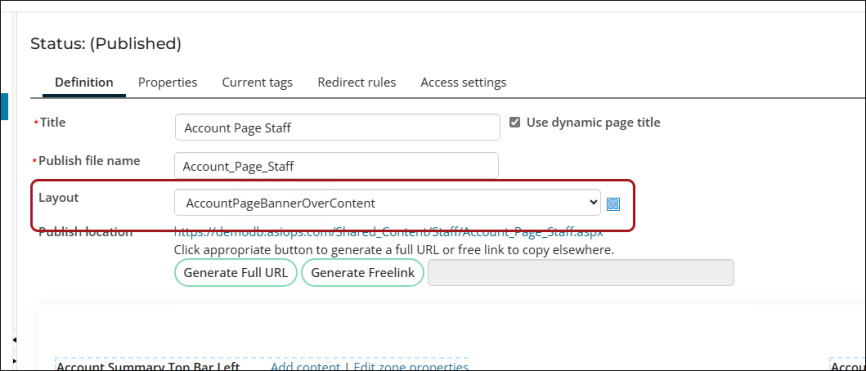
- Open the custom account page.
- From the Layout drop-down, choose AccountPageBannerOverContent.
- Click Save & Publish.
Customizing the query to display different contact properties
The out-of-the-box account pages use a query to display the contact properties in the banner.

Do the following to customize the query to display different contact properties:
- Go to RiSE > Intelligent Query Architect.
- Navigate through the following path: $/ContactManagement/DefaultSystem/Queries/Advanced/Contact
- Copy the Account page banner query and Paste it in the desired location.
- Open the copied query and make the desired changes.
- Click Save.
- Open the Account Page Staff content record for edit.
- From the Contact Properties content, select Configure.
- From Select an IQA query, choose the query you modified.
- Click OK, then click Save & Publish.