Last updated on: June 23, 2026
Queries are tools for retrieving and displaying data on pages in iMIS. This article covers the steps to locate the query used on a specific page and modify its columns and filters.
In This Article
Finding where a query is located
To locate the query used on a specific page, do the following:
- Navigate to the content record where the query is displayed.
- Enable Easy Edit.
- Locate and hover over the query, then click Configure.
- The Source query or folder field displays the path to the query used on the page. Note this path for future reference.
- Navigate through the query path you noted in step 4.
- Edit the query as needed, then Save your changes.


Note: If the query is an out-of-the-box query (indicated by a lock icon), click Save as to create a copy of the query to prevent your changes from being overwritten in a future upgrade. Update the Source query or folder for the web page to point to the new, edited query.
Editing an existing query
To add or remove columns or filters from an existing query, do the following:
- Go to RiSE > Intelligent Query Architect.
- Open the desired query. Refer to the above steps to locate the source query for a specific page.
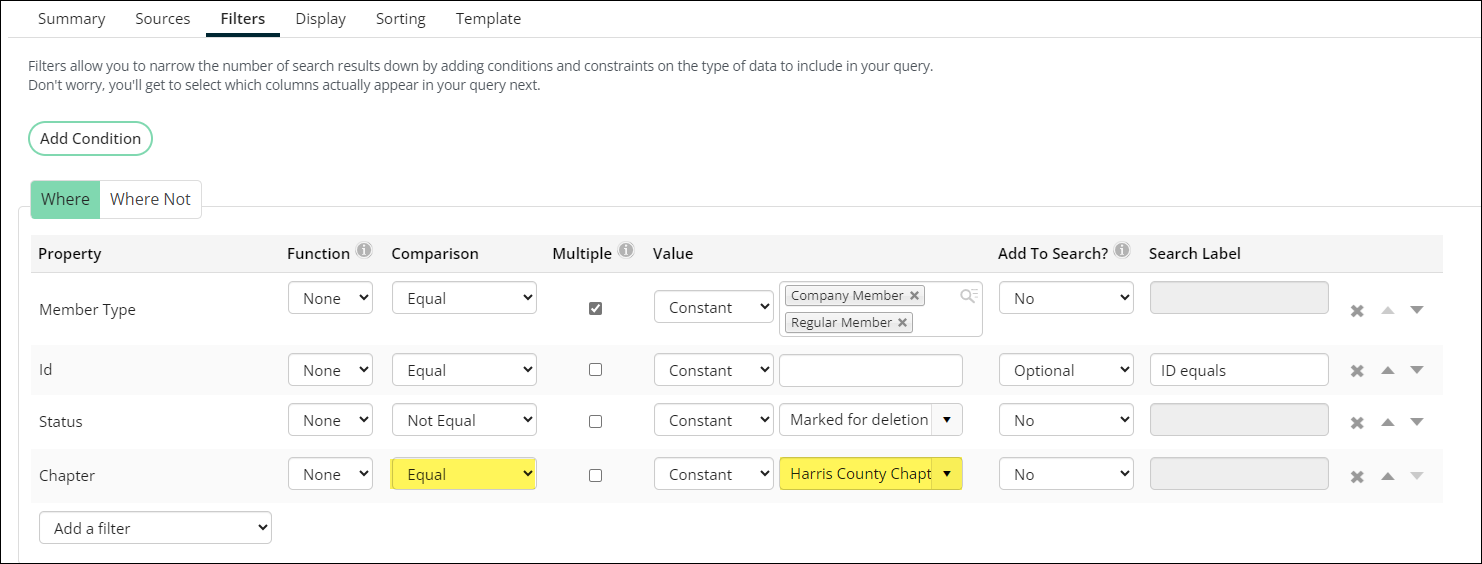
- To add or remove search filters, click the Filters tab:
- To add a filter, do the following:
- Select the Property to filter.
- Select the type of Comparison (e.g., Equal, Not Equal, Contains).
- Define the Value for comparison.
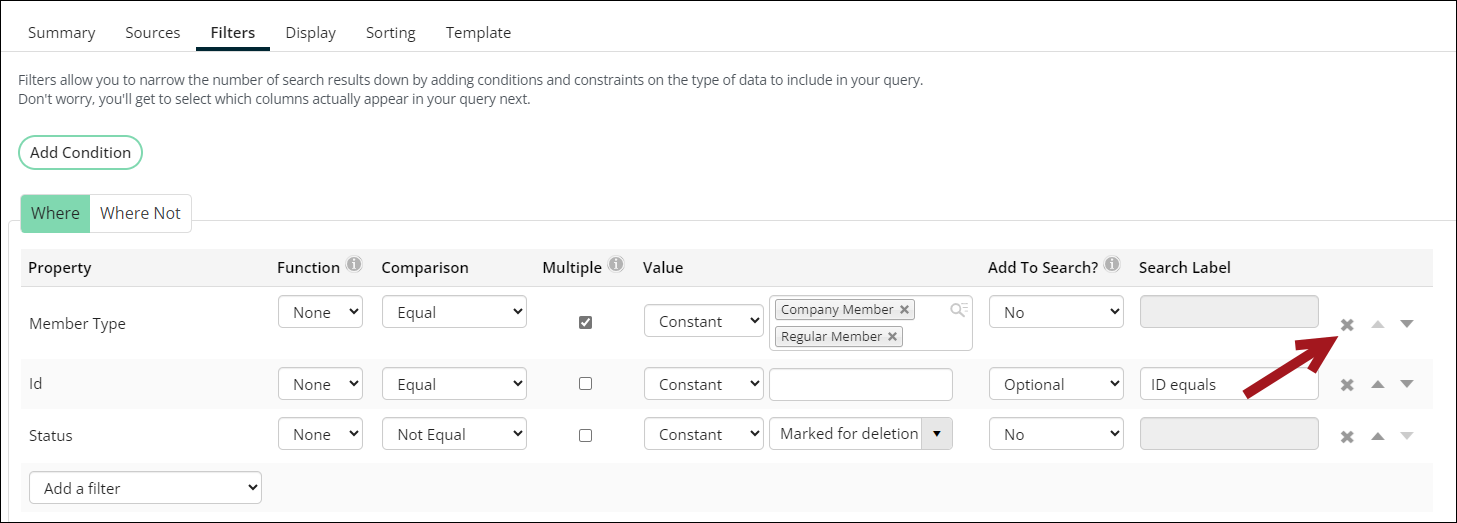
- To remove a filter, click the delete (X) icon next to the filter.
For more details on the filter options, see Developing filters.
- To add a filter, do the following:
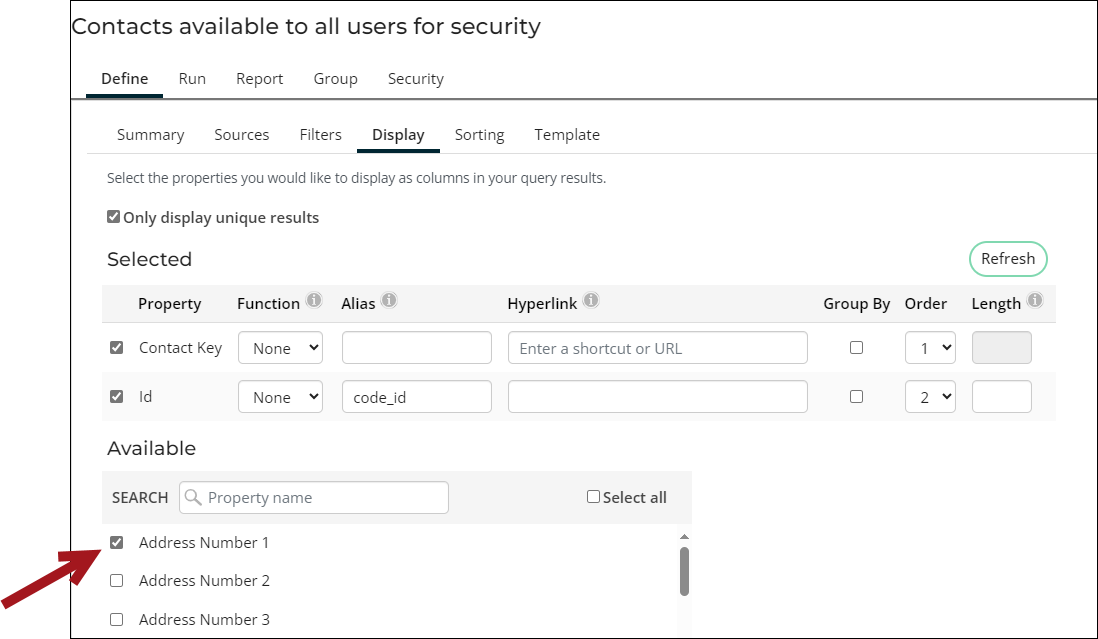
- To add or remove columns, click the Display tab. Here, you can see the available properties (columns) from your selected sources:
- To add a column, enable the checkbox next to the property name and click Apply.
- To remove a column, disable the checkbox next to the property name.
- Click Refresh to view the latest Selected columns. Define attributes such as Alias or Hyperlink for each Selected column as needed. For more information, see Display tab.
- To add data not currently listed in the Display or Filters tab, add additional business objects/queries from the Sources tab and define the relationships among the sources. For more information, see Building a new query.
- Once you finish editing the query, make sure to Save your changes.
Note: If the query is an out-of-the-box query (indicated by a lock icon), click Save as to create a copy of the query to prevent your changes from being overwritten in a future upgrade. Update the Source query or folder for the web page to point to the new, edited query.