Last updated on: June 30, 2026
Managing files and images is an important aspect of maintaining your RiSE website.
Note: If you manually enter a link to an image that does not exist or an incorrect file path for an image, your content might not be able to be saved correctly. To ensure you do not have issues saving content that includes references to images, use the Image Manager to upload and manage image files.
In This Article
Images
To help you to organize your site images where they cannot be overwritten during upgrades, iMIS uses one system-defined path for all of the image files that you upload. Images are stored in the Document system and can be viewed and maintained in RiSE > Page Builder > Manage images or in RiSE > Document system in the $/Images folder. Event and product images are stored in the $/Images folder.
- To upload images, you must have Content Upload content authority group permissions.
-
.JPG, .JPEG, .PNG, and .WEBP images uploaded to the $/Images folder are automatically optimized for the web without any visible loss in quality. Host images outside of iMIS to avoid image optimization. For more information about image optimization, see TECH ALERT – Image web optimization.
| Allowed image sizes and extensions | |||
|---|---|---|---|
|
Suggested max size |
Suggested dimensions | Allowed extensions | |
| Regular images (Image manager) | 10 KB | Any | *.gif, *.png, *.jpg, *.jpe, *.tif, *.bmp, *.svg, *.ico |
| Homepage banners / Slideshow images | 20 - 50 KB | 1000 - 1400 (w) x 400 (h) px | *.gif, *.png, *.jpg, *.jpe, *.tif, *.bmp, *.svg, *.ico, *.webp |
| Favicon (Desktop) | 4.77 KB | Must be square, at least 48 x 48 pixels, and a multiple of 48 (e.g., 48 x 48 px, 96 x 96 px, 144 x 144 px) | *.ico, *.png, *.jpg, *.jpe, *.gif |
| Favicon (Mobile) | 4.77 KB | Must be square, at least 48 x 48 pixels, and a multiple of 48 (e.g., 48 x 48 px, 96 x 96 px, 144 x 144 px) | *.png |
| Navigation icons | 4.77 KB | 15 x 15 px | *.gif, *.png, *.jpg, *.jpe, *.ico |
Uploading images
You can use the Image Manager to upload image files. You are able to upload new images anywhere you have the ability to select an image.
Note: .JPEG files are not supported and should be converted to .JPE before uploading.
To upload a new image, do the following:
- Go to RiSE > Page Builder > Manage images.
- Select the folder to which you want to upload an image. You can also select to create a New Folder to upload your images.
- Click Upload.
- Click Select to browse to the image you want to upload.
- Select the image and click Open.
- Click Remove to remove an image before uploading.
- When you have finished selecting images to upload, click Upload.
The Image Manager has a built-in Image Editor that can perform some basic edits to images that you have already uploaded.
Note: You cannot paste images into the editor in some content items, including the Content Html. You must upload images using the Image Manager.
Replacing images
To ensure images are updated smoothly, it is recommended to update the existing image rather than uploading a new one. This way, the image name and file path stay the same, avoiding the need for manual updates in places the image is being used. Replacing the existing image will automatically update it everywhere it is used.
Do the following to update an image:
- Go to RiSE > Document system.
- Select the images folder.
- Locate and select the image.
- Click Edit.
- From the Upload new version field, select the updated image.
- Click Save.
Deleting images
While images can be deleted from the Image Manager or the Document system the images folder itself, including the Icons and Samples sub-folders, cannot. When an image is deleted from the Document system, the image is placed in the Recycle Bin, where it can be recovered if necessary.
When an image is deleted from the Image Manager, the image is deleted and purged at the same time and cannot be recovered.
Image tips
The following are tips to consider when using the Image Manager:
- Do not use Image Editor with transparent images. The transparent background becomes black. To edit transparent images, right-click on the image and select Save Image As to save a copy locally, and then edit the image with your preferred program. Upload the image to iMIS.
- .JPEG files are not supported by the Image Manager and should be converted to .JPE before uploading. Staff users can still upload .JPEG files through the Document system (RiSE > Page Builder > Manage files).
Files

Using the Content Html content item, you are able to create a link that provides a downloadable document. These documents can be managed from RiSE > Page Builder > Manage files. From here, system administrators
| Allowed file sizes and extensions | ||
|---|---|---|
| Max size | Allowed extensions | |
| File upload (Manage files) | 112400 KB |
*.7z, *.avi, *.bmp, *.dmg, *.doc, *.docx, *.epub, *.fml, *.gif, *.htm, *.html, *.ics, *.jpeg, *.jpg, *.mid, *.midi, *.mobi, *.mov, *.mp3, *.mp4, *.mpg, *.msg, *.pdf, *.png, *.ppt, *.pptx, *.tif, *.tiff, *.txt, *.wav, *.webp, *.wmv, *.xls, *.xlsx, *.xml, *.zip |
| File import (XML backup) | 112400 KB | *.xml |
Note: The Flash Video File (FLV), MS Word Mail Merge (WMM), MS Word Mail Merge Template (WLT), Real Audio (RA), Real Audio Metafile (RAM), Windows Write Document (WRI), and Word Perfect Document (WPD) file types are deprecated as of September 2021. Any files with these extensions remain in the Document System, but they cannot be edited.
Inserting a downloadable document
To insert a link to a downloadable document, do the following:
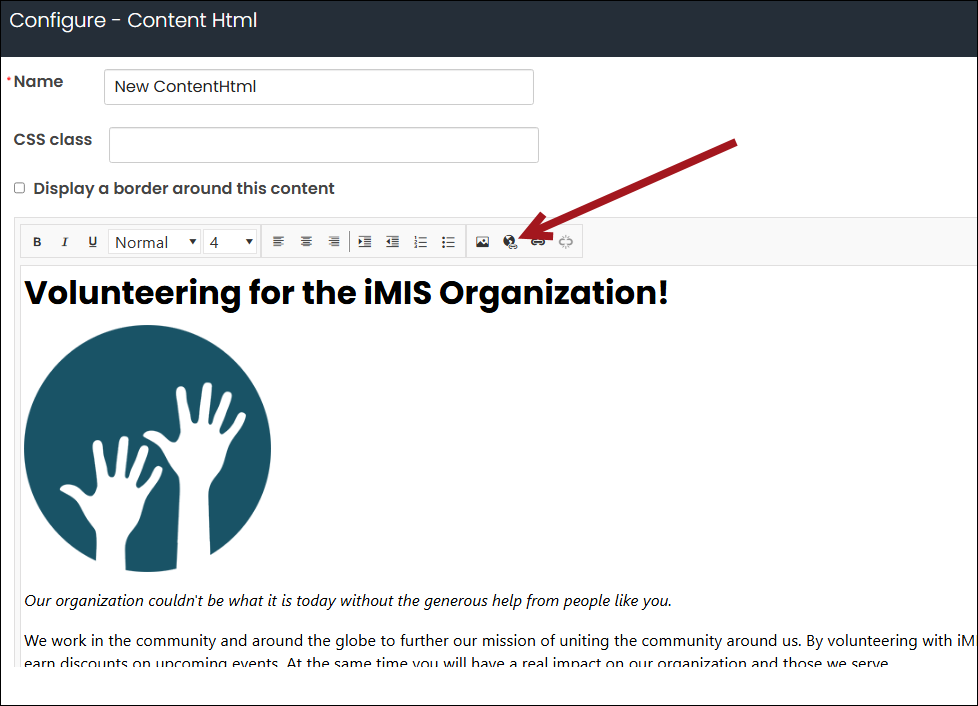
- Create a new content record with the Content Html content item, or edit an existing record to insert a link.
- From the editor toolbar, select the Content Link Manager icon:
- Choose a Link type:
- Content or URL
This link allows users to navigate to a separate web page. Do the following:
- Enter the Link text.
- Define the Content or URL:
- Select content from the Document browser.
- Enter a content record's direct path. For example, @/iCore/DefaultStaff.
- Enter a shortcut URL. This will preserve the link even if the content is moved in the document system. The shortcut must conform to the format ~/Shortcut.
- Enter a direct link. For example, http://www.help.imis.com.
- Enter a CSS class that will be applied to the link.
- If the Content or URL is pointing to a content record, select a Default website.
- Enter or select a Source code to associate this link with a marketing campaign.
- Enter Additional URL parameters to include in the link. To add multiple URL parameters, follow the format:
param1=value1¶m2=value2¶m3=value3
- Downloadable document
This link allows users to download a document. Do the following:
- Enter a link description for Link text.
- From Document, select the desired file. If the content record you are working with is new, you must save the content record before you are able to upload a new file.
- Select the Link behavior:
- Download – The file is downloaded to your computer.
- Link in new tab – The opens in a new browser tab.
- Click OK.
- (optional) Enter a CSS class for the link.
Note: To manage these files, go to RiSE > Page Builder > Manage files.
Any file that cannot be opened in a new browser tab will download as before. The browser will open a new tab even if the file cannot be opened.
Note: Certain document types will always download, even if you select Link in new tab. These document types vary by browser, platform and operating system.
- Content or URL
- Click OK.
Note: If the content record you are working with is new, you must save the content record before you are able to upload a new downloadable document.
Replacing files
Similar to replacing images, it is recommended to update the existing file rather than uploading a new one. This way, the file name and file path stay the same, avoiding the need for manual updates in places the image is being used. Replacing the existing file will automatically update it everywhere it is used.
Do the following to update an file:
- Go to RiSE > Document system.
- Select the $/Common/Uploaded files folder.
- Locate and select the file.
- Click Edit.
- From the Upload new version field, select the updated file.
- Click Save.