Last updated on: June 18, 2026
Create iWorkflows in one of the following ways:
- Change Notifications
- iWorkflow wizard
- Blank workflow (starting from scratch)
- Import file
iMIS Change Notifications allow you to trigger iWorkflow processes when data changes occur in iMIS, such as when a contact record is updated or created. Review the following to configure change notifications in iMIS and create an iWorkflow that responds to those events.
Creating the endpoint URL
Do the following to create the endpoint URL:
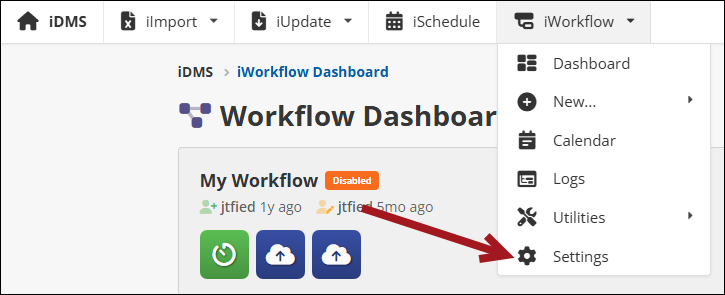
- From the Cloud Dashboard, click iWorkflow.
- From the navigation, click iWorkflow > Settings.
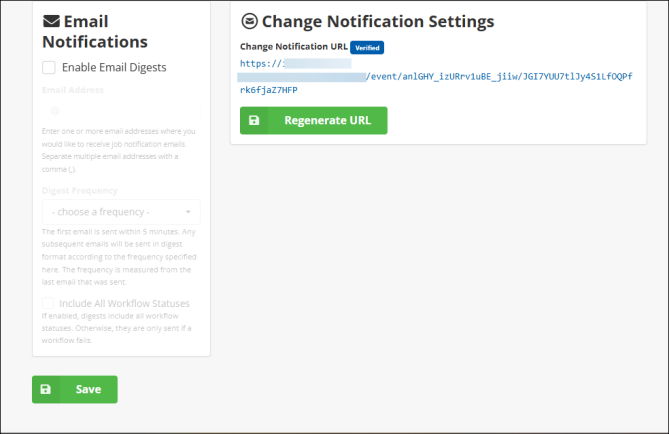
- Click Regenerate URL. This generates the required URL for iMIS.
- Click Save.
Adding the endpoint URL to iMIS
Do the following to add the endpoint URL to iMIS:
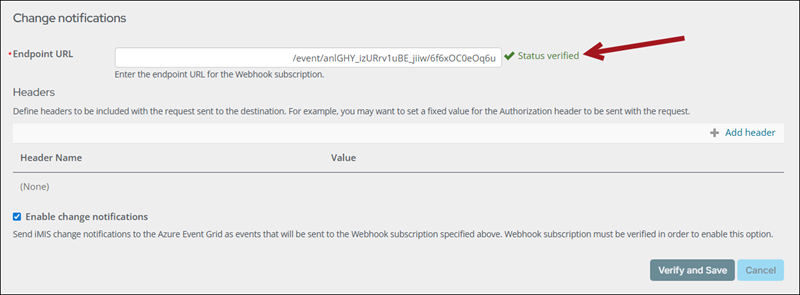
- From iMIS, go to Settings > Change notifications.
- Enter the generated URL from iWorkflow into the Endpoint URL field.
- Click Verify and Save.
- Confirm the status is verified.
Creating the change notification in iWorkflow
Do the following to create the change notification iWorklow:
- From the Cloud Dashboard, click iWorkflow.
- Click +New Workflow... and choose Blank Workflow.
- Choose iMIS Change Notification.
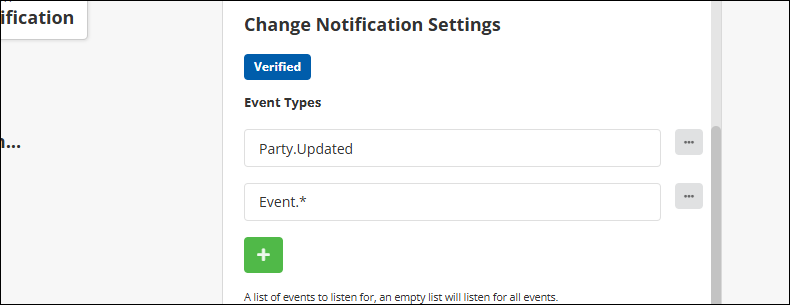
- Add the desired event types. This consists of the entity name and action, separated by a period. For example, Party.Updated. You can also use a wildcard value for the action in order to capture all events for specific entity, for example Event.* To capture all change notification events, leave the Event Types empty.
- Enable Include Full Record to include the Subject (entity) data in the payload.
- Optionally enter a Metadata Output Property. This specifies the property where HTTP request metadata, such as the request host and headers, is stored. The webhook request body is always available, regardless of this setting.
- Click Save.
Note: For a list of the entities and actions that can be captured, see Change Notifications.

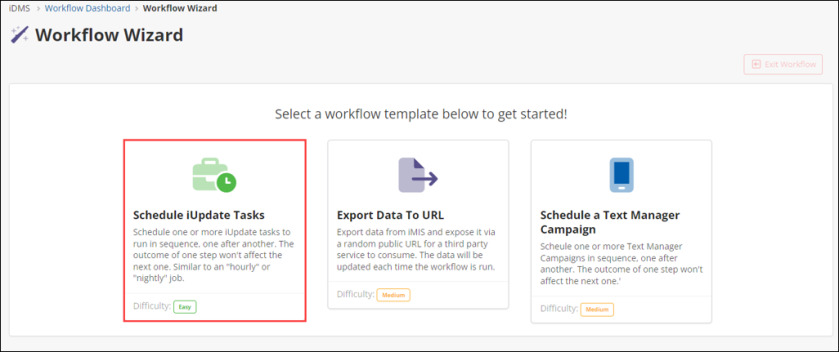
A template can be used to Schedule iUpdate Tasks, Export Data to URL, and Schedule a Text Manager Campaign.
Scheduling iUpdate tasks
Schedule one or more iUpdate tasks to run in sequence. The outcome of one step will not affect the next one, similar to how “hourly” or “nightly” jobs work.
Do the following to schedule iUpdate tasks:
- Select Schedule iUpdate Tasks.
- Click Start.
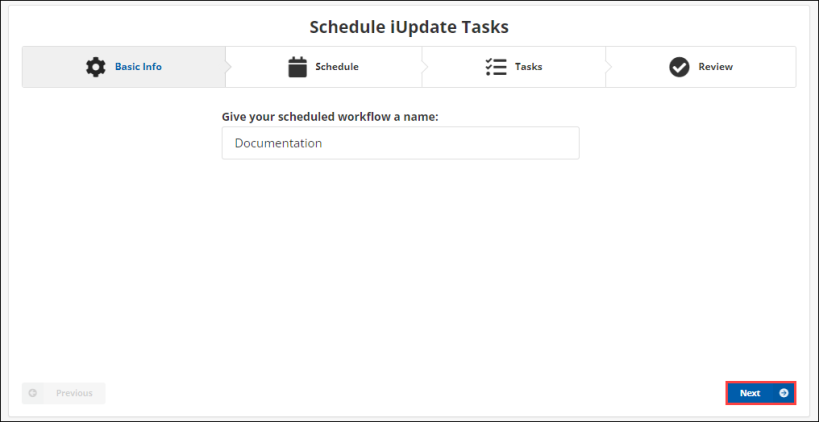
- Name the workflow, then click Next.
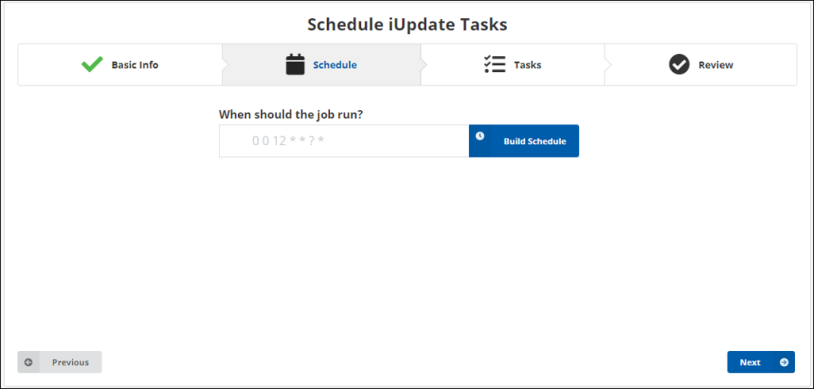
- Select when the job should run. The schedule uses a Cron expression.
- Click Next.
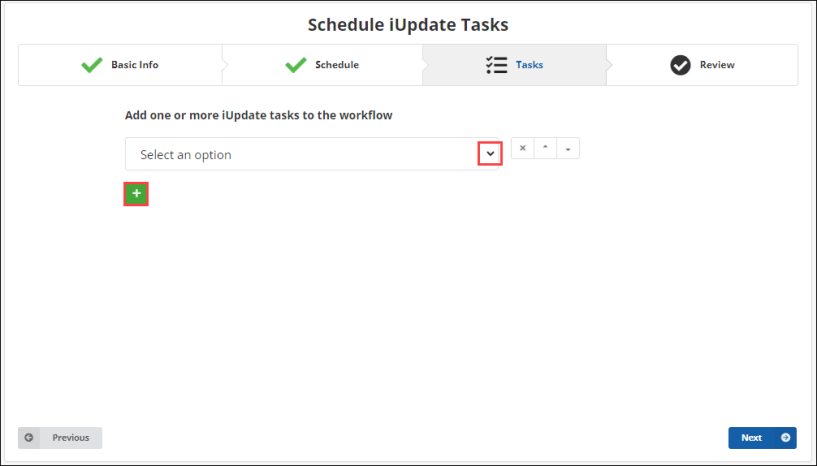
- Add iUpdate tasks to the workflow.
- Click the green plus (
 ) to add an iUpdate task.
 - Click the drop-down arrow (
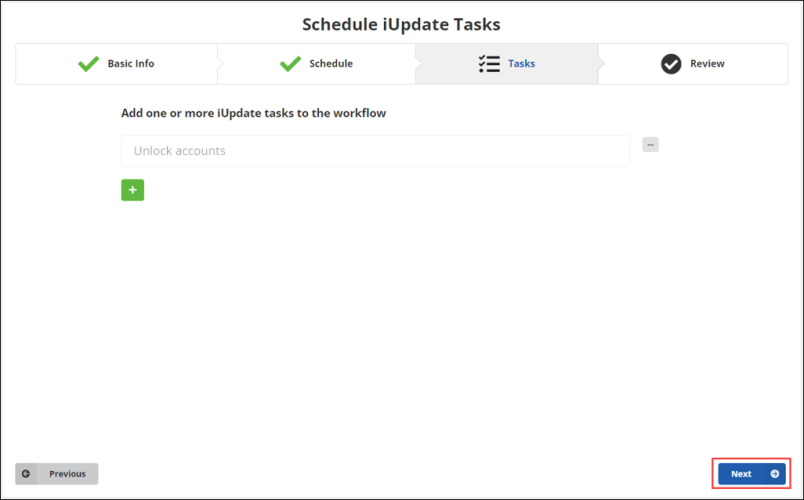
 ) to select the task.You may add multiple iUpdate tasks to this workflow.
 - Click Next.
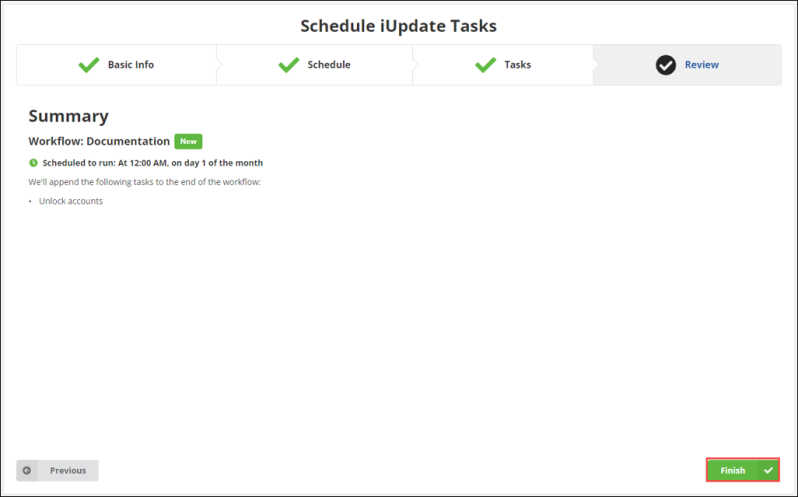
- Review the workflow and click Finish.
- The workflow will then be enabled. To edit a workflow, see Editing a workflow.
Note: If you are not familiar with Cron expressions, the Build Schedule button helps to create one for hourly, daily, weekly, monthly, and one time run schedules. For more advanced expressions, the Cron Expression Generator-Quartz.
Note: The task must already be saved as an iUpdate task. Saving a task can be done after setting mappings by clicking Schedule as Task, then Save after giving the task a name. You may also click + Add to New or Existing Schedule, which will save the task then open iWorkflow.
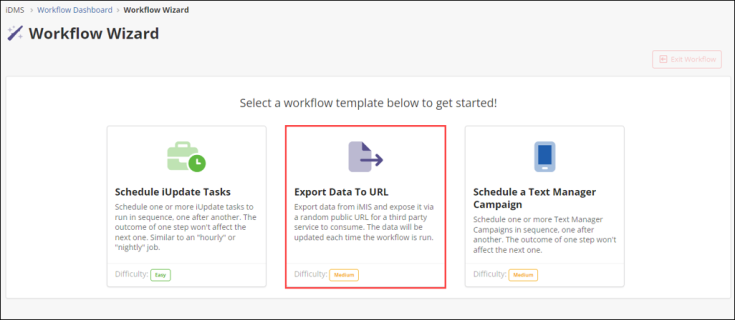
Exporting data to URLs
Export data from iMIS and expose it via a random public URL for a third party service to consume. The data will be updated each time the workflow is run.
Note: This workflows will have the Manual trigger, meaning they will be ran manually. This can be changed. To do so, see Editing a Workflow.
Do the following to export data to URL:
- Select Export Data To URL.
- Click Start.
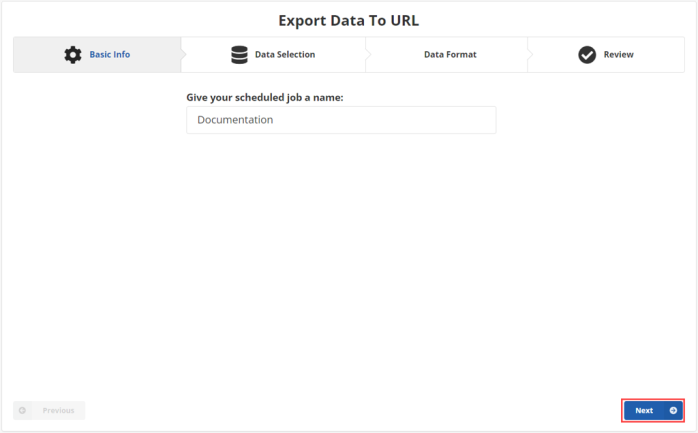
- Name the workflow, then click Next.
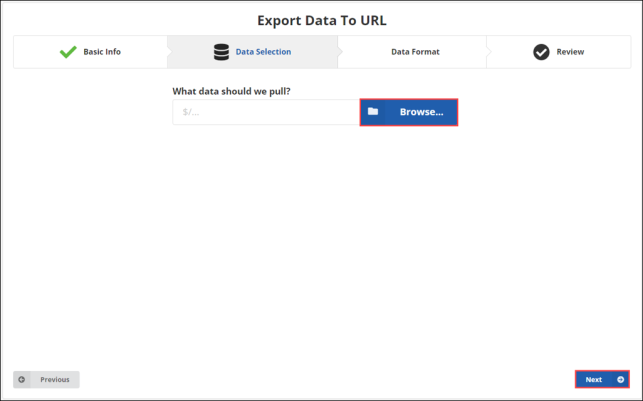
- Select the data to use.
- Click Browse to select the IQA query to pull data from.
- Click Next.
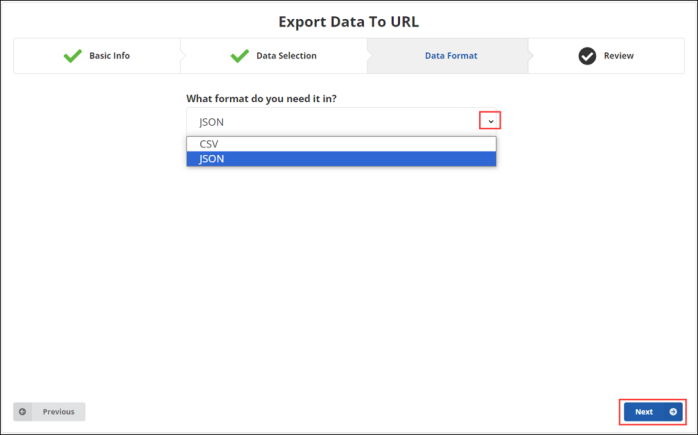
- Choose the data format form the drop-down. The query data can be in either JSON or CSV format.
- Click Next.
- Review the workflow and click Finish.
- Do the following, depending on the data type:
- JSON: From the Get Public Link action, fill out the Output Property.
- CSV: From the Convert to CSV action, fill out the Input Array and Output Property. From the Get Public Link action, fill out the Output Property.
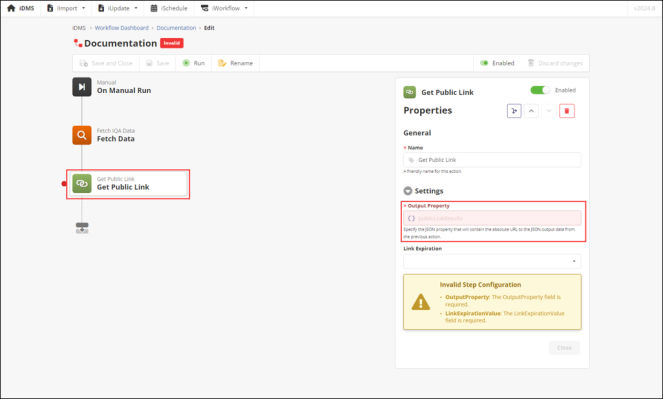
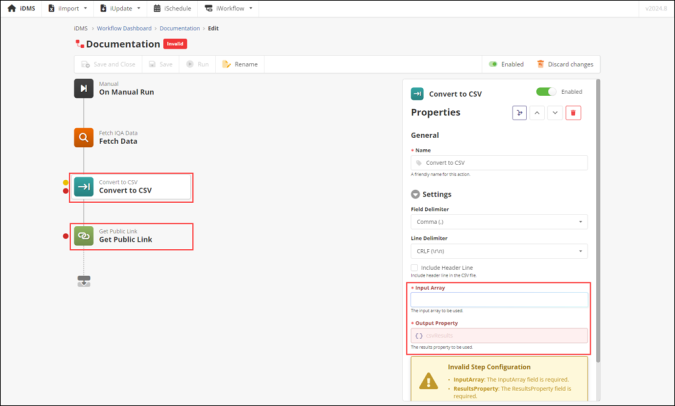
- Click Save.
- Run the workflow from this page, by clicking Run. To run this workflow later, navigate to Dashboard > [this workflow].
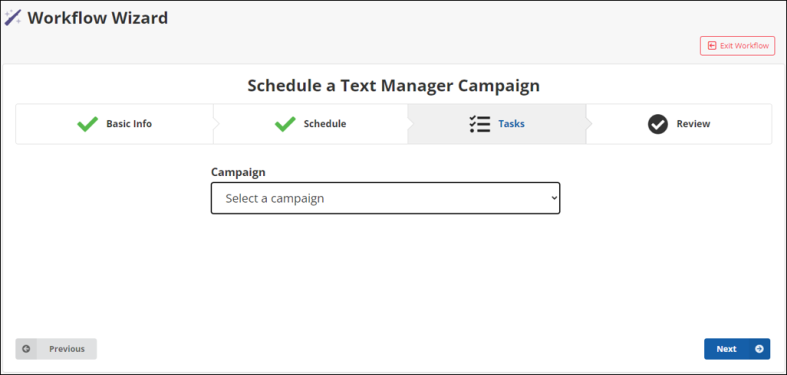
Scheduling a Text Manager Campaign
Schedule one or more Text Manager Campaigns in sequence. The outcome of one step will not affect the next one.
Do the following to schedule a Text Manager Campaign:
- Select Schedule a Text Manager Campaign. Then click Start.
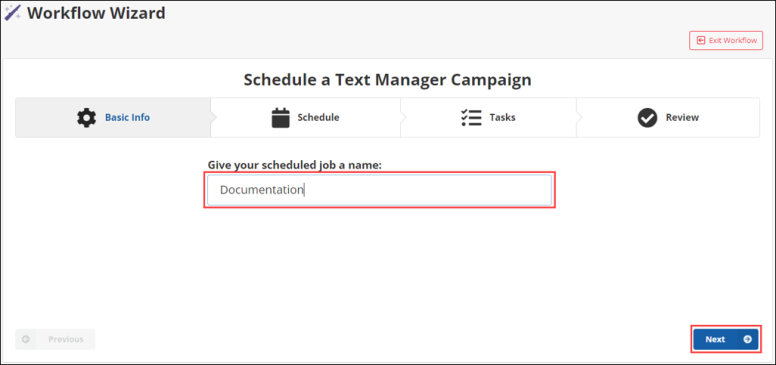
- Name the workflow, then click Next.
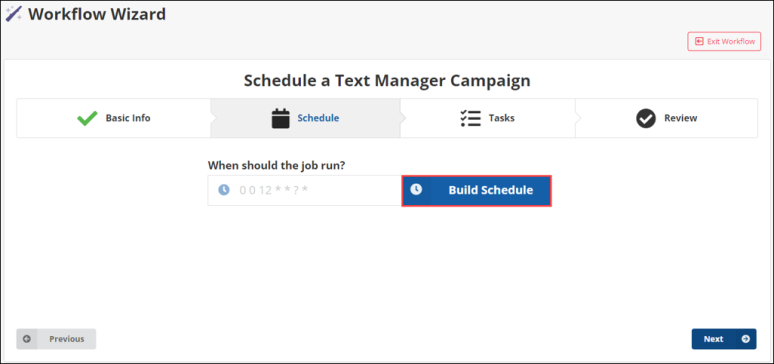
- Select when the job should run.
- The schedule uses a Cron expression. If you are not familiar with Cron expressions, the “Build Schedule” button will help to create one for hourly, daily, weekly, monthly, and one time run schedules. For more advanced expressions, this online tool can help.
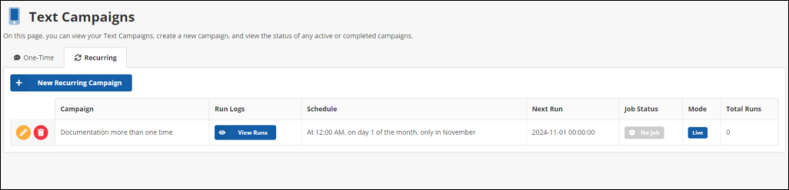
- Select which Text Manager Campaign to run. Note that the campaign has to be a recurring one for it to appear in the drop-down.
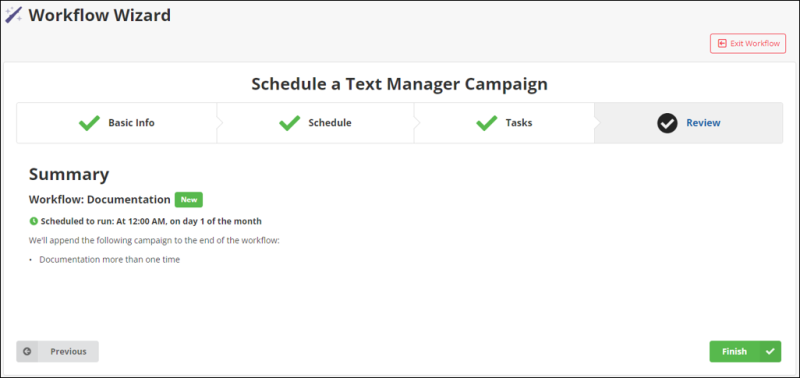
- Review and click Finish.

Do the following to create a workflow from scratch:
- From the Cloud Dashboard, click iWorkflow.
- Click + New workflow... and choose Blank Workflow.
- Select a trigger.For more information on the different triggers, see Triggers.
- Select one or multiple actions. For more information on the different actions, see Actions.
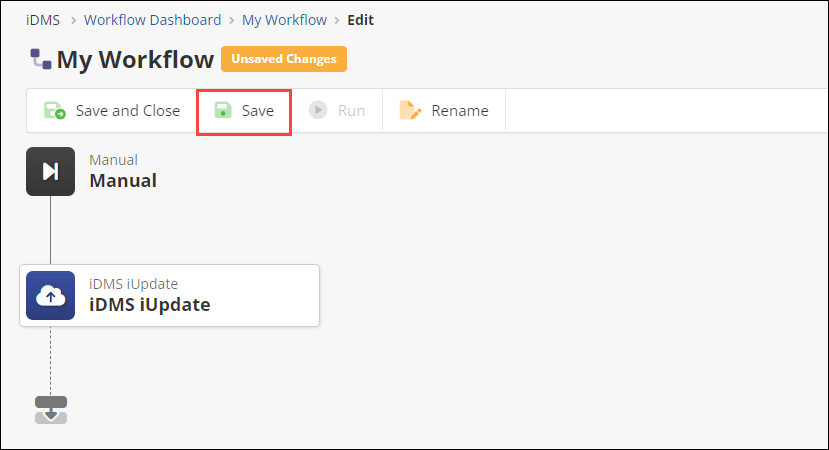
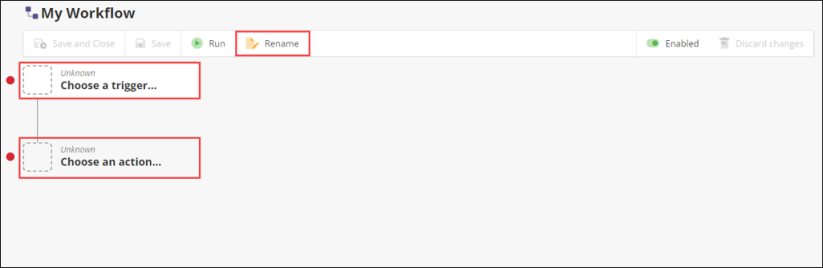
- Triggers and actions may need to have fields filled out. This will be denoted by a red dot next to their icon.
- A yellow dot next to an icon and/or Unsaved Changes near the banner means that there are changes that need to be saved.
- Optionally, rename the workflow from My Workflow.
- Once you have filled out all required fields in the workflow, click Save.

Note: To import from a file, you have to select New workflow from the dashboard. You will not be able to import from a file when creating a new workflow from the banner.
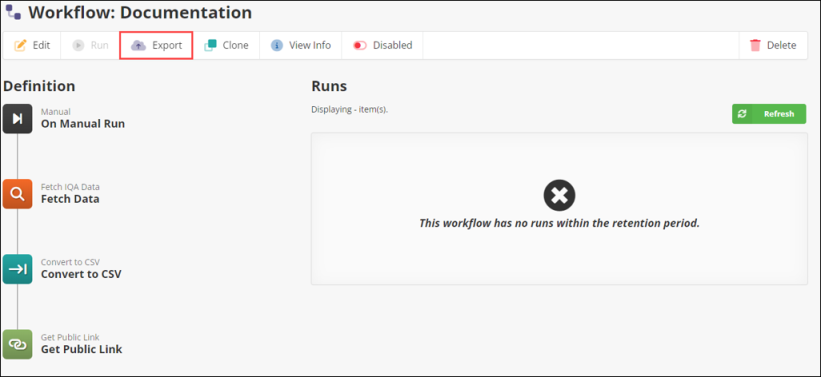
Importing from a file requires first exporting a file from an existing workflow.
Do the following to export a file from an existing workflow:
- Click Export.
Do the following to import a workflow from a file:
- Select the file to import from your files.
- Triggers and actions may need to have fields filled out. This will be denoted by a red dot next to their icon.
- A yellow dot next to an icon and/or Unsaved Changes near the banner means that there are changes that need to be saved.
- Once you have filled out all required fields in the workflow, click Save.