Last updated on: January 27, 2026
Issue email or print event confirmations from Events > Issue event confirmations. Before sending event confirmations, you must update the event confirmation communication template.
In This Article
- Updating the event confirmation communication templates
Issuing event registration confirmations
Viewing the time and date for sent confirmations
Refining the 'Event confirmations to send' query results
Updating the event confirmation communication templates
Before issuing event confirmations, you must update the communication templates, so that you remove the out-of-the-box sample images, links, and footer details. Out-of-the-box, the following templates are available for issuing event registration confirmations:
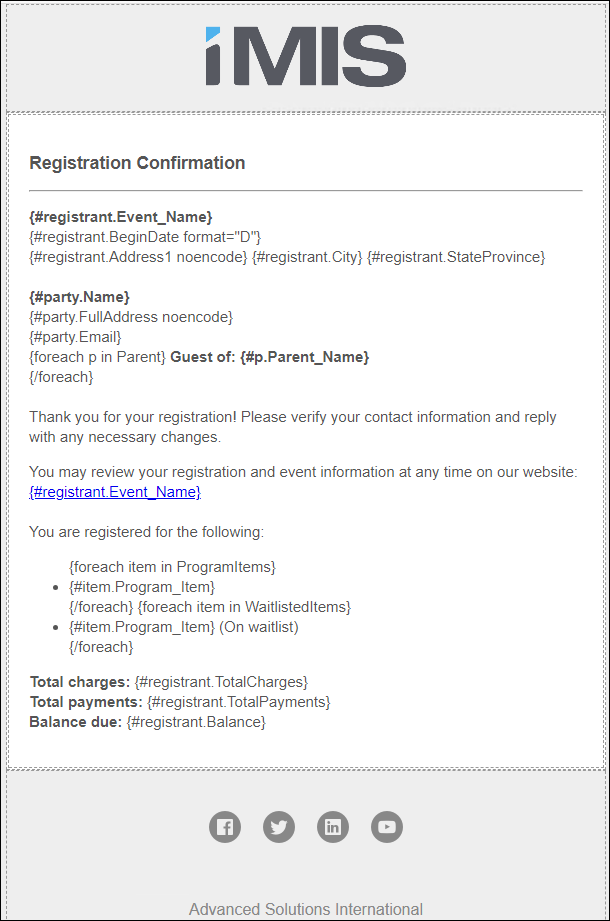
- Event Confirmation - Includes all event registration details in the body of the email. Used when issuing email confirmations.
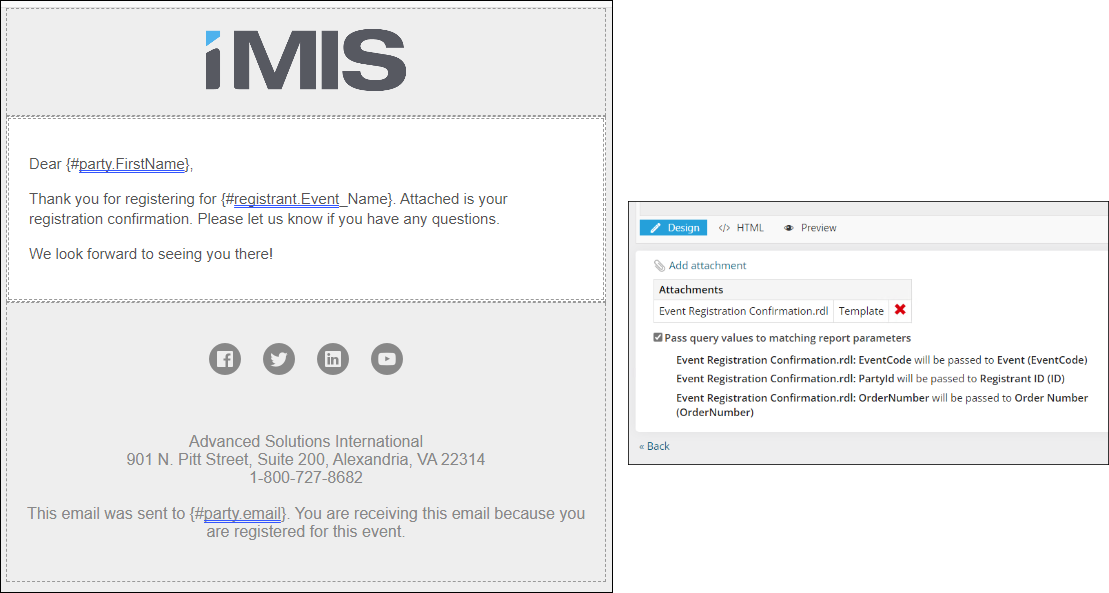
- Sample event confirmation with report - Includes all event registration details in the report attachment. Used when issuing print confirmations.
Copying the out-of-the-box templates
Do the following to copy the out-of-the-box templates:
- Go to Marketing > Communication templates.
- Click the Templates > Samples > Event confirmations folders.
- Select the Event Confirmation template, then choose Organize > Copy.
- Choose Organize > Paste.
- Select the Sample event confirmation with report template, then choose Organize > Copy.
- Choose Organize > Paste.
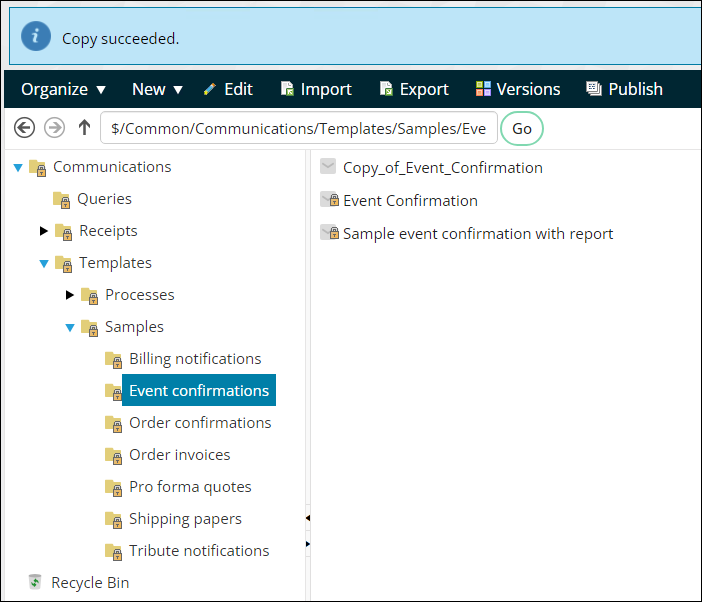
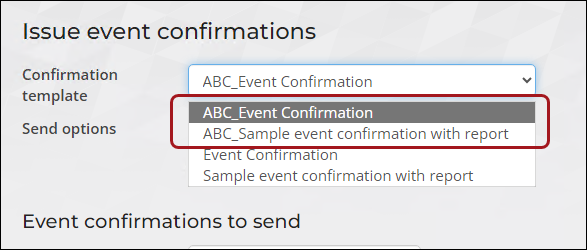
To use these templates from the Issue event confirmations window, the templates must be in the Event confirmations folder. When you are done, you will see the following:
Editing the templates
Open each copied template, ensuring the following areas of the templates are edited:
- Header tab:
- Template name - Update the template name to be unique and descriptive.
- From - Update the from email address to an address in your domain.
- Body tab:
- Logo image - Update the logo image in the body header.
- Footer content - Update the footer content.
- Attachment - If you are using a custom event registration confirmation report (SSRS or Report Writer), remove the existing report and add your report. Report Writer reports are required to have an OrderNumber filter with Prompt For Value enabled. See Attaching a Report Writer report to a communication template for more information.
Note: Other areas of the templates can be edited as required, but it is recommended that the recipient query is not modified.
Adding additional properties to the templates
It is not recommended to update or change the recipient query. If you need additional properties added to the template, you should copy an existing query then add it to the Data sources tab.
Example: The event team would like each event confirmation email to include the directions to the event that are defined in the event itself. To accomplish this, the event team must create an additional data source query containing the directions property, then add the query to the template.
Do the following:
- Go to Marketing > Communication templates.
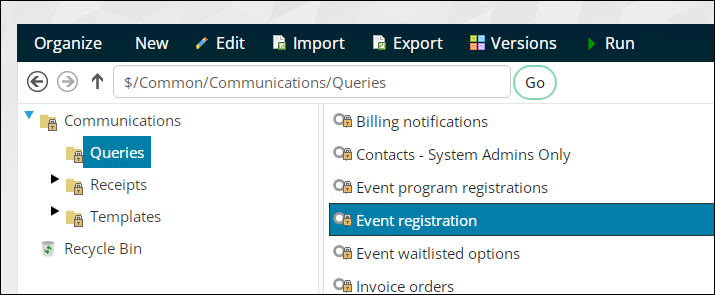
- Select the Queries folder, then choose the Event registration query.
- Click Organize > Copy, then Organize > Paste.
- Double-click the copied query:
- Change the Name of the query to My_Event_registration.
- Click the Display tab.
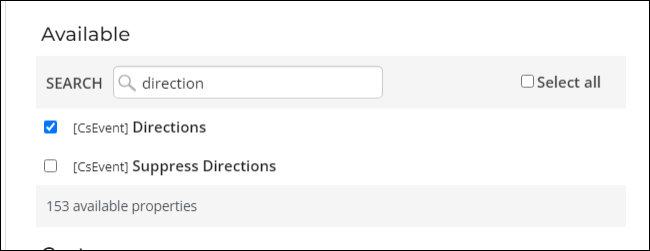
- Search for, then enable the [CsEvent] Directions property.
- Click Save, then close the query.
- Open your copied Event confirmation or Sample event confirmation with report template:
- Click the Data sources tab.
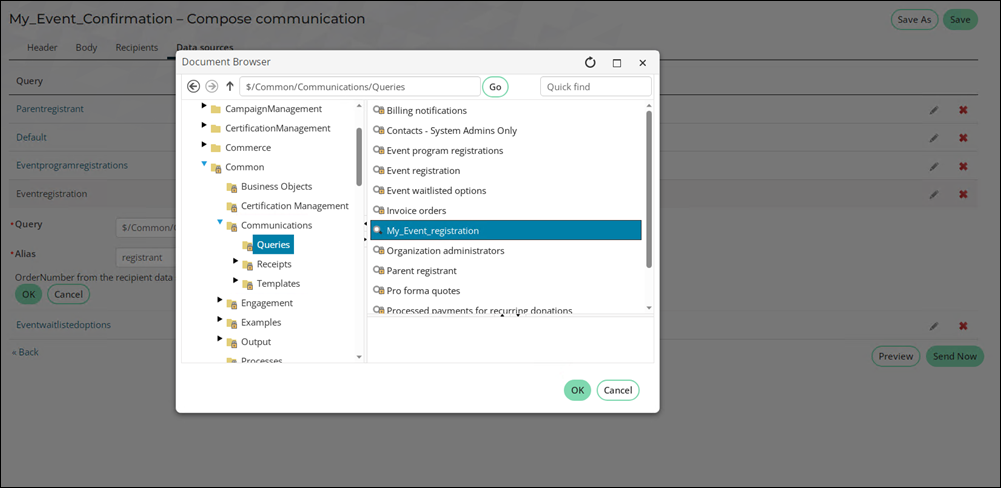
- From the Eventregistration query row, click the edit icon.
- From the Query field, select the query you just created ($/Common/Communications/Queries).
- Click OK.
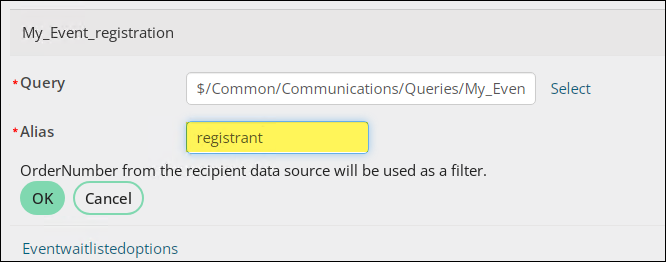
- Ensure the Alias is still registrant. If it has changed, change it back to registrant.
- Click Save.
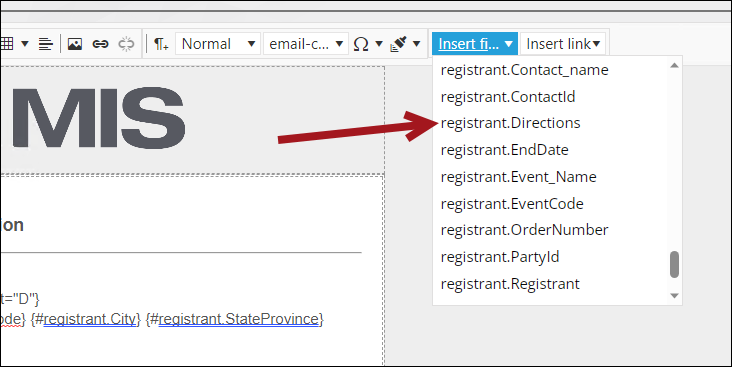
- Click the Body tab, then click the Insert field drop-down. The Directions property (registrant.Directions) is now available and can be inserted to the communication template.

Issuing event registration confirmations
To issue event registration confirmations, do the following:
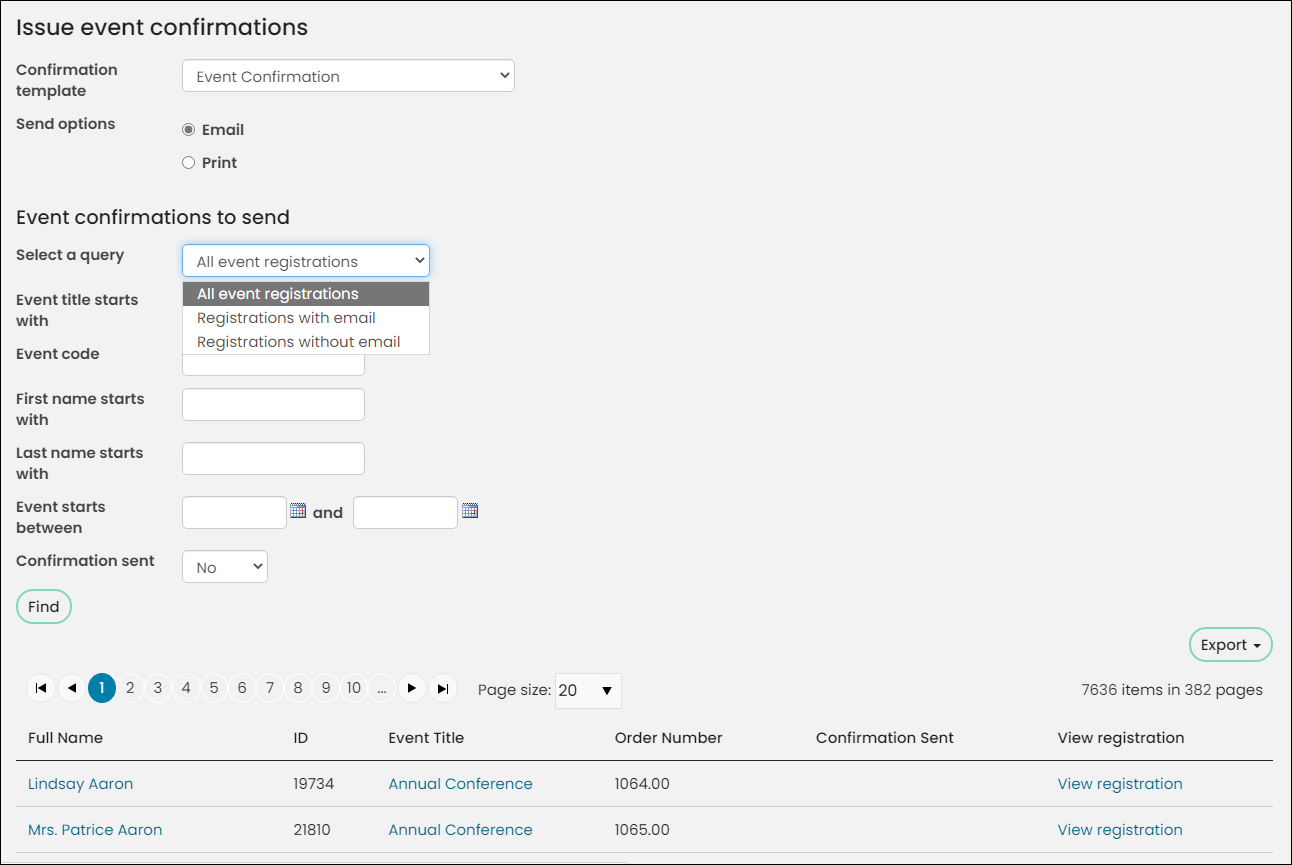
- Go to Events > Issue event confirmations.
- Choose the Confirmation template, ensuring it is one of the templates you customized. If you need to print event confirmations, ensure you choose the template with the attached report.
- Choose one of the Send options:
- Email - The email option will send the communication as an email to the selected registrants, including any attachments.
- Print - The print option will export the communication to a PDF file that is downloaded to your browser. If the communication includes a file attachment, the file attachment will be printed instead of the email body.
Note: After printing or sending the email, the registrant’s confirmation sent date is updated if a confirmation was not previously sent. Resending a confirmation will update the Confirmation Sent column of the query result.
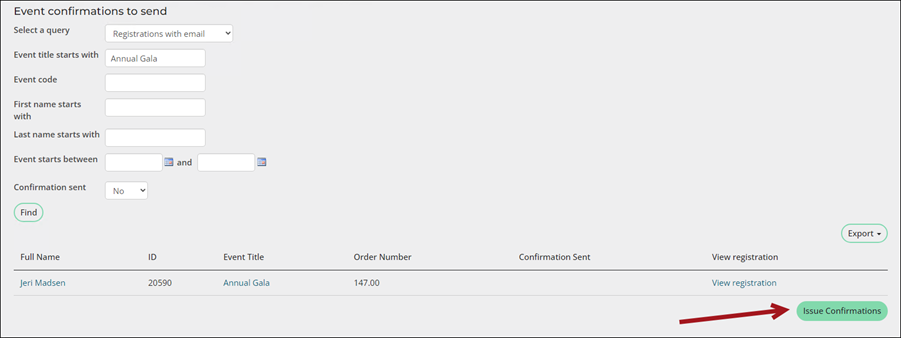
- From the Select a query drop-down, choose from one of the following queries:
- All event registrations - Returns a list of all event registrations that have not yet been issued a confirmation.
- Registrations with email - Returns a list of all event registrations that have an email address on their account and have not yet been issued a confirmation. Recommended to use with the Email send option.
- Registrations without email - Returns a list of all event registrations that do not have an email address on their account and have not yet been issued a confirmation. Recommended to use with the Print send option.
- Use the available search filters to narrow down the list of contacts, for example, if you only want to send confirmations to registrants of the Annual Gala, then enter Annual Gala in the Event title starts with filter.
- When ready, click Issue Confirmations.
- Click OK to confirm the send.
Viewing the time and date for sent confirmations
To view the confirmations that have been sent, do the following:
- Go to Events > Issue event confirmations.
- Update the Confirmation sent filter to Yes.
- Click Find.
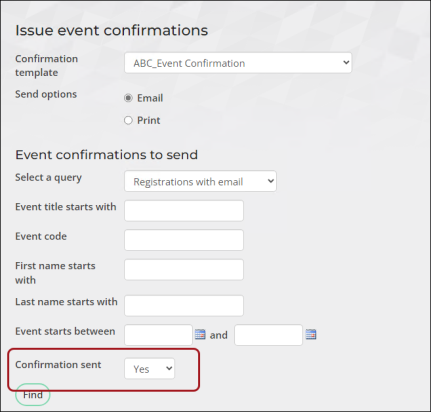
Confirmations that have been will have a recorded date and time displayed under the Confirmation Sent column of the query result.

Refining the 'Event confirmations to send' query results
In choosing what Event confirmations to send, staff users can narrow results by making a selection from the Select a query drop-down. New queries can be added to this drop-down at $/EventManagement/DefaultSystem/Queries/Registration confirmations. The following queries are available:
- All event registrations
- Registrations with email
- Registrations without email
Query results can be narrowed by entering values for one, or more, of the following parameters:
- Event code equals: Enter event code
- Event title starts with: Enter value for event title
- First name starts with: Enter value for first name
- Last name starts with: Enter value for last name
- Event starts between: Enter start and end dates
- Confirmation has been sent: Select Yes or No from the drop-down
Staff users can Export query results in Word, Excel, PDF, CSV and XML format.
Note: If you want to use any of the Event confirmations to send queries to issue a confirmation, ensure that the query has a Display property for Order Number, as shown in the out-of-the-box Event confirmations to send queries. Additionally, any event confirmation report that will be attached to the event confirmation template must have a parameter for Order Number, so that the information will correctly display (Review Modifying and creating reports for information on editing out-of-the-box reports and making new reports). See Creating a communication with an attached report for more information on adding a report to a communication template.
