Last updated on: February 13, 2026
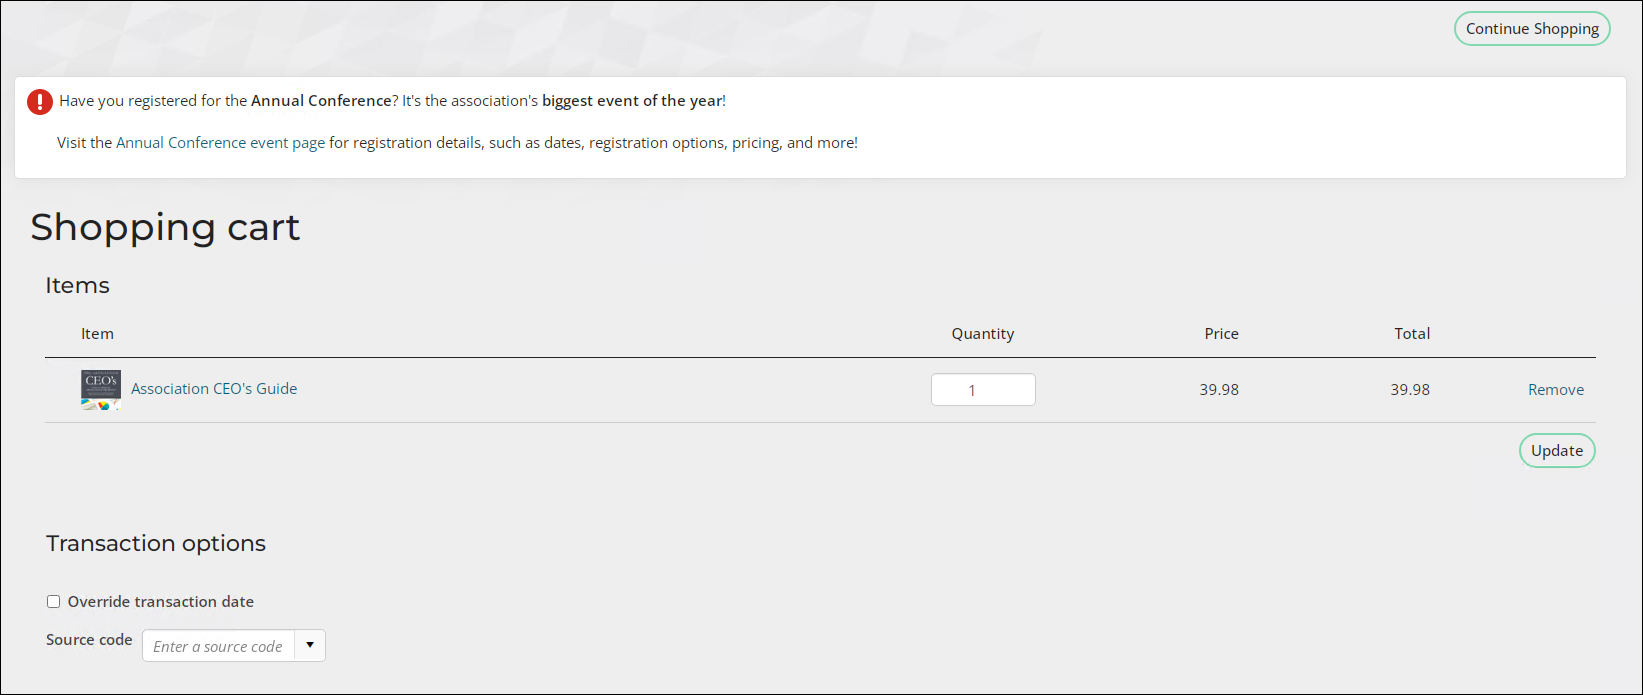
The shopping cart (Cart) is a versatile content record that manages your users’ financial interactions with your website. The shopping cart enables users to pay for products, memberships, event registrations, and to make donations.
The shopping cart includes expandable invoice lines. You can expand an Invoice Number to review the items that constitute an invoice.
Note: Invoice lines are not displayed in the cart for fundraising invoices (gifts, pledges and installment pledges).
In This Article
Copying the shopping cart
To add a cart to a website or if you need to add additional content items or configure the existing content items differently, you must copy the existing Cart content record, then make changes to the copied content.
Copying and making changes to the Cart content record
Do the follwing to copy the Cart content record:
- Go to RiSE > Page Builder > Manage content.
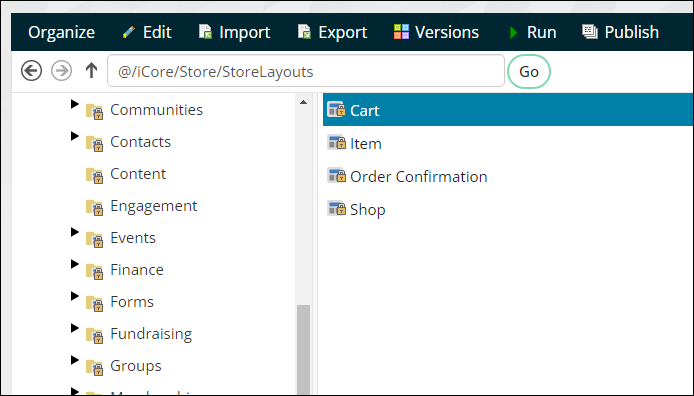
- Navigate through the following folder path: Core Content > Shop > Store Layouts
- Select the Cart content record.
- Select Organize > Copy.
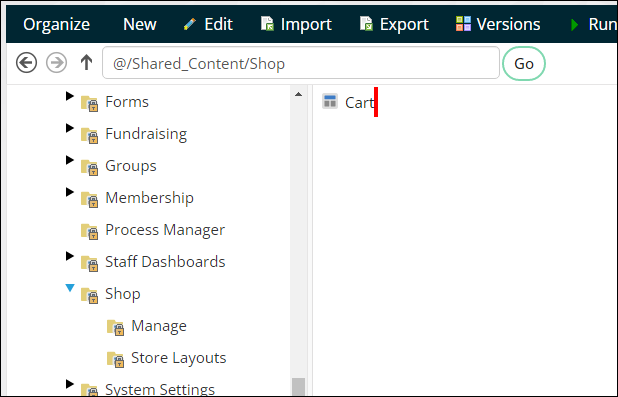
- Paste the content record in a non-system folder, for example, the Shared Content > Shop folder.
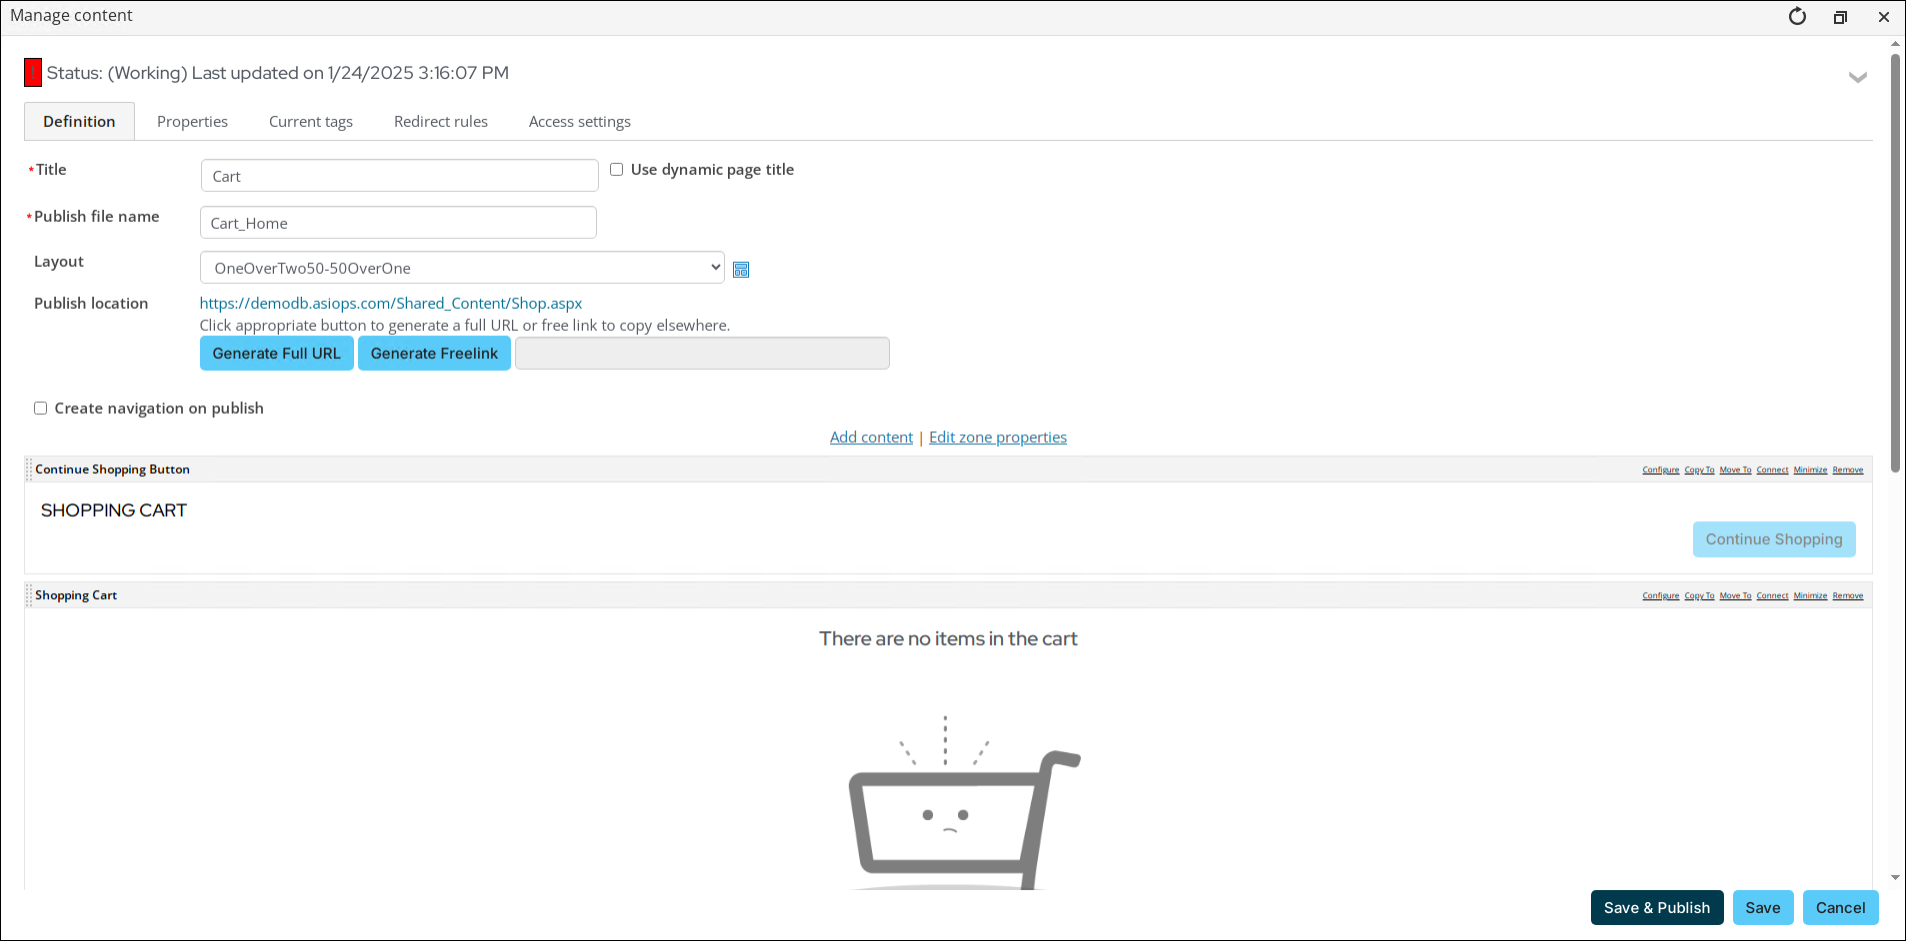
- Double-click the content record to open it for edit.
- Make the desired changes to the content record.
- Click Save & Publish.


Adding the copied Cart content record to your website
Do the following to add the copied content record to your website:
- Go to RiSE > Site Builder > Manage shortcuts.
- Search for the Cart shortcut for the All Sites website. If you only want this cart to display for a specific public site, choose the Cart shortcut for that website.
- Click the edit icon.
- From the URL or content record field, select the custom Cart content record.
- Click Update.
- Go to Settings > About iMIS, then click Purge System Cache.
- Navigate to the Cart to confirm the changes.


Creating a custom shopping cart content record
The shopping cart (Cart) is a complex content record comprised of several content items. These content items work together to form a customizable shopping cart for your users. The following is a list of content items available for use when configuring the shopping cart:
- Cart Charges Display
- Cart Details Display
- Contact Sign In
- Continue Shopping Button Link
- Open Credit Display
- Payment Creator
- Promotion Manager (optional)
- Shipping Method Selector
- Submit Order Button Link
Note: The following configuration reflects the default Cart settings and arrangement. If you want to reconfigure your existing cart, log in as a user with administrative privileges and enable Easy Edit. Modify your Cart content record as desired. This can be performed from any site.
Creating a custom Cart content record
Create a custom shopping cart content record:
- Go to RiSE > Page Builder > Manager content.
- Select the folder to which you will add your new content record.
- Select New > Website Content.
- Give the new content a Title and Publish file name. The Publish file name determines the name of the web page and defaults to match the Title if another name is not provided.
- For Layout, select OneOverTwo50-50OverOne .
- Click Add content in the appropriate content area depending on your selected content layout.
- Select the desired content item from the Content Gallery.
- Connect relevant content items. Connections enable content items to interact with one another, significantly reducing the need for additional maintenance for site administrators. The Cart Changes Display content item needs to know the shipping address (determined by the Shipping Method Selector content item) in order to calculate shipping and tax fees.
- Click Connect on the Cart Charges Display content item. A Connect window is displayed.
- Click Create a new connection.
- Select the Shipping Method Selector in the Object Consumer drop-down.
- Click Connect.
- Click the red X to close the Connect window.
- Select the Properties tab, and select the Content is Secure (https://) checkbox.
- Click Save & Publish to finalize your Cart content record.
- Go to Site Builder > Manage sitemaps:
- Select a website from the drop-down.
- Select New > Website Navigation Item.
- Enter a folder name and link text for the new navigation item.
- Select the Content or URL to Link to. The Document Browser is displayed.
- Click Save.
- Publish the new website navigation item.
Note: Most of the shopping cart-related content items are available in the Commerce gallery.
Note: The title field of a content item configuration page populates a title visible on your web page. Only give a title to those content items you want to call out.
Note: You only need to add connections where the content item's instructions indicate they are needed. Not all content items support this.
Connect the Cart Changes Display and Shipping Method Selector content items:
Displaying the Cart content record
Do the following to use the custom Cart content record:
- Go to RiSE > Site Builder > Manage shortcuts.
- Search for the Cart shortcut for the All Sites website. If you only want this cart to display for a specific public site, choose the Cart shortcut for that website.
- Click the edit icon.
- From the URL or content record field, select the custom Cart content record.
- Click Update.
- Go to Settings > About iMIS, then click Purge System Cache.
- Navigate to the Cart to confirm the changes.
