Last updated on: January 27, 2026
With pricing groups, staff users can restrict a specific group of users from registering for events. For example, members should have full access to an event, while West Chapter members, a subset of the members group, should not be able to register.
The process is outlined below:
- Create an IQA query group that identifies every active member who is not a member of the West Chapter.
- Create a new registration option that uses the pricing group.
In This Article
Creating the query group
Do the following to create a query that excludes West Chapter members:
- Go to RiSE > Intelligent Query Architect > New > Query.
- (Summary tab) Enter a Name.
- (Sources tab) Add the Chapter and NetContactData business objects:
- Create a custom relationship where Chapter.Chapter Code = NetContactData.Chapter
- (Filters tab) Create a filter where:
- [NetContactData] Chapter is Not Equal to West Chapter.
- [NetContactData] Is Member is Equal to Yes.
- [NetContactData] Status is Equal to Active.
- Click Save As and save the query to a non-system folder.
- (Group tab) Enter a group name, such as All active members not in the West Chapter.
- Click Create Group.


The query will now filter out all members who do not belong to the West Chapter.
Creating the pricing group
Do the following to create the pricing group that excludes West Chapter members:
- Go to Events > Find events.
- Create a new event or open an existing event for edit.
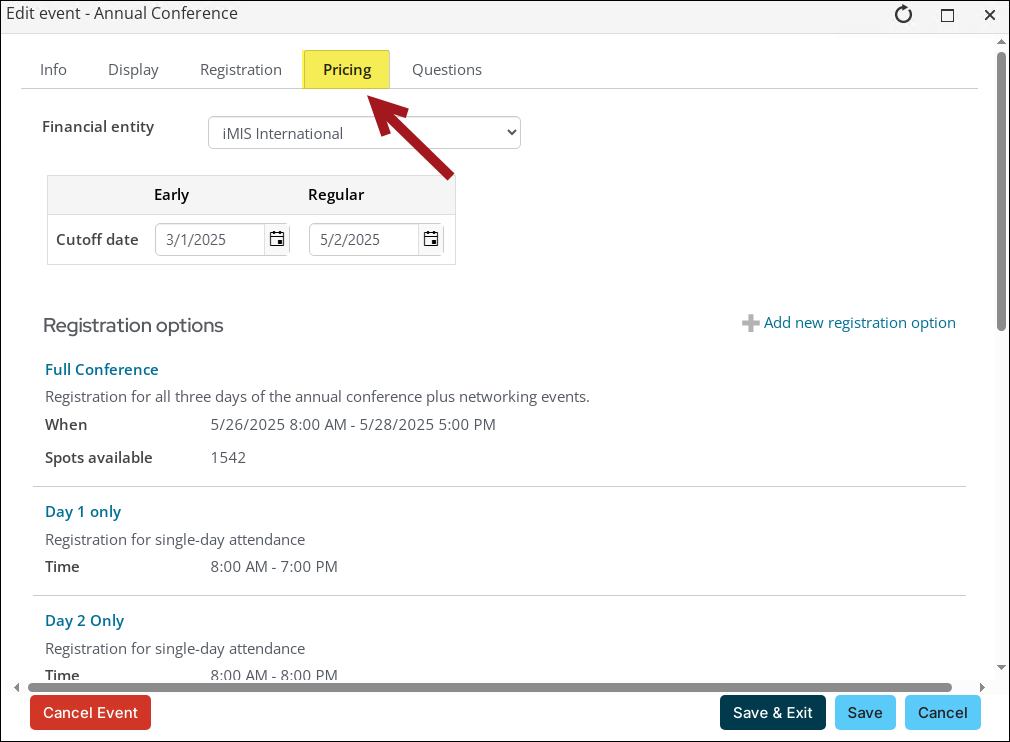
- Click the Pricing tab.
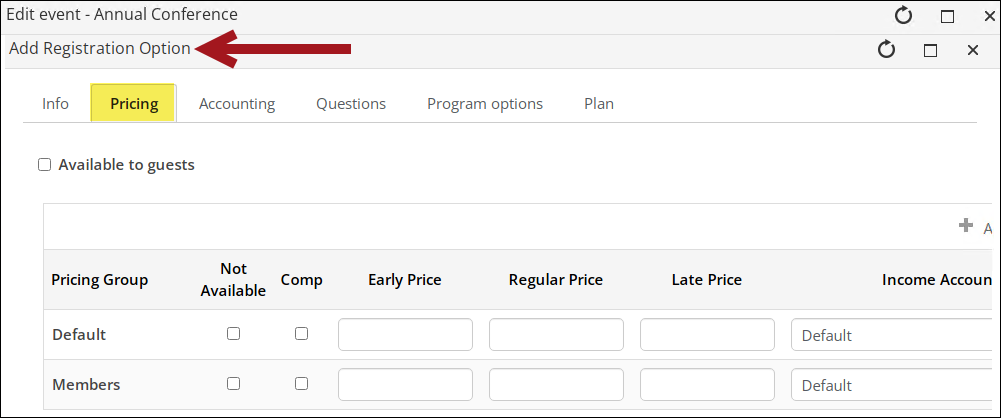
- Add a new registration option or edit an existing registration option.
- Navigate to the registration option Pricing tab.
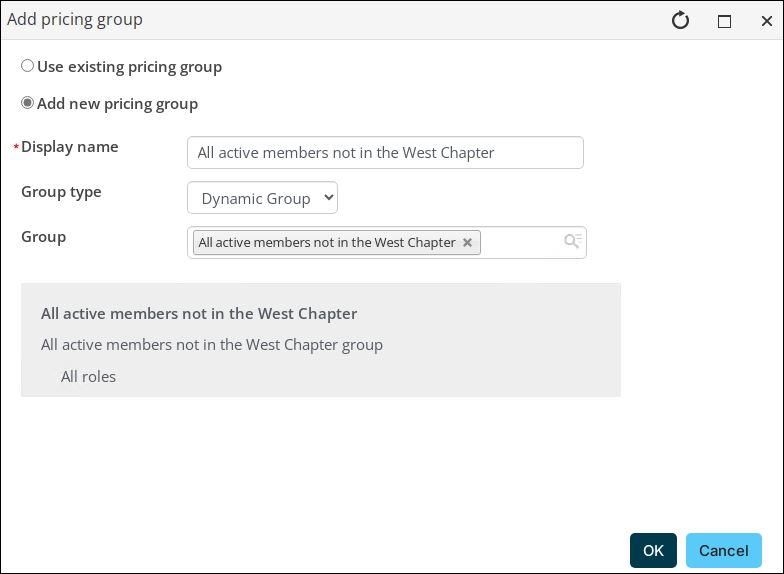
- Select Add pricing group:
- Select Add new pricing group.
- Enter a Display name.
- From the Group type drop-down, select Dynamic Group.
- From the Group field, select All active members not in the West Chapter.
- Click OK.
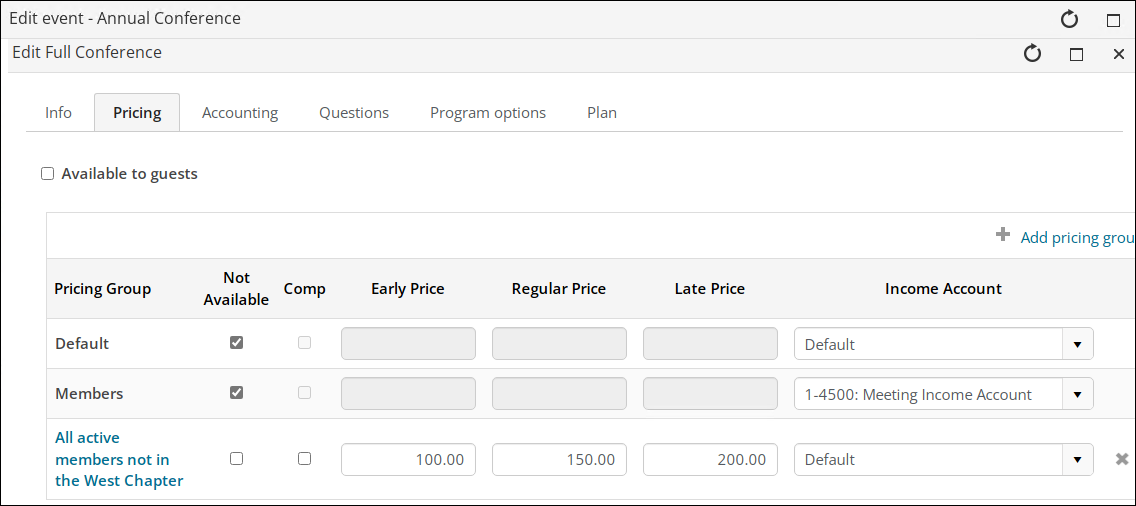
- Disable the Comp option, enter Prices, and Income Account if necessary.
- Enable the Not Available option for the Default and Members groups.
- Click Save & Close to exit the registration option window.


- Click Save & Exit to close the edit event window.
Now, when members register for this event, only members who do not belong to the West Chapter will see the admission option.


