Last updated on: June 30, 2026
Staff users can add contacts to event waitlists for registration options and program items, when either reaches maximum capacity. When Allow non-staff registrants to add themselves to waitlist is enabled, public users can add themselves to the waitlist for an event. Staff users can add guests to the waitlist for a registration once they have been registered, if the option is available. Staff users can also register guests on the waitlist.
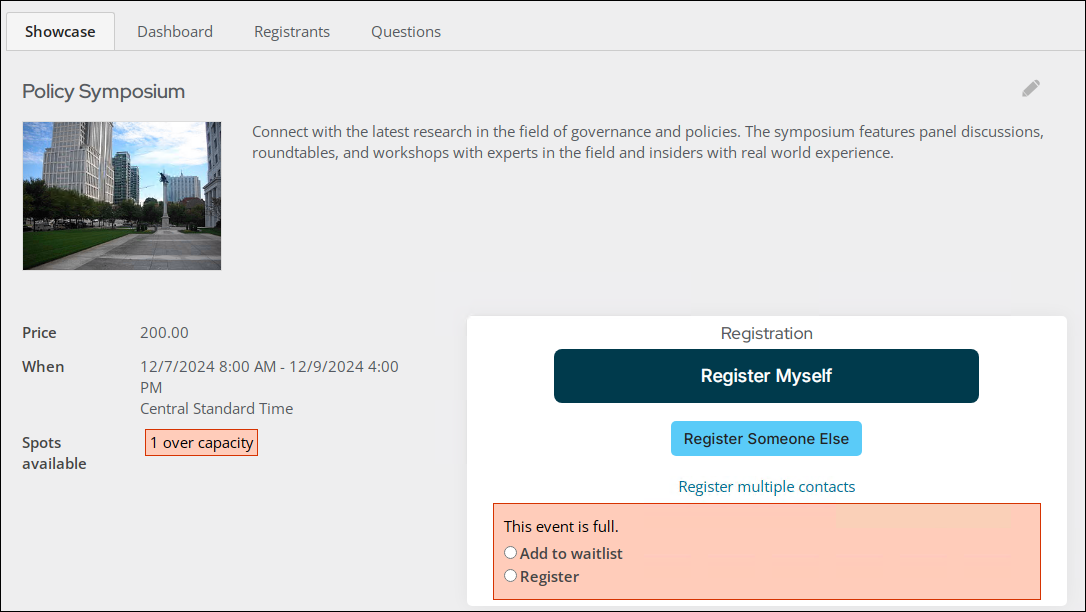
The waitlist option is triggered only when event program items or registration options are full. A message is displayed when capacity is reached, allowing staff users to either add registrants to a waitlist, or continue to register users for the event.
Note: Waitlisting can only be applied to event program items and registration options. The event itself cannot be waitlisted. If a registrant is on the waitlist for a registration option, that registrant cannot register for any program items for that event. If registration options are not full but the event is full, public users cannot register and add themselves to the waitlist.
Example: If the registration option has a capacity of 5, and there are 5 registrants, the event registration option is full. If staff overbooks the registration option by 2, so that there are 7 registrants, it is full - with 2 overbooked registrants.
If 3 registrants are waitlisted, the registration option is full, with 2 overbooked registrants and 3 waitlisted registrants.
If the registration option capacity is increased from 5 to 8, only 1 of the 3 waitlisted users is released (in the order they were added), as 2 of the spaces would be taken by overbooked registrants.
In This Article
- Adding a registrant to a waitlist as a staff user
Public users adding themselves to the waitlist
Automatic registration from the waitlist
Manually registering someone from the waitlist
Viewing waitlisted registrants
Adding a registrant to a waitlist as a staff user
Staff users can waitlist an event registrant for single or multi-option events that have reached capacity. Staff and public users cannot waitlist more than a quantity of one for a given program item that has reached capacity.
Note: An event's capacity is updated after registrations are purchased. For example, your Annual Conference event only has two more available spots before being at-capacity. Someone is currently registering for the conference and is purchasing three tickets. That person will successfully purchase the three tickets, and the event will be over booked by one person. The next person who goes to register for the Annual Conference will see that the event is at its capacity.
To waitlist a registrant, do the following:
- Open the event.
- Go On behalf of the registrant.
- Click Register.
- Select the at-capacity registration option or program item.
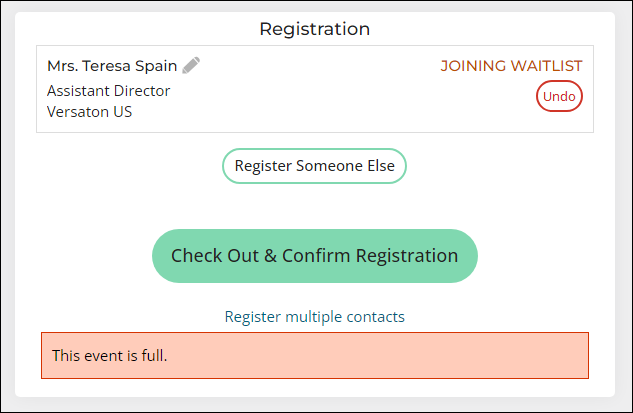
- Choose Add to waitlist or Register. When a staff user adds a registrant to the waitlist for a program item or registration option, a Joining Waitlist message is displayed showing that the registrant has been successfully added to the waitlist.
- Click Check Out & Confirm Registration.
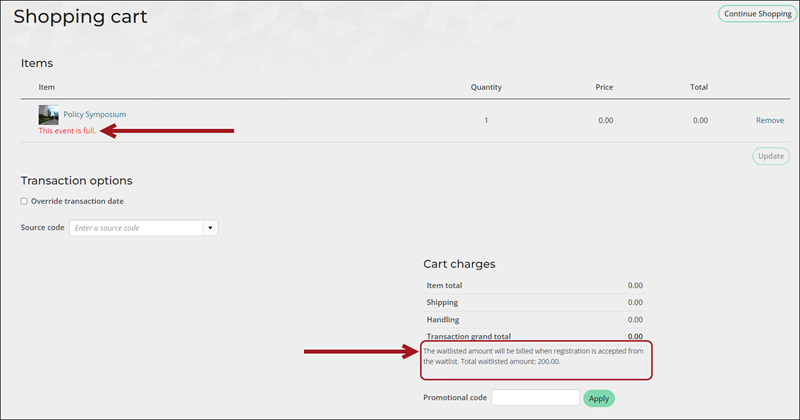
- The Summary will display the waitlisted amount as part of an advisory following the Transaction grand total. This amount will not be charged until the registrant is removed from the waitlist by being registered.
- Click Proceed & Submit.
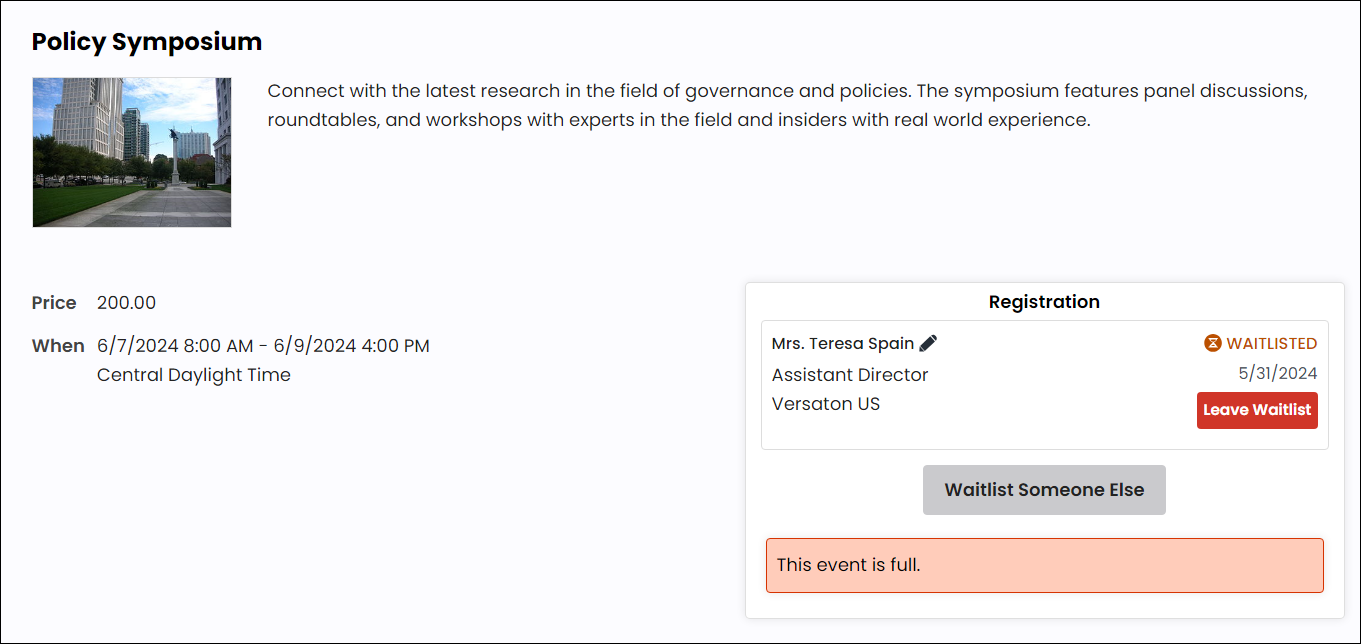
- The registrant will see that they have been added to a waitlist for the program item or registration option when the registrant views the event page. A Waitlisted message is displayed along with the event details.
- When a registrant is registered from the waitlist for a registration option or program item, the Event registered from waitlist notification system task (when enabled) sends a notification email to the registrant. See Automatic registration from the waitlist for details on configuring the email template.
Note: If a registration option is full, the staff user must register the registrant to be able to select any program items associated with that registration option. Staff users can book over capacity for a registration option without any limit.
Public users adding themselves to the waitlist
Public users can waitlist themselves for an event registration for single-option events that have reached capacity. There is no waitlist for an overall event.
Note: Before public users can add themselves to a waitlist, a staff user must enable Allow non-staff registrants to add themselves to the waitlist from the Registration tab when editing the event. Public users cannot waitlist more than a quantity of one for a given program item that has reached capacity.
Note: If there is a waitlist, public users can add themselves but cannot add a guest. Once they are fully registered and off the waitlist, they may add a guest to the waitlist.
A member can perform the following to add themselves to an event's waitlist:
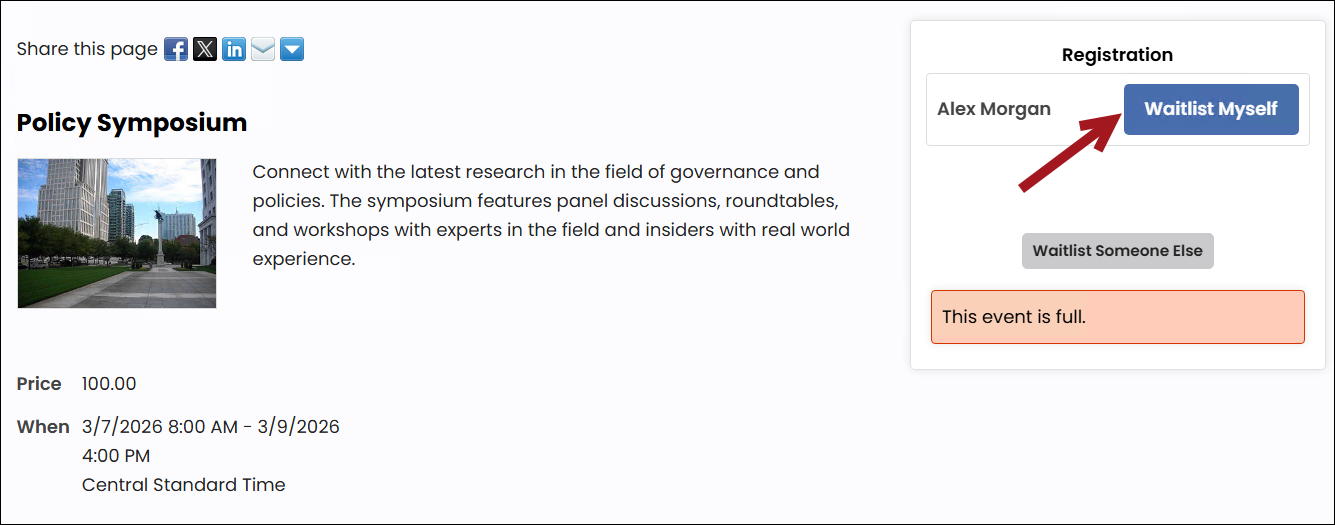
- From the event, click Waitlist Myself.
- Click Check Out & Confirm Registration.
- The user will not be charged for the event right away, and the amount will be zero. The Summary will display the waitlisted amount as part of an advisory following the Transaction grand total. This amount will not be charged until the registrant is removed from the waitlist by being registered.
- Click Submit Order.
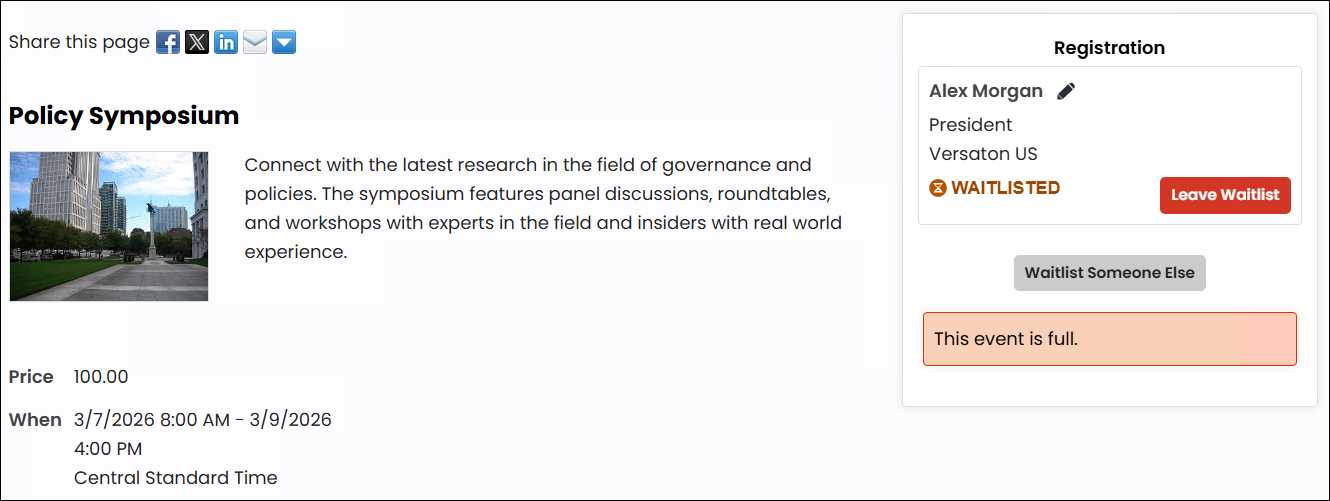
- The registrant will see that they have been added to a waitlist when they view the event page. A Waitlisted message is displayed along with the event details.
- Click Leave Waitlist to leave the waitlist to be removed from the waitlist.
- When a registrant is registered from the waitlist, the Event registered from waitlist notification system task (when enabled) sends a notification email to the registrant. See Automatic registration from the waitlist for details on configuring the email template.
Note: Program items are not available while on the registration waitlist.
Automatic registration from the waitlist
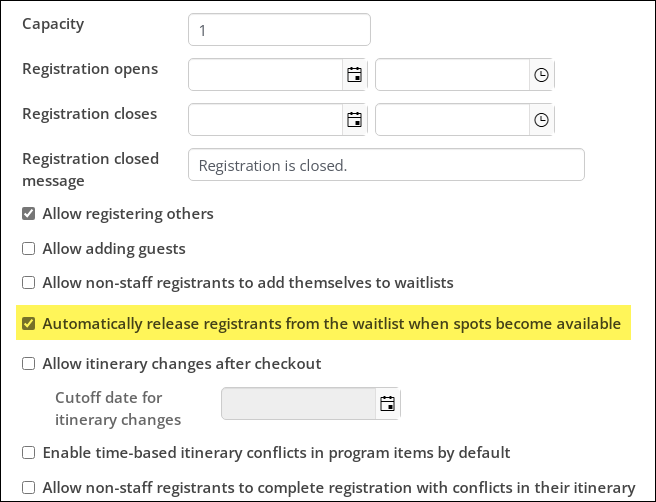
When Automatically release registrants from the waitlist when spots become available is enabled, waitlisted registrants can be automatically registered from the waitlist when space becomes available (e.g., cancelled registration or an increase in the event's capacity). This setting is enabled by default for all new events.
When a waitlisted registrant is automatically registered, they are notified of the status change by email. Waitlisted registrants are charged the unpaid amount of the registration option and/or program item once they are automatically registered.
Sending an automatic email to waitlisted registrants
If the task is enabled, a communication is automatically sent to waitlisted registrants after they are taken off the waitlist.
Do the following to enable the Event registered from waitlist notification system task:
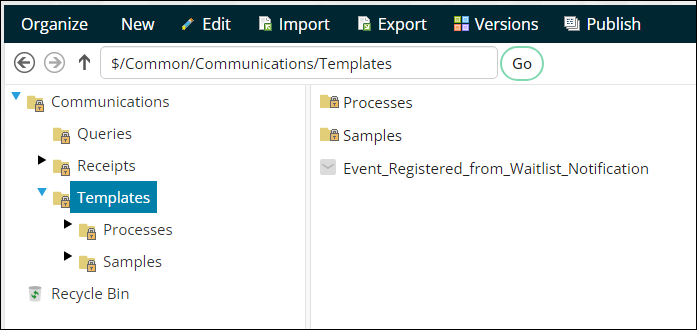
- Go to Marketing > Communication templates > Templates > Samples.
- Select the Event Registered from Waitlist Notification template.
- Choose Organize > Copy.
- Select the Templates folder, then choose Organize > Paste.
- Open the template for edit. At a minimum, update the following:
- (Header tab) From email address - Update to an email address in your domain.
- (Body tab) The template body header (removing the iMIS logo) and footer (ASI social links and address). Update the other body content as necessary.
Important! Do not change the Recipients query.
- Click Save.
- Go to RiSE > Process automation.
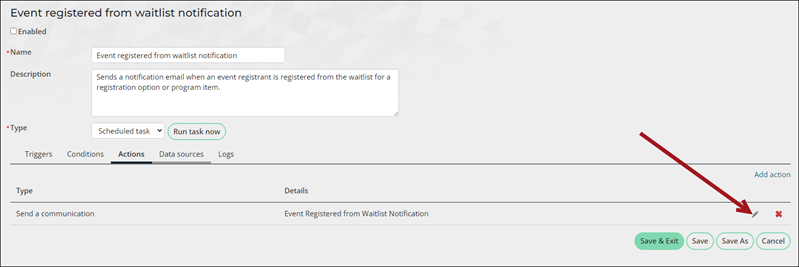
- Locate the Event registered from waitlist notification task, and open it for edit.
- Click the Actions tab.
- Select the pencil icon.
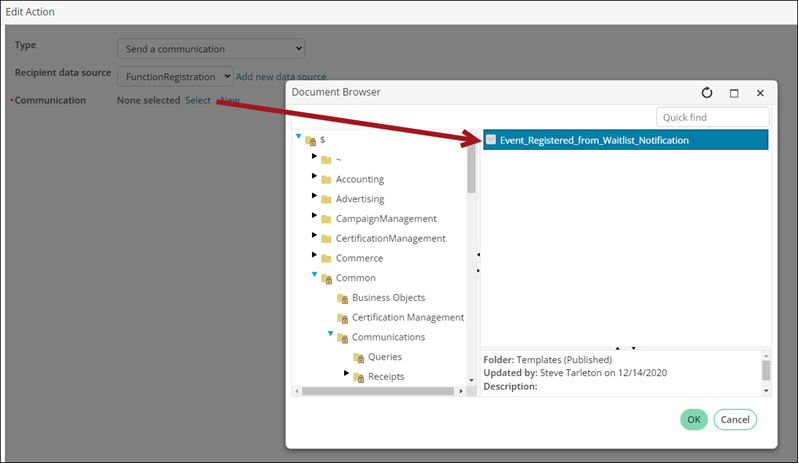
- From the Communication line, Remove the existing template, then Select the template you just created.
- Click Save.
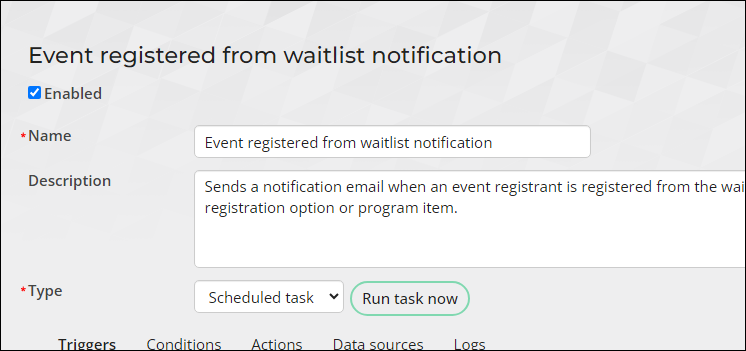
- Select the Enabled checkbox.
- Click Save & Exit.


Manually registering someone from the waitlist
When Automatically release registrants from the waitlist when spots become available is disabled, waitlisted registrants must be manually registered for the event by a staff user.
To manually register someone from the waitlist, do the following:
- Open the event.
- Go On behalf of the user on the waitlist.
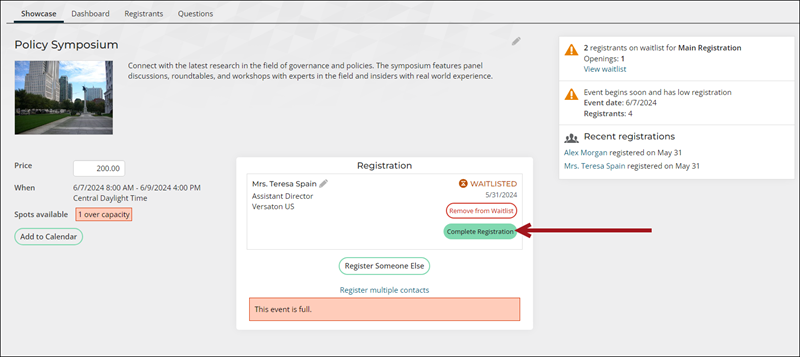
- Click Complete Registration.
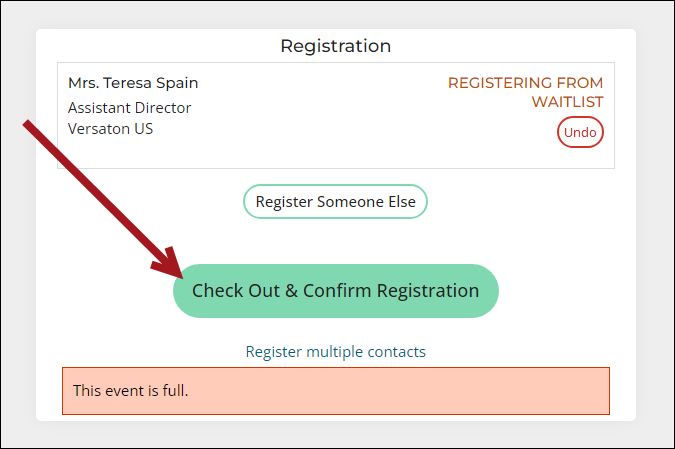
- Click Check Out & Confirm Registration.
- Enter the Payment details, then click Submit Order. Alternatively, choose to Pay Later, then have the user pay the invoice from the public site.
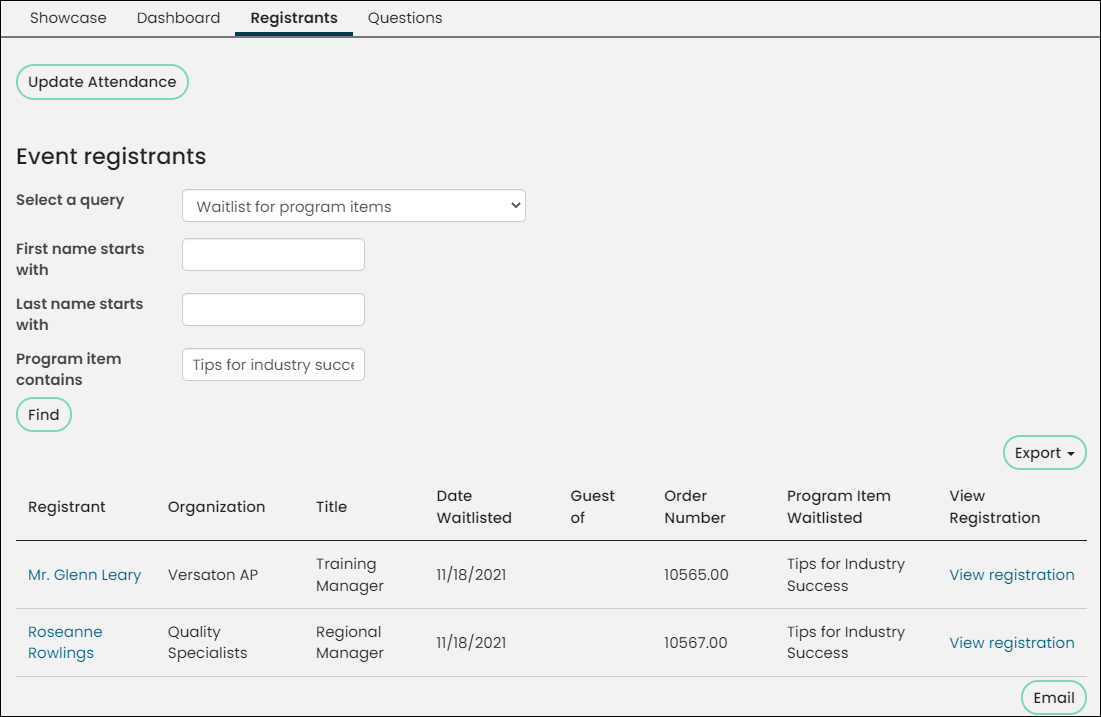
Viewing waitlisted registrants
Waitlisted registrants can be viewed from the Registrants tab of the event-specific dashboard. To view waitlisted registrants, do the following:
- Go to Events > Find events.
- Select the event.
- Click the Registrants tab.
- From the Select a query drop-down, choose one of the following options:
- Waitlist for program items
- Waitlist for registration options