Last updated on: June 30, 2026
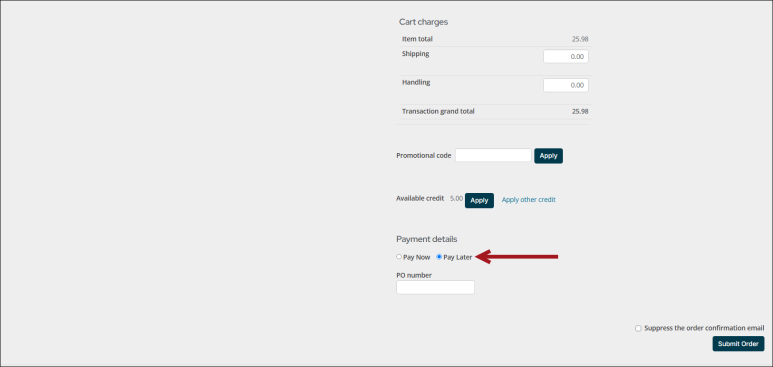
The Pay Later payment method allows users to submit a transaction without immediate payment.
Note: Pay Later creates the invoice for the transaction. Once you have selected the option to Pay Later in the cart, the option will not appear for that particular invoice again and will not be available for any invoices that already exist, such as dues renewal invoices.
In This Article
- Adding the option to Pay Later
Disabling the PO number option
Reporting on all invoices with a PO number
Adding the option to Pay Later
To configure your site to accept the Pay Later payment method, do the following:
- Go to Settings > Finance > Pay Central > Payment method sets.
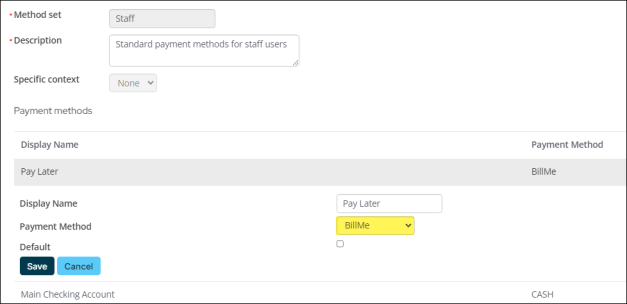
- Select the Staff payment method set.
- Select Add new:
- Enter a Display Name, such as Pay Later, Bill Me, or Please Invoice.
- From the Payment Method drop-down, choose BillMe.
- Click Save.
- (optional) If you need public users to have the option to Pay Later, add the BillMe payment method to the Public payment method set.
Disabling the PO number option
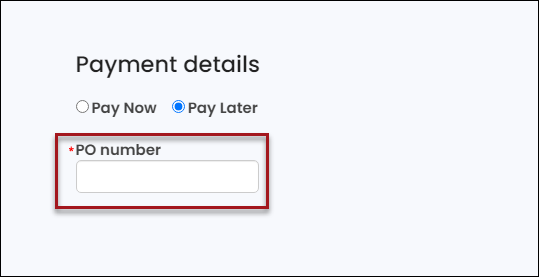
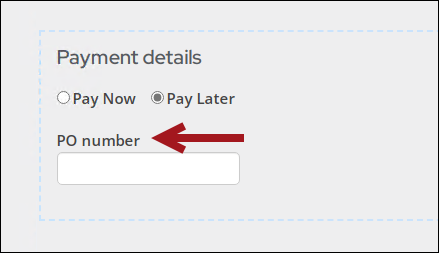
By default with Pay Later, the Cart is configured to ask for a purchase order number (PO number) . If you do not require a PO number while using Pay Later, you can disable the option.
Note: It is not possible to change the field label to something else (PO number). If you must include additional details about the PO number field, add the Content Html content item below the Payment Details content item in the Cart.
To disable the PO number option, do the following:
- Make sure you are already using a copied Cart. See Copying the shopping cart for more information.
- From the Staff site, navigate to the Cart.
- Enable Easy Edit.
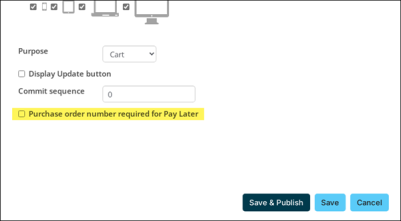
- Hover over the Payment Creator content item, then click Configure.
- Disable Purchase order number required for Pay Later.
- Click Save & Publish.
- Confirm the PO number is no longer required.
Reporting on all invoices with a PO number
Important! This feature is only compatible with persisted cash and accrual dues invoices. Older, non-persisted cash dues invoices are not compatible with this feature.
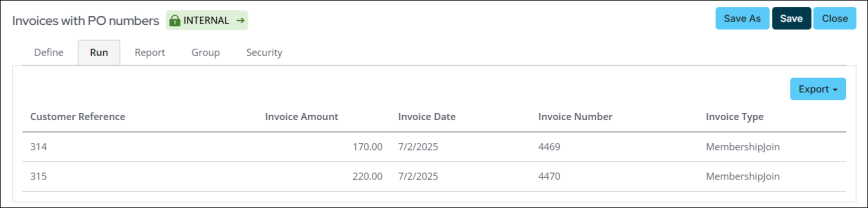
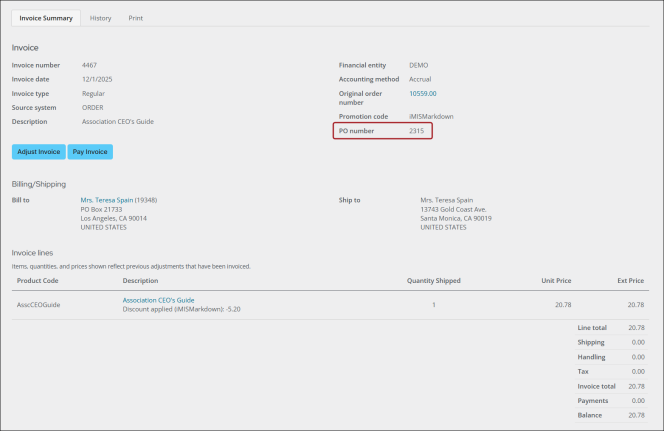
If the transaction was submitted with a PO number during the checkout process, a PO number displays on the Invoice summary.
Do the following to create a query of invoices containing purchase order numbers:
- Go to RiSE > Intelligent Query Architect > New > Query.
- (Summary tab) Enter a Name.
- (Sources tab) Select All sources, then add the InvoiceSummary business object.
- (Filters tab) Add the Customer Reference filter with a Comparison of Not Empty.
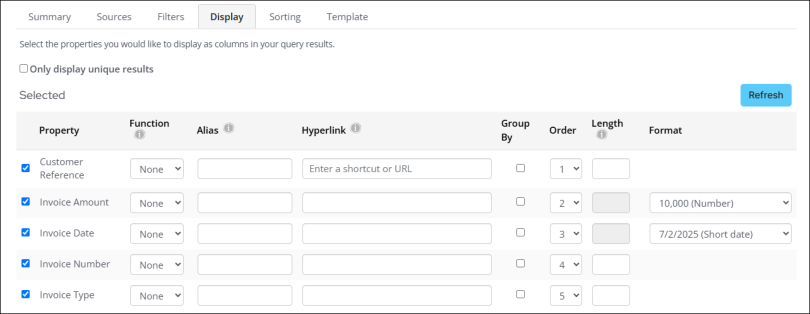
- (Display tab) Select the following display columns:
- Customer Reference – This is the PO number entered during the checkout process.
- Invoice Amount
- Invoice Date
- Invoice Number
- Invoice Type
- Click Apply.
- Click Save As.
- Select a shared content folder, and click OK.
![]()
Any new member join or renewal using Pay Later will appear in the query.