Last updated on: June 23, 2026
Before emails are sent through Process Automation, it is best practice to test the communication. When testing Process Automation scheduled communication tasks, you should look for the following:
- The communication sends without errors
- Attachments send without errors
- The logs do not return any errors based on the recipient list
- The task executes based on the trigger
Tip: Review the Process Automation FAQ article for more information on common errors that may occur and how to fix them.
In This Article
Setting up the task for testing
Note: This process assumes the communication template and recipient query are already configured. If the communication template and associated recipient query are not configured, set those up before testing the process automation task. See Creating a new communication template for details.
You must setup the task so that it is configured for testing:
- Make a copy of the recipient query in the communication template
- Add the copied query to the Process Automation task
- Preview the template from the Process Automation task
1. Making a copy of the recipient query
The first step is to make a copy of the recipient query and filter the results to only those who should receive the test communication.
Do the following to copy the recipient query:
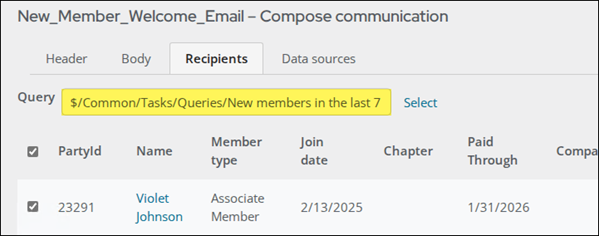
- Open the communication template for edit, then click the Recipients tab.
- Copy the recipient query location:
- Go to RiSE > Intelligent Query Architect.
- Paste the recipient query location, then click Go.
- Select the recipient query, then click Organize > Copy.
- Click Organize > Paste.
- Open the copied query for edit.
- Click the Filters tab:
- Remove all existing filters.
- From the Property drop-down, select an ID property. In the Value field, enter your iMIS ID or the iMIS ID of the user who should receive the test communication. To send the communication to multiple people, add multiple ID properties with each separate ID in the Value field.

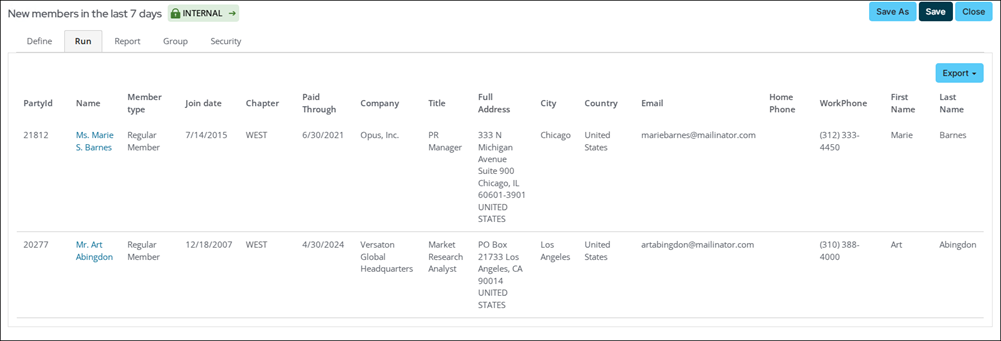
- Click Run. Ensure there is data returned for each contact. If the communication template includes specific fields, like registration details for the Annual Conference, make sure that the test recipient(s) are also registered for this event. If the test recipients' details do not match the dynamic fields in the template, the communication will fail to send and results with errors in the logs.
- Save the query.

2. Adding the copied query to the Process Automation task
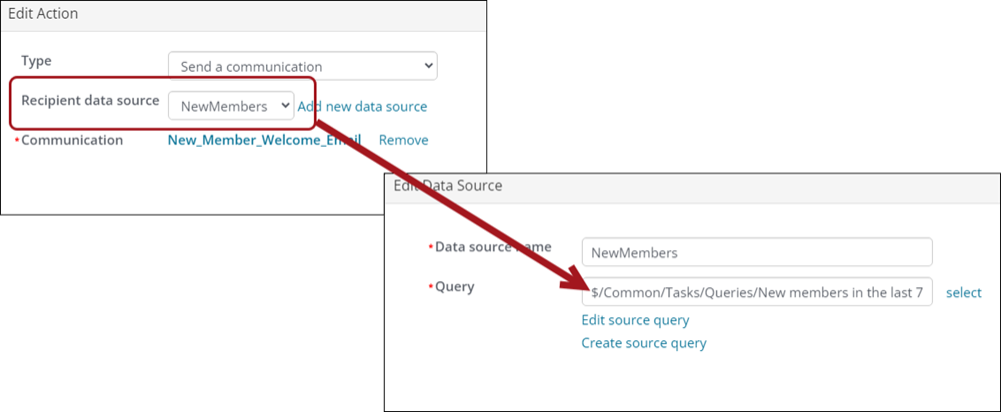
The next step is to add the copied query to the Actions tab in the Process Automation task:
- Go to RiSE > Process automation.
- Open the task for edit, or create the task.
- Click the Actions tab:
- Open the existing action for edit, or select Add action.
- Ensure the Type is set to Send a communication.
- Select Add new data source:
- Enter a Data source name, such as Testing_Task_Query.
- Choose the copied Query created above.
- Click Save.
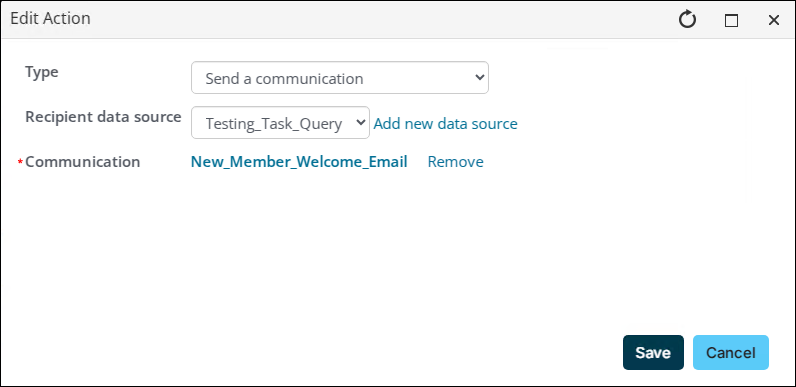
- Choose the Communication template.
- Click Save.
- Save the overall task.
3. Previewing the template from the Process Automation task
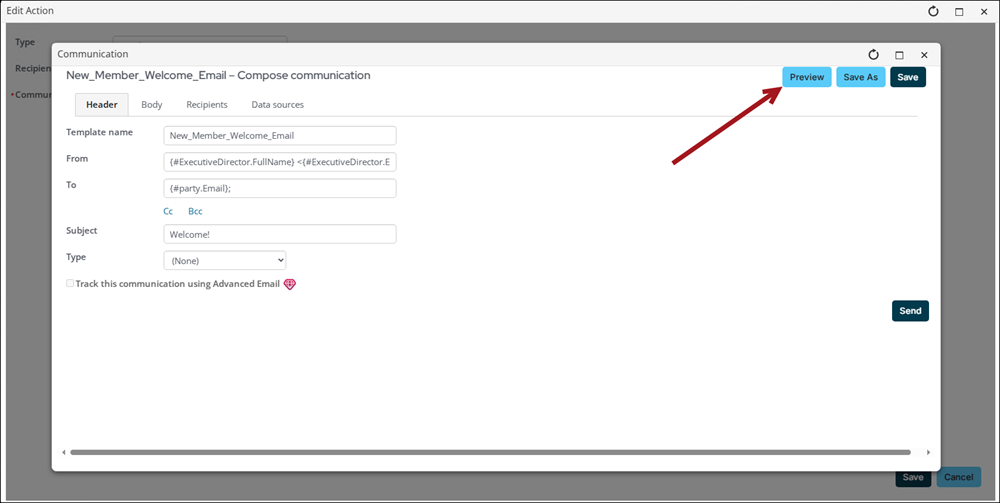
The final step before running the task is to preview the communication template to ensure there are no errors. Do the following to preview the template from the task:
- Click the Actions tab.
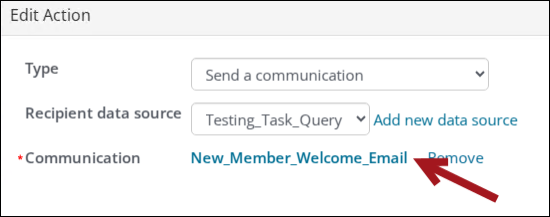
- Click the edit icon for the defined action.
- Select the Communication.
- Click Preview.
- Review the template for each recipient to ensure there are no errors. If there are errors, the template will fail to send. If there are errors, update the query, or choose a different contact in the query that contains the required data defined in the template.
Testing the task and viewing the logs
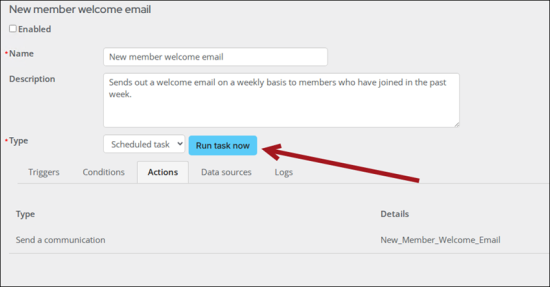
When you are ready to test the task, do the following:
- From the task, click Run task now. The task will run and may take a few minutes to appear in the logs.
- Click the Logs tab.
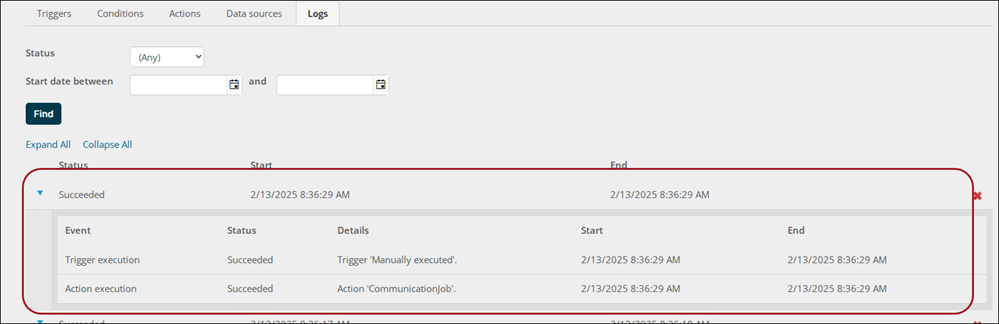
Review the top row for details. The Status will either be Succeeded or Failed:
- If the task sent to the recipients, the status is Succeeded. You can review the email sent to your inbox to verify and approve the template. If there are attachments, be sure to also review that the attachment sent and returns only your data.
- If the task did not send to recipients, the status is Failed. There will be some information in the expanded row that details why the task failed to send. Review the copied query and ensure each recipient has the required data for the template. If the communication template includes specific fields, like registration details for the Annual Conference, make sure that the test recipient(s) are also registered for this event. If the test recipients' details do not match the dynamic fields in the template, the communication will fail to send and results with errors in the logs.

What's next?
If you are using a Process Automation scheduled task that sends a communication based on a particular trigger, such as an insert field or on a particular schedule, you can also test the trigger. See Testing Process Automation communication triggers for details.
Important! After you are done testing, be sure to remove the copied query from the Actions tab and begin using the real query. Enable the task when you are ready.