Last updated on: June 23, 2026
Notifications
The Notifications section in ICE allows you to setup email messages that will be sent out automatically by the system. These emails can be triggered by any transaction that occurs in ICE. Currently, a message can be sent to either the person that initiates a transaction (Invoker) or the person affected by a transaction (Affector).
Configuration
These settings are typically defined during your initial ICE implementation but can be updated at any time.
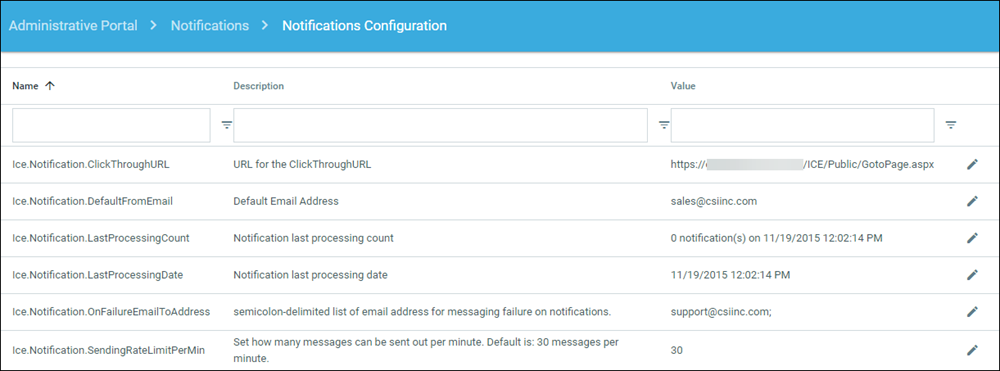
- Within ICE Admin, go to Notifications > Notifications Configuration.
- ClickThroughURL - this URL is the default landing URL for a user that may be redirected from another ICE URL.
- DefaultFromEmail - this is your default email from address for any message sent by ICE unless otherwise specified in the notifications settings.
- LastProcessingCount - last count of messages sent from ICE.
- LastProcessingDate - last date that messages were sent from ICE.
- OnFailureEmailToAddress - email address to be used if a user does not have an email address.
- SendingRateLimitPerMin - You can enter a value to limit the number of emails sent from ICE per minute to comply with your SMTP requirements.
Messages
The Messages module is used to create/edit the messages.
Creating Messages
Do the following to create messages:
- Go to Notifications > Messages.
- Click Add new record.
- Populate the following fields as desired:
- Message Code: Code to identify the message in ICE. (no spaces)
- Subject: Subject line of the email message.
- Description: Description of the message for ICE Admin use only (optional).
- Contents: Content for message.
- Click Insert to save the message.
Merging Fields
In the Content area, you can use special merge fields to customize the message. These fields allow you to add information related to the person receiving the message (ToPerson), the sender of the message (FromPerson), and information about the transaction. A full list of these values can be found in the SQL view: vcsi_ICE_MessageMergeField. To view this list, open SQL Server Management Studio and run the following query on your iMIS database:
Query
Select * from vcsi_ICE_MessageMergeField Here is a short list of some common merge fields:
| FromPerson | ToPerson |
|---|---|
|
AlumClubName |
AlumClubName |
|
ChapterAffiliatedName |
ChapterAffiliatedName |
|
ChapterInitiatedName |
ChapterInitiatedName |
|
DisplayName |
DisplayName |
|
FirstName |
FirstName |
|
LastName |
LastName |
|
MaidenName |
MaidenName |
|
City |
City |
|
State |
State |
|
PreferredFullAddress |
PreferredFullAddress |
|
PreferredEmail |
PreferredEmail |
|
InitiatedSchoolName |
InitiatedSchoolName |
|
GradYear |
GradYear |
|
InitiatedYear |
InitiatedYear |
When adding these to the content area of the message, put [[ ]] around the merge field name like the following:
![]()
Transactional notifications
Transactional notifications allow you to define what to associate the notification with. Once you have created your message, you define how you want the message to behave. The upper portion of the screen is system defined and the lower portion of the screen is user defined.
Configuration
Do the following to define the configuration:
- Go to Notifications > Transactional Notifications.
- Go to the lower section labeled CustomTranNotifications.
- Click Add new notification.
- Populate the following fields as desired:
- Transaction Type: Choose the ICE Workflow Product Code that corresponds to the transaction.
- Transaction Event: Choose which stage of the transaction will trigger the message:
- Transaction_Completed
- Transaction_Created
- Transaction_Denied
- Type: Choose Email.
- Disabled: Check this box to make the Transactional Notification inactive.
- Message: Select the corresponding Message Code to identify the message to be sent.
- Alt Message: Select the same Message code from message field.
- Send To: Choose who will receive the message:
- Invoker: The person that initiated the transaction.
- Affector: The person being affected by the transaction.
- Additional To: Enter a defined email address if desired.
- From: Enter a defined email address or the default email address in ICE will be used.
- CC to Groups: Select a security group to CC.
- Click Insert to save.
Note: This will generate a .txt file that is stored on the server for review purposes. Make sure you proof read it prior to sending out.
Tasks
Processing Pending Notifications
As ICE Notifications are generated they are queued for processing. A job in the database executes on a timed interval and processes all of the queued items and sends the email messages. If you want to process any pending notifications immediately:
- Click Execute Task to force the job to run.
- You will receive confirmation when the job completes.
Viewing Pending Notifications
Notifications that have not been sent will appear as pending until processed.
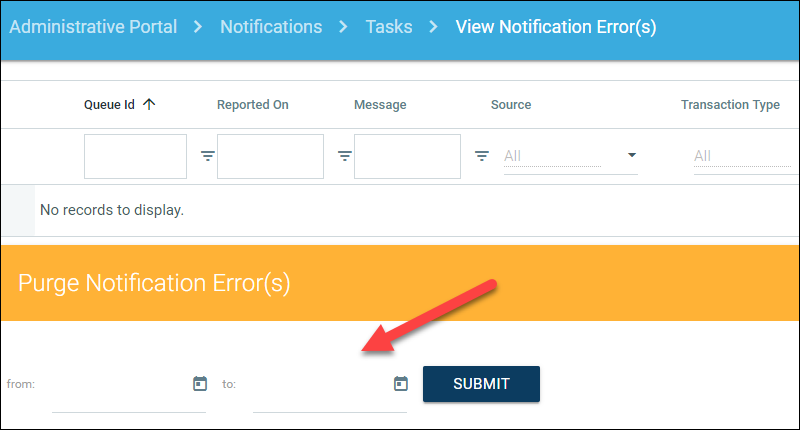
Viewing Notification Error(s)
Any notifications that failed to send will appear here.
You can select to purge old notification errors by entering a date range and selecting Submit.