Last updated on: January 27, 2026
Related videos Training course
To revise an iMIS content record, click the Easy Edit icon. This enables the Easy Edit mode until you click the Easy Edit icon again to disable it. To begin making changes to custom content, hover the mouse over a content item. There will be a Configure button along with the name of the content item.
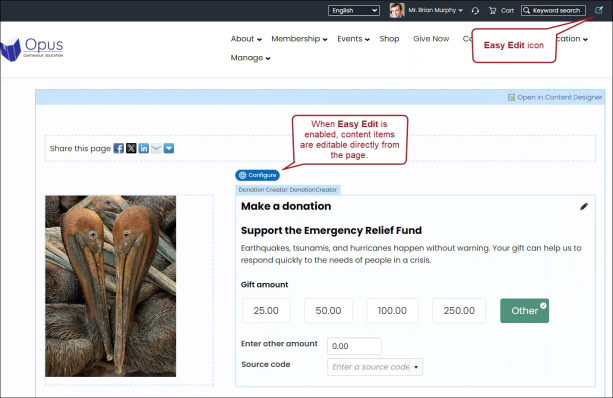
Note: Easy Edit automatically disables upon logout. To continue editing, simply reenable Easy Edit when you log back in.
Note: Easy Edit is not available for mobile devices.
In This Article
Understanding Easy Edit permissions
Review the following table to understand what Easy Edit permissions are available to non-staff users.
| Permissions | Main Content Area of an Interior Page | iMIS system content (out-of-the-box) |
|---|---|---|
| Scenario 1: Editing and submitting content for approval | ||
|
Easy Edit icon for the entire content record and can open the entire page for editing. Must submit changes for approval. |
Easy Edit icon for the entire content record but can only send content change requests. |
| Scenario 2: Editing and publishing content | ||
|
Easy Edit icon for the entire content record and can open the entire page for editing. Changes are immediately published. |
|
| Scenario 3: Requesting change to content | ||
|
Easy Edit icon for the entire content record but can only send content change requests. |
|
Workflow for scenario 1: Editing and submitting content for approval
With the permissions specified above for Scenario 1, the follow outlines the content editing workflow:
- Navigate to the desired page.
- Click Easy Edit.
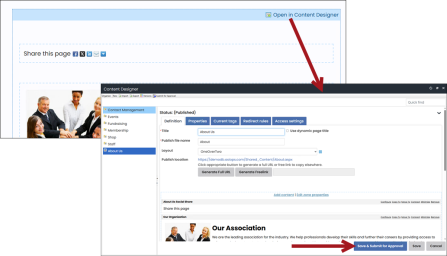
- Select Open in Content Designer.
- Update the content.
- Depending on the type of content, do one of the following:
- Custom content: Click Save or Save & Submit for Approval.
- System (out-of-the-box) content: Click Save As.
-
One of the following status messages appears:
- This page has unpublished changes. This message includes a Submit for Approval button to immediately send the changes for approval.
- Page saved. This message includes a Submit for Approval button to immediately send the changes for approval.
- Page submitted for approval.
-
Content authority group members with Content Approver permissions review the changes and publish the content.
Workflow for scenario 2: Editing and publishing content
With the permissions specified above for Scenario 2, the follow outlines the content editing workflow:
- Navigate to the desired page.
- Click Easy Edit.
- Select Open in Content Designer.
- Update the content.
- Click Save & Publish or Save.
- One of the following status messages appears:
- This page has unpublished changes. This message includes a Publish Page button to immediately publish the changes.
- Page saved. This message includes a Publish Page button to immediately publish the changes.
- Page added to publishing queue.
- Page published.
Workflow for scenario 3: requesting change to content
With the permissions specified above for Scenario 3, the follow outlines the content editing workflow:
- Navigate to the desired page.
- Click Easy Edit.
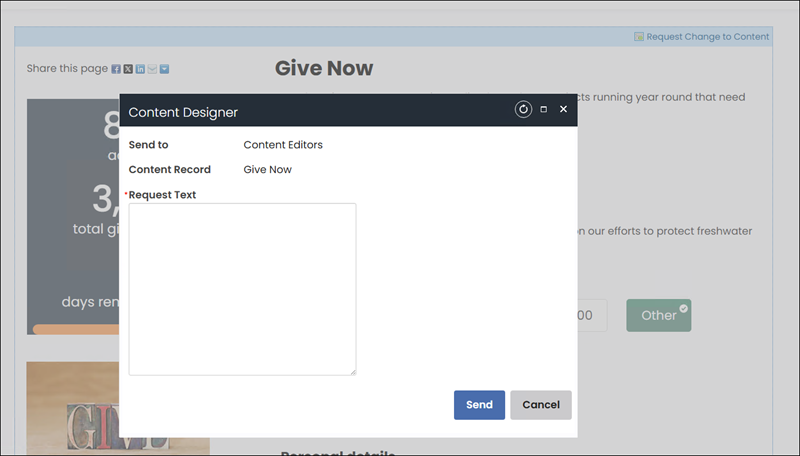
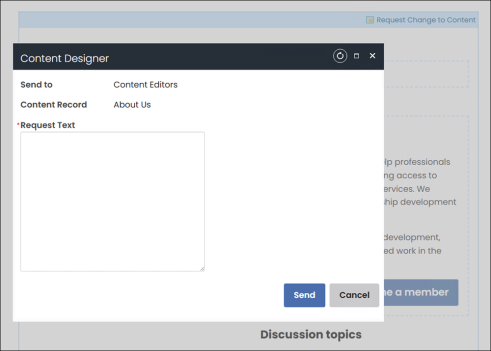
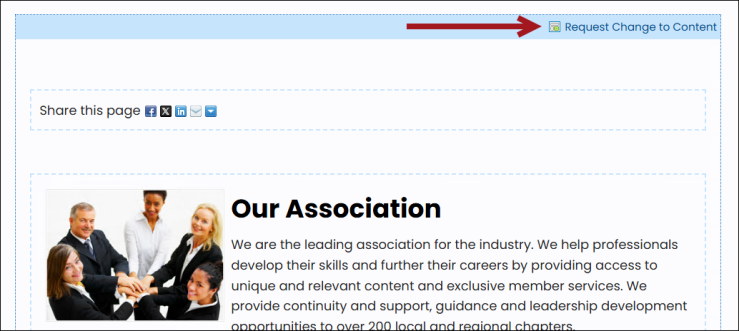
- Select Request Change to Content.
- If the content record is not workflow-enabled or simply has no assigned content owner, a change request entry appears in the Unassigned content change requests section of the Page Builder task list for every user who has Content Editor permissions in at least one content authority group to which they belong. Even though these users do not receive an email from the system, they can view the contents of your email message by clicking the envelope icon next to the change request in their Page Builder task list.
Using Easy Edit to update Content Html content
Note: Inline editing is not supported with Advanced mode.
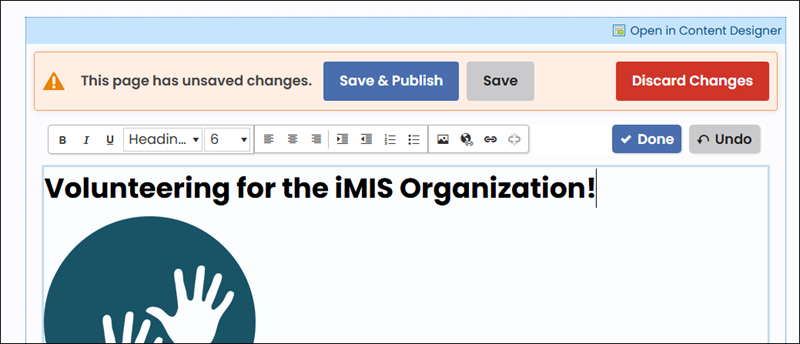
When Easy Edit is enabled, pages containing Content HTML content items in Simple mode can be edited directly inline. Simply click the text or Edit button and begin making modifications. A toolbar appears that offers the simple mode toolbar functions. To open the content item configuration, click Configure.
When finished editing content inline, click Done then Save & Publish or Save & Submit for Approval.
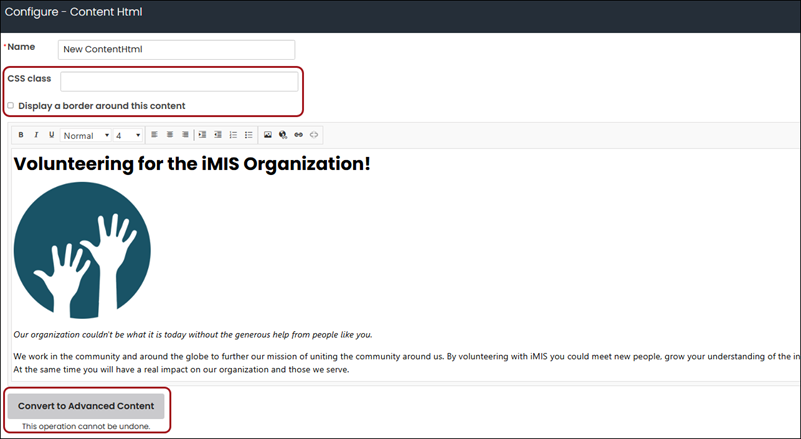
To open the content item window, click Configure. You cannot edit the simple content from the Configure window, but you can perform the following:
- Add a CSS class
- Display a border around this content
- Convert to Advanced Content – Switching to the Advanced editor will display the most recent inline content. If there are any unsaved changes, clicking Save or Save & Publish will overwrite those changes.
