Last updated on: January 27, 2026
Go to Settings > Events > General to review the following settings.
In This Article
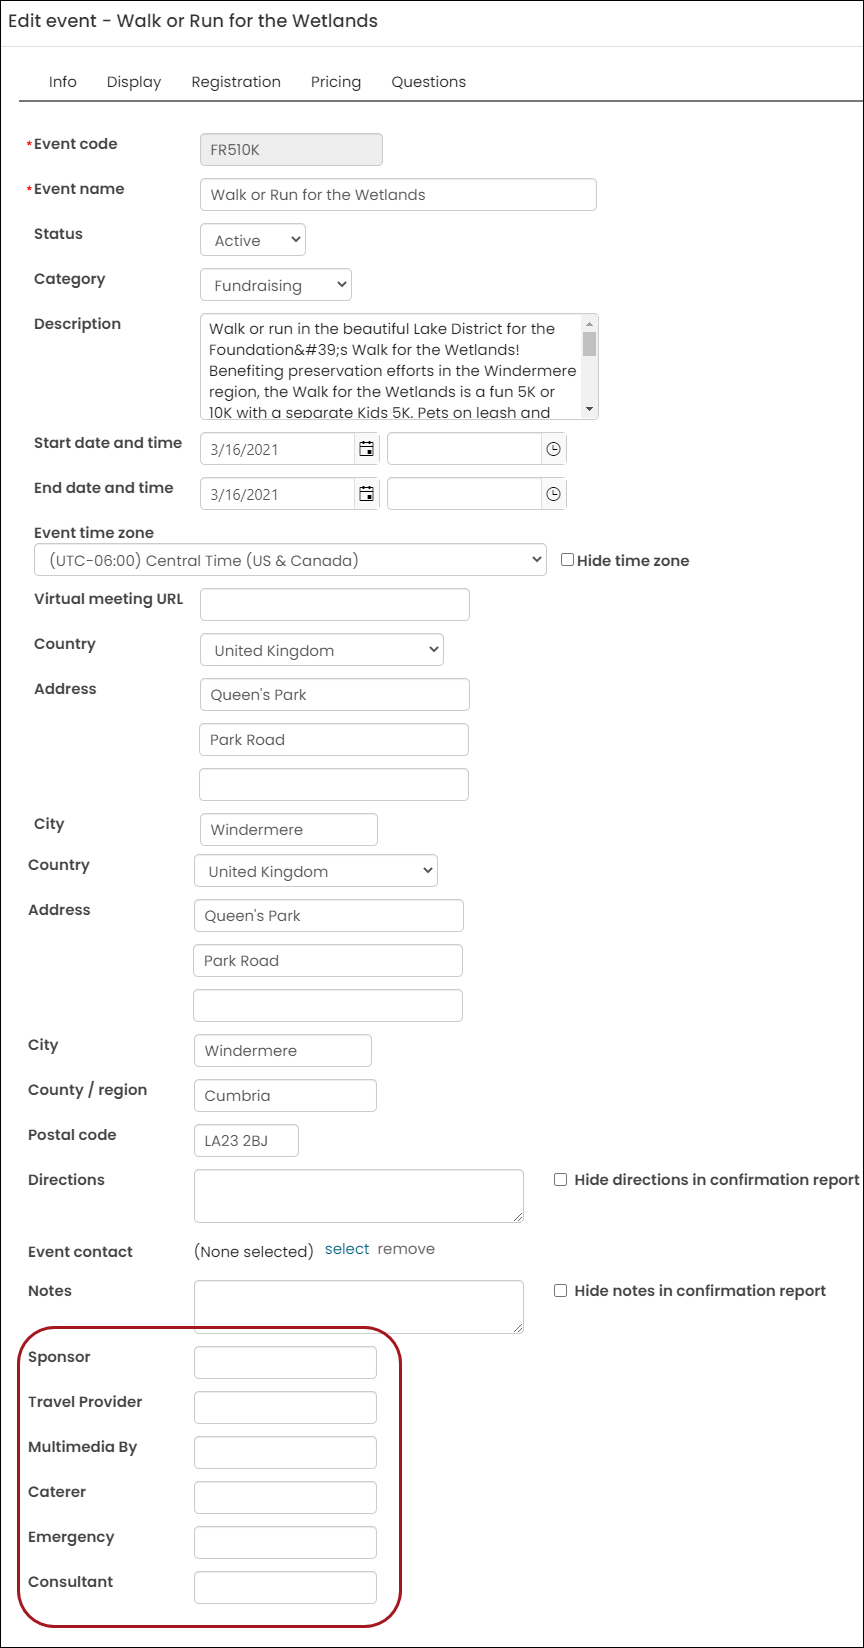
Additional fields for staff use
The Additional fields for staff use allows authorized users to define additional field labels for events. Once these labels are defined, they appear as additional fields for an event creator to define when creating or editing an event.

Preferences
The following settings are available under Preferences:
- Create separate invoices for event adjustments – When enabled, a new invoice is created for event registration adjustments (credit note or positive adjustment). The new invoice uses the date of the adjustment, lists any credits or debits, and references the original invoice. Every time an invoice is generated, either the original invoice or an adjustment invoice, new adjustments will go into a new invoice. Once the original invoice is generated, line items, quantities, and amounts will not change.
- Automatically generate invoices for registrations and adjustments upon checkout – When enabled, event registrations and adjustments (including cancellations) are invoiced (assigned an invoice number) upon checkout. To only automatically generate invoices that are not paid in full, enable Registrations and adjustments with a non-zero balance only. See Event invoices for more information.
- Permit public users to register existing contacts – When enabled, public users can register existing contacts they do not have read access to. When disabled, public users may encounter errors if they attempt to register contacts not included in the Authenticated users security query. For more information, see Registering someone else.
Note: All event adjustments will result in new invoice lines, regardless of whether this option is enabled. If a program item is added and then removed, there will be one positive invoice line and one negative invoice line.
Note: When disabled, the event invoices are assigned a temporary invoice number upon checkout, such as R1234, and the invoices must be manually generated.
Activity fields
iMIS has the ability to map user-defined fields to event activity records. This system setup function lets you specify up to seven event-related data fields (three character, two numeric, and two date fields) to be added to each registrant's activity record when an event is closed. The data can come from the individual registration data, such as the user-defined fields, or from event definition information from the following tables:
- Meet_Master
- Order_Meet
- Order_Badge (Primary badge only)
- Orders
Note: After an event is closed, all activity data is automatically retained. You can view event-related activities for the contact using the CsActivty business object.
To map user-defined fields to event activities, do the following:
- Go to Settings > Events > General.
- From the Activity fields area, enter additional activity fields to track. For example, to track the first user-defined registration text field, enter Order_Meet.UF_1.
- Click Save.
- Go to Settings > Contacts > Activity types.
- Select Meeting Attendance (MEETING).
- Enter the field labels you want to appear in the individual activity records. The seven UF fields listed under Labels correspond to the seven fields in the Activity fields area:
- UF_1-UF_3 map to Char 1-Char 3
- UF_4-UF_5 map to Number 1-Number 2
- UF_6-UF_7 map to Date 1-Date 2
- Click Save.
- After the event is closed, use the CsActivity business object to start reporting on the activity data.
Zoom integration
The Zoom integration settings should be configured if you have an OAuth app created through the Zoom App Marketplace. See Adding a Zoom meeting link to an event for full details about these settings.
- Go to Settings > Events > General.
- Scroll down to Zoom integration and enter the following:
- Client ID - The Client ID is an identification number unique to the client and is generated after creating an OAuth app in the Zoom App Marketplace.
- Client secret – The Client secret is a password unique to the client and is generated after creating an OAuth app in the Zoom App Marketplace.
- Click Save.