Last updated on: June 30, 2026
Communications testing
Test and review the following areas related to sending communications from iMIS.
Altering the default communication templates
There are many different areas in iMIS where default communication templates are used. Users must alter the default communication templates before going live with iMIS. Review the Communication checklist to determine if you have altered the important communication templates in iMIS.
Custom communication templates
Custom communication templates are considered any communication template without a lock symbol in the communication template name.
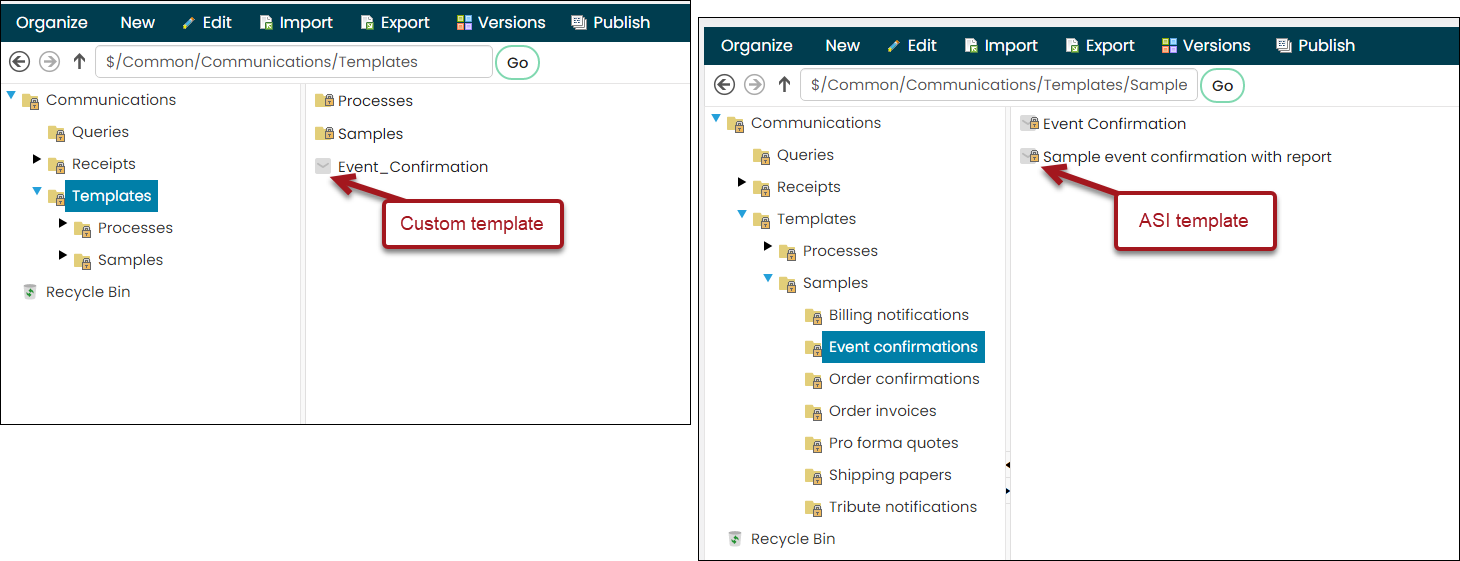
- Go to Marketing > Communication templates, then open the Templates folder, or which ever folder containing custom templates. Open the template. Does the content in the communication template look correct?
- Send a communication template to a personal email address. Does the formatting of the communication template look correct?
- Review the recipient queries in the communication templates. Are the correct contacts being pulled? Review the videos over sending communications to contacts to learn more about creating recipient queries.
Communication logs
Review the communication logs after sending test communications. Are the logs displaying the correct numbers and details about a contact? Review the Communication logs and Tracking email interactions with contacts articles to learn more about how communications are logged in iMIS.
Automatic communications using Process Automation
As you see in the Communications checklist article, there are several out-of-the-box communications available to you that use Process Automation (RiSE > Process automation).
Outside of the communication checklist, there are many out-of-the-box communications available for you to use. If you are already using these scheduled communication tasks, review the scheduled tasks and make sure the correct communication is selected in the Actions tab of each scheduled task:
- Go to RiSE > Process automation.
- From the Type drop-down, select Scheduled task.
- Review each scheduled task that you are already using or wish to use in the future and review the selected communication template:
- Open the scheduled task, for example, Event confirmation email.
- Click the Actions tab.
- Click the edit icon for the Send a communication type.
- Select the linked communication template in the Communication field.
- Click the Body tab. Is this the communication you want to send out?
- If it is not the correct communication, choose or create the correct communication for this scheduled task, then replace the selected communication with the correct template.
It is important that you also review the selected recipient queries in the communication templates you choose for each task and confirm that the queries are correct. Clicking Preview for each communication will help you in determining if the queries are pulling the right data and people.