Last updated on: January 27, 2026
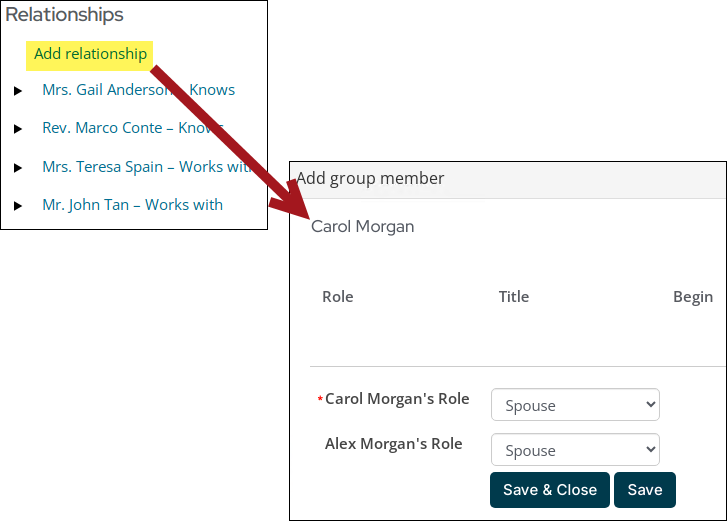
You can easily create a link between two contacts using the Group List Editor content item. The relationships you define show up on the record of both contacts, and you can specify roles for one or both of the contacts.
Example: If you edit Alex Morgan’s record to indicate that he is the spouse of Carol Morgan, then that relationship will also appear in Carol’s record.

There is no limit to the number or the types of relationships you can create. Only staff users can create relationships between contacts, but any user can view a list of relationships.
In This Article
- Defining the relationship types
Creating relationships between contacts
Deleting relationships
Setting up the Group List Editor to display relationships
Defining the relationship types
Relationship types allow you to relate members to one another.
Important! The _ORG-ADMIN relationship type should not be deleted. This role is required for the Company Administrator role.
To create a new relationship type, do the following:
- Go to Settings > Contacts > Relationship types.
- Select Add relationship type:
- Enter a Relationship type code. Characters entered in this field are automatically capitalized. This field cannot be modified once saved.
- In the Description field, enter a full name for the relationship type.
- (optional) If desired, enter the code for the relationship you want linked to your new relationship type in the Reciprocal type field.
- (optional) Enable the Use description option if you want to display the Description in the relationship editor. If Use description is enabled, the Description field must contain a value.
- (optional) Enable the Use dates option if you want to display fields for beginning and ending dates of the relationship in the relationship editor.
- Click Save.
Note: If you leave the Reciprocal type field blank for relationship type, two contacts connected with that relationship type will be displayed with that same type.

Note: Enabling Use dates for the _ORG-ADMIN relationship type allows you to define beginning and end dates for the Company Administrator role. Once the end date has passed, the role becomes inactive, and the company administrator security permissions are no longer available to the contact. For more information, see Assigning the company administrator role for one or more companies.
Select a relationship type to edit any of the information, or click the delete icon to delete a relationship type.
Note: Before deleting a relationship type, check to be sure that your system does not have any relationships set up that use that relationship type.
Creating relationships between contacts
Note: Only Staff members and System Administrators can create and edit relationships.
To create a relationship between two people, do the following:
- Navigate to one of the contact's account pages.
- Click the About tab.
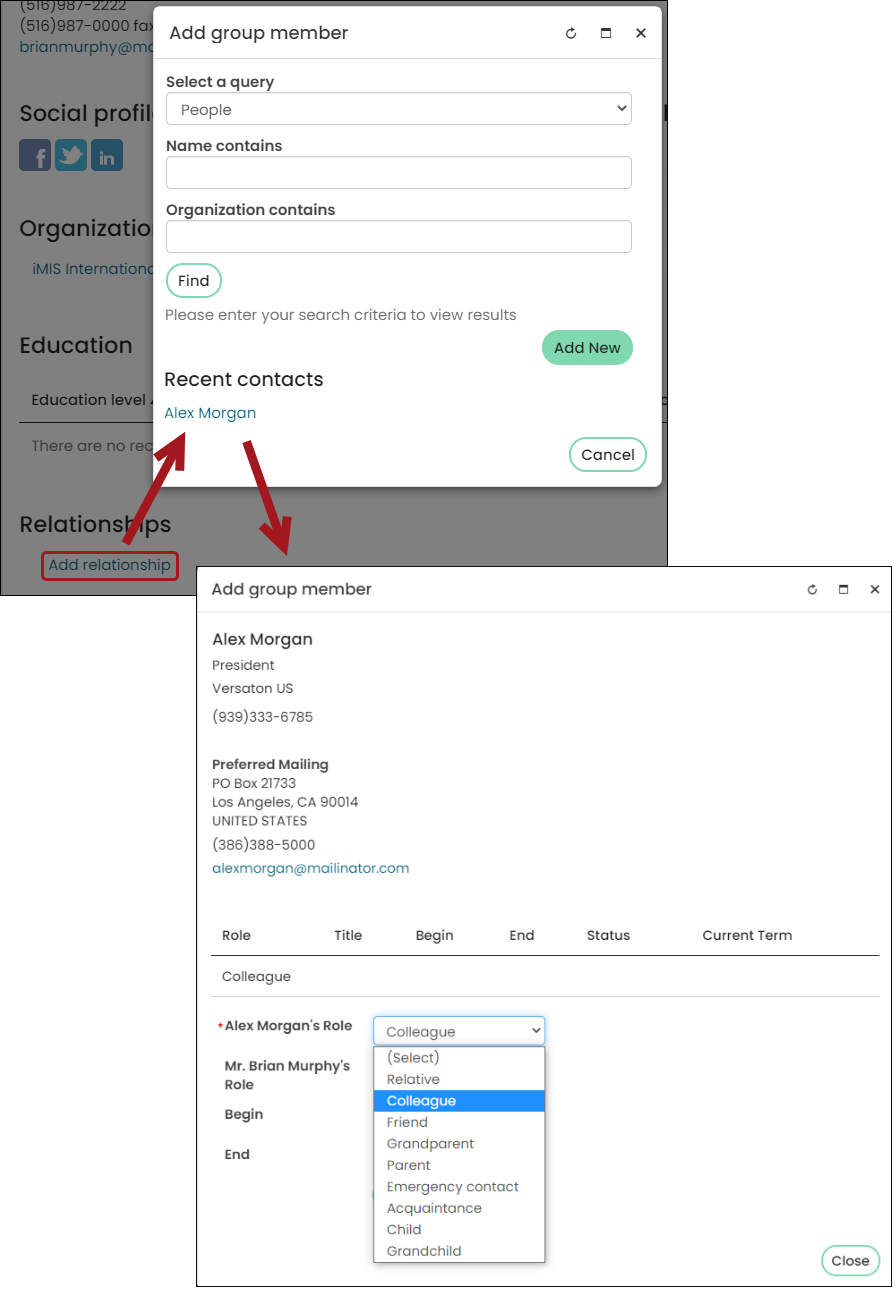
- From the Relationships area, select Add relationship.
- Search for the individual or company in which a relationship is being added with.
- Select the individual or company.
- Identify both party's Role.
- Click Save & Close.
Deleting relationships
To delete a relationship between two people, do the following:
- Navigate to the account page of one of the contacts.
- Click the About tab.
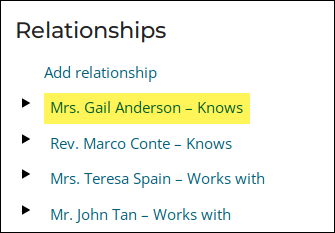
- In the Relationships area, select the relationship to delete.
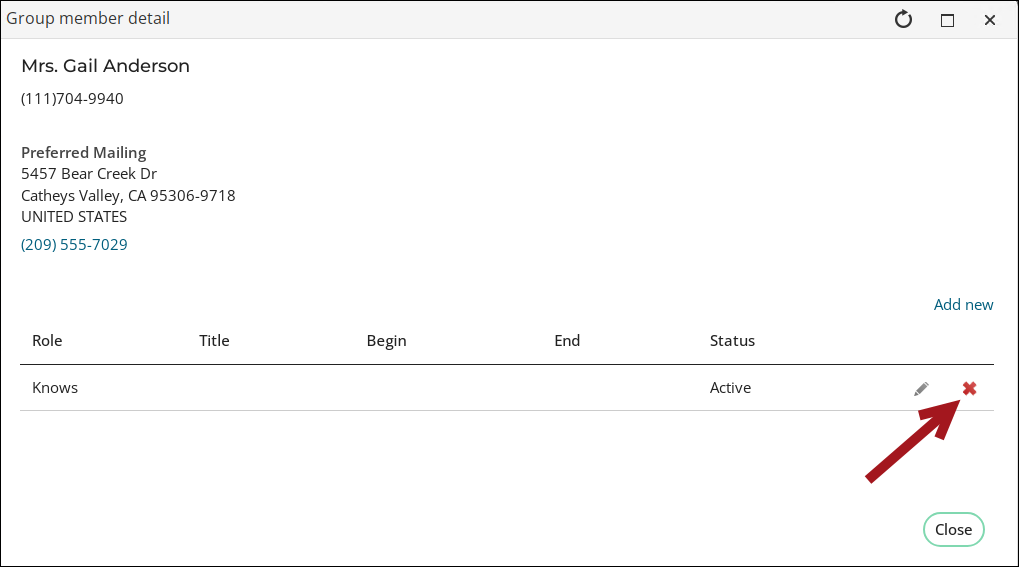
- Click the delete icon.
- Click OK.


The relationship is removed from both contacts and the deletion is recorded in their change logs. The original relationship type is shown as the previous value leaving the new value empty. For more information, see Change history overview.

Setting up the Group List Editor to display relationships
Do the following to set up the Group List Editor content item to display relationships:
- Add the Group List Editor content item to a content record on which you want to display a list of a contact’s relationships . The Group List Editor content item displays a list of relationships for the currently selected contact. The selected contact is determined by either a contact ID passed to the page by way of a URL parameter (from the Directory, for example), the contact selected in the On behalf of control, or the currently signed-in user.
- Configure the content item with the following settings:
- Allow editing: Enable this option if you want System Administrators or Staff to be able to edit relationships.
- Is the page context (parent) for this content item a group?: Select No.
- Display a list of: Select Both.
- Choose the group types to include: Select Relationship.
- Save & Publish the content record.