Last updated on: June 23, 2026
You can register for a free event without going through the cart.
Important! Free events use a separate registration confirmation page and communication template. The communication template is stored on the confirmation page, and it must be updated because it contains ASI- and iMIS-specific details. Since the template is tied to the confirmation page, both the page and the template are required to be updated.
In This Article
- (*Required) Updating the registration confirmation page and communication template
Registering for free events as a public or staff user
Registering guests and contacts for free events
Waitlisting for free events
(*Required) Updating the registration confirmation page and communication template
Before registration begins for free events, you must update the registration confirmation page and the related communication template.
Updating the Registration confirmation page for free events
Do the following to copy the free-event registration confirmation page:
- Go to RiSE > Page Builder > Manage content.
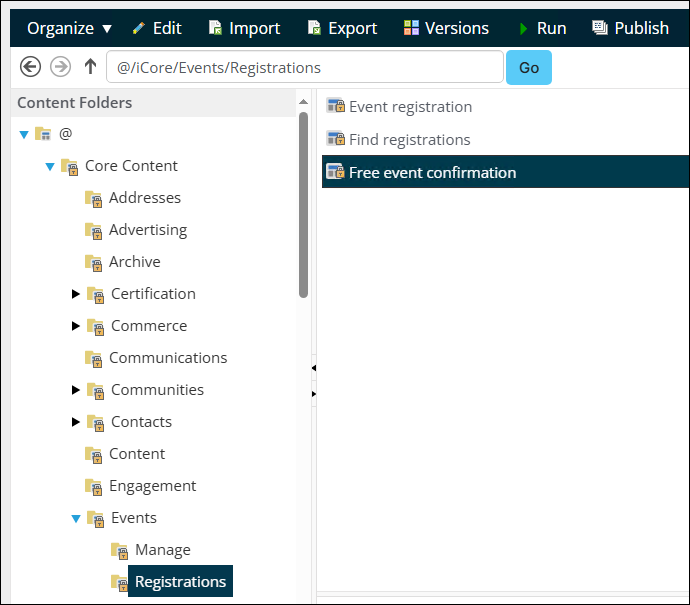
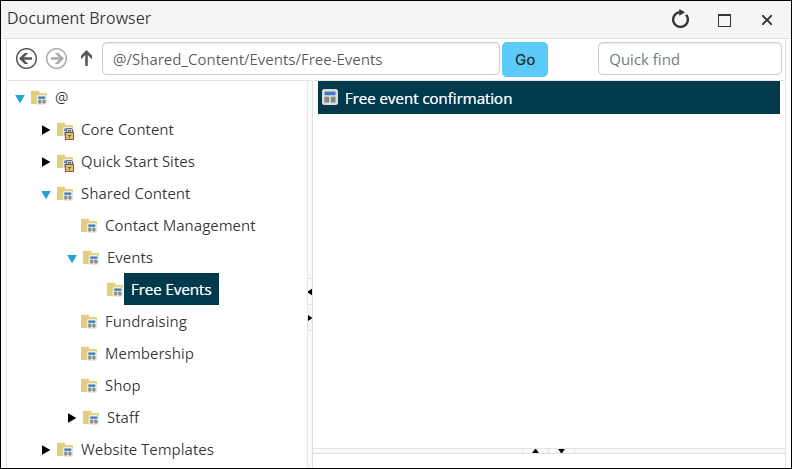
- Navigate through the following folder path: @/iCore/Events/Registrations
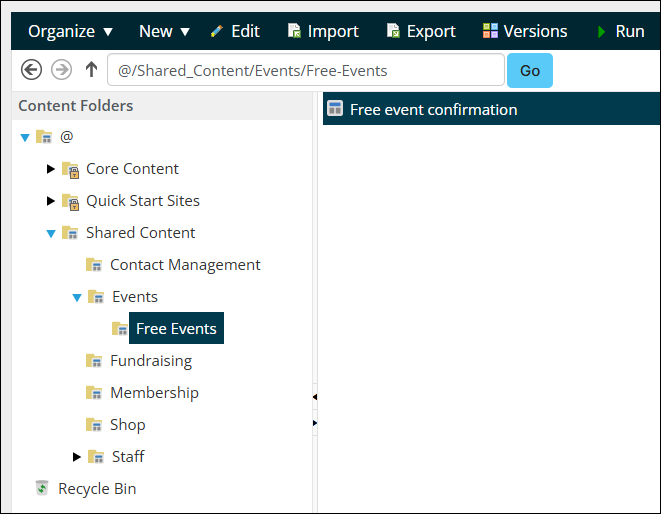
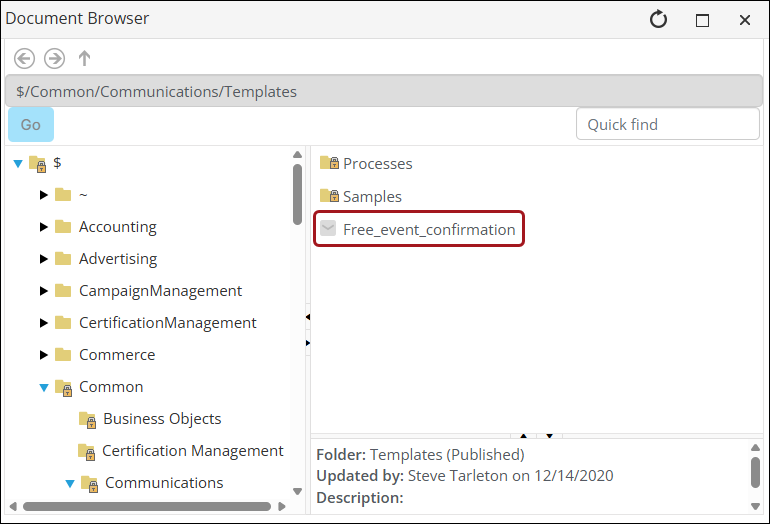
- Select the Free event confirmation content record, then choose Organize > Copy.
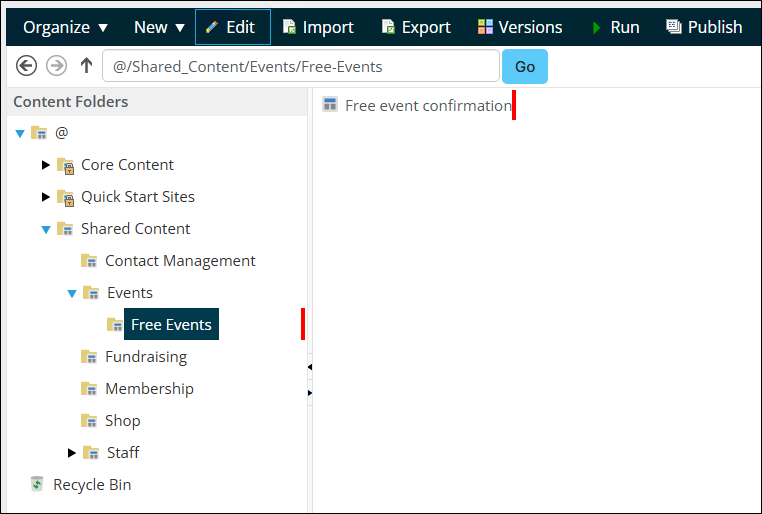
- Navigate to a non-system folder, then choose Organize > Paste.
- Click Publish.
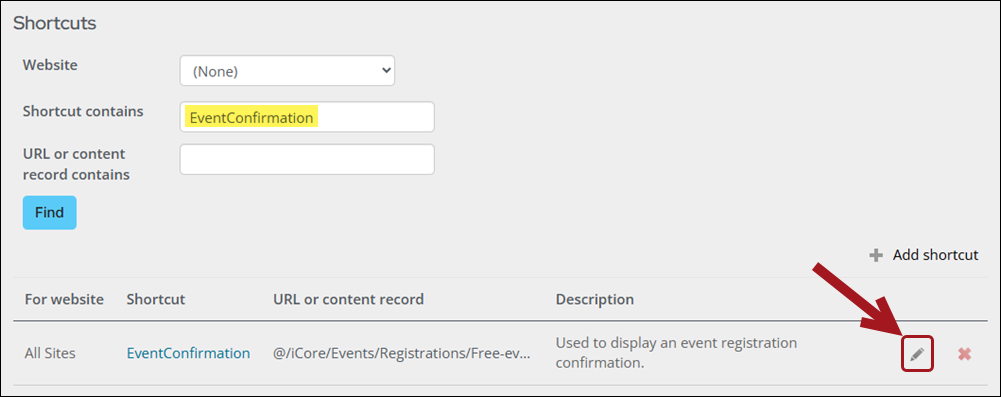
- Go to RiSE > Site Builder > Manage shortcuts.
- Search for the EventConfirmation shortcut.
- Click the Edit icon for the EventConfirmation shortcut.
- From the URL or content record field, select the copied Free event confirmation record.
- Click OK.
- Click Update.
The Free event confirmation content record can then be edited and customized further for an organization's needs.
Updating the communication template & adding it to the confirmation page
Free events have a unique communication template. The out-of-the-box free event confirmation communication template should be customized to match your organization’s branding.
Do the following to update the communication template:
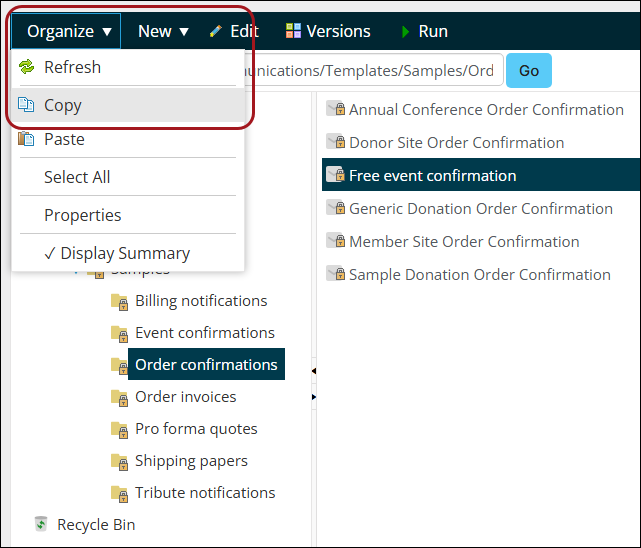
- Go to Marketing > Communication templates.
- Open the Templates > Samples > Order confirmations folder.
- Copy the Free event confirmation template (Organize > Copy).
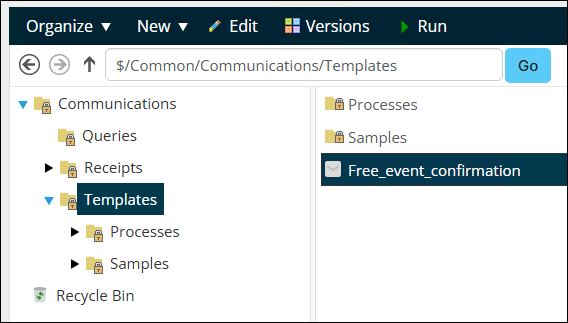
- Paste the template into the Templates folder. Double-click the template to edit it.
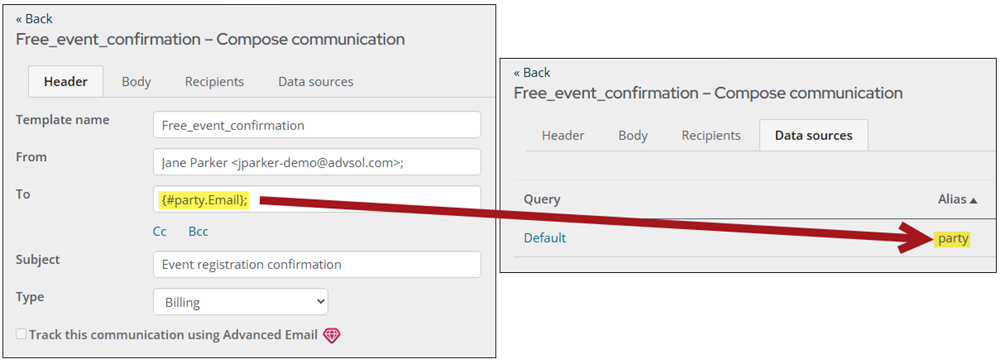
- (Header tab) Make all necessary changes to the Header content of the communication template. The Header content is pulled from the queries on the Data sources tab. Review the queries to determine if the appropriate information is selected on the Header tab.
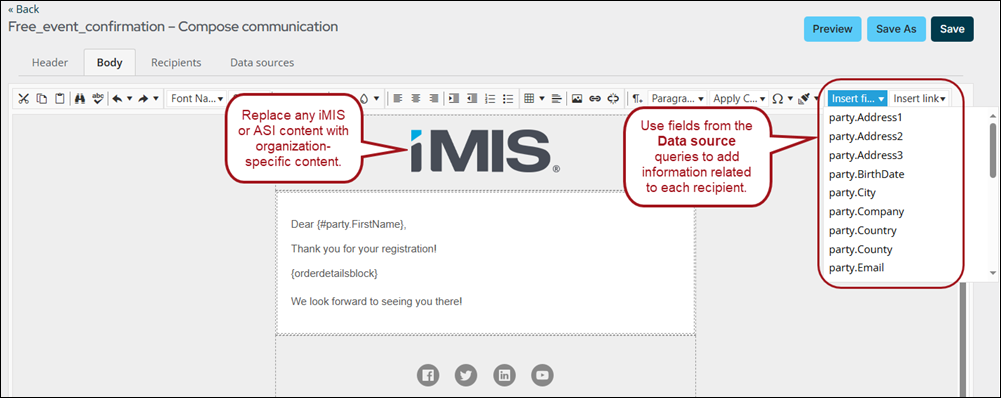
- (Body tab) Add the desired fields related to the event registration to the email by selecting from the Insert field drop-down.
- Click Preview to review the email. Correct any fields that display an error in preview mode.
- Click Save.Next, edit the copied Free event confirmation content record to use the custom communication template.
- Go to RiSE > Page Builder > Manage content.
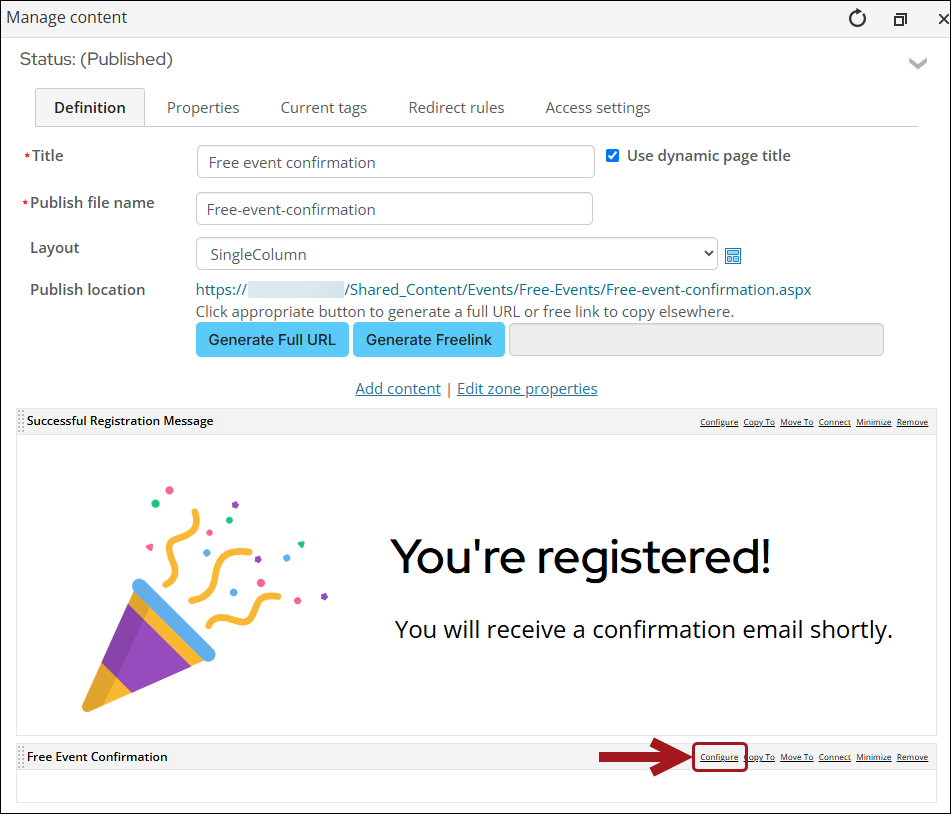
- Open the Free event confirmation record that was copied in Configuring the free event confirmation record.
- From the Free Event Confirmation content item, select Configure.
- Go to the Custom order confirmation template field and click select to navigate to the custom free event confirmation communication template.
- Click OK.
- Click Save & Publish.
Registering for free events as a public or staff user
To register for a free event, the following prerequisites must be met:
- The user must be logged in.
- The selected event registration option and program items must be free to the registrant at the time of registration.
To register for a free event, do the following:
- Go to Events > Find events.
- Search for and open an event that is free.
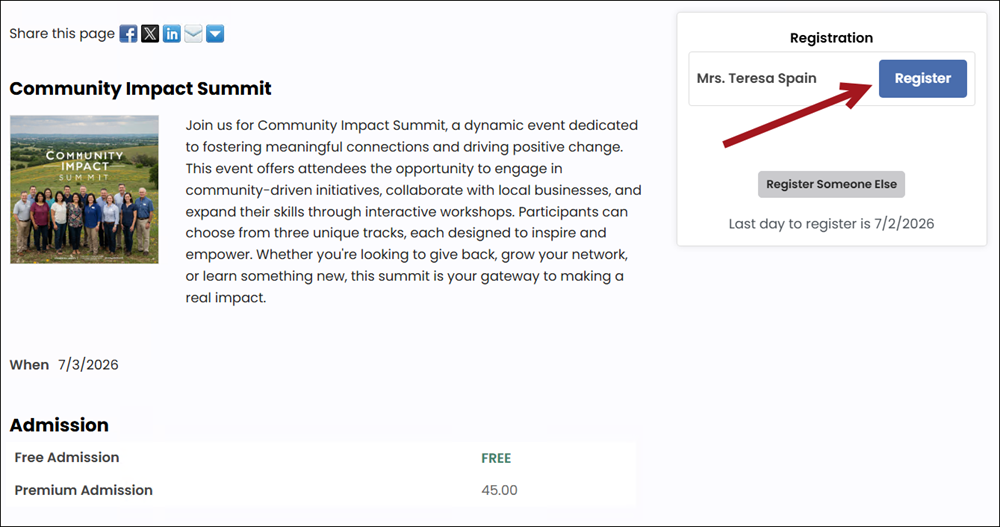
- Click Register Myself.
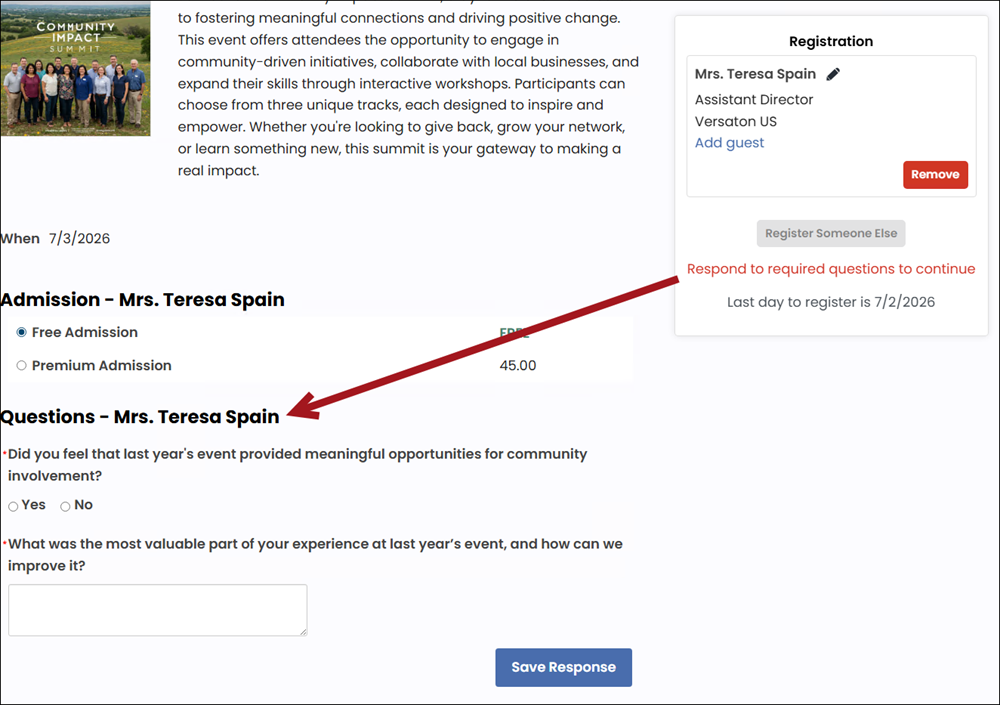
- (optional) If there is more than one registration option, choose the appropriate Registration Option.
- (optional) Answer any questions that appear below your registration options, then click Save Responses.
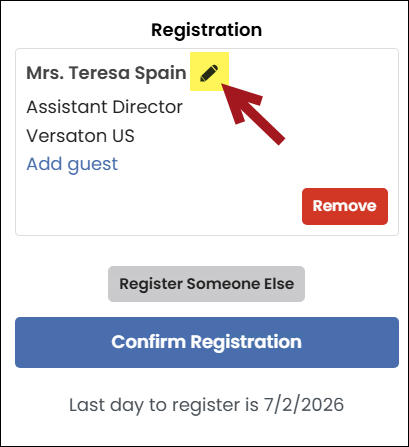
- (optional) Click the Edit icon to manage the registrant details. Changes to the address in the Edit registrant information window are automatically reflected on the contact's account page. This information is used for badges and other event-related reports. Registrants can edit this information or add a new address.
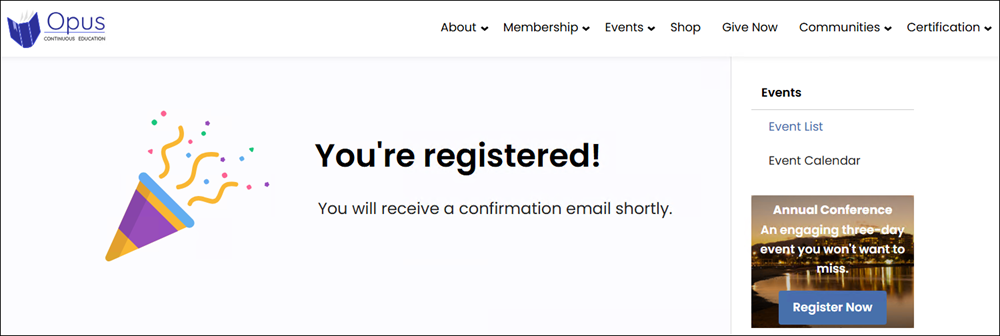
- Click Confirm Registration. The page will update to confirm the registration and send a confirmation email.
-
Note: To suppress the order confirmation, check out using the cart instead of clicking Confirm Registration.
- Go to the Participation tab on the account of the registered user to view their registration and edit their registration if necessary.
Note: The first option is selected by default. To change which option is first, go to the Info tab of each admission option and enter a Sort sequence. See Defining event pricing and registration options for further details.

Registering guests and contacts for free events
Public and staff users can add guests to their registration or register other contacts for a free event they are not attending without going through the cart.
Registering guests for free events
To register guests, do the following:
- Go to Events > Find events.
- Search for and open the free event.
- Click the Showcase tab.
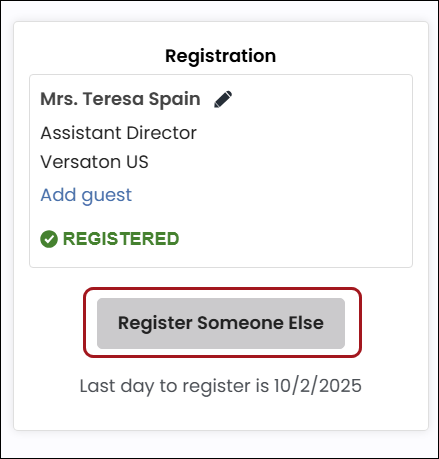
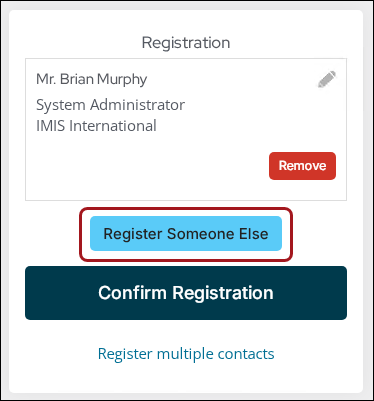
- Click Register Someone Else.
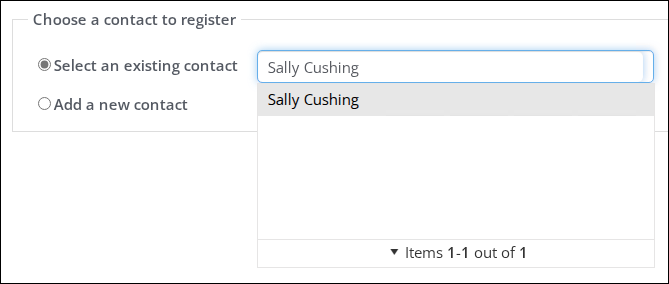
- Enter a contact’s name into the Select an existing contact field, then choose the contact from the list. Public users can edit the contact's Informal name, Title, and Organization. Additionally, staff users and company administrators with edit access to the contact can view the addresses on the screen. The drop-down contact list is generated by a system query which returns a list of contacts who belong to the same organization as the registrant ($/EventManagement/DefaultSystem/Queries/Advanced/Event/Registrant Search). To customize this query, see Customizing the register someone else query.
- Click Save & Close.
- Answer any questions that appear below the registration status and click Save Responses.
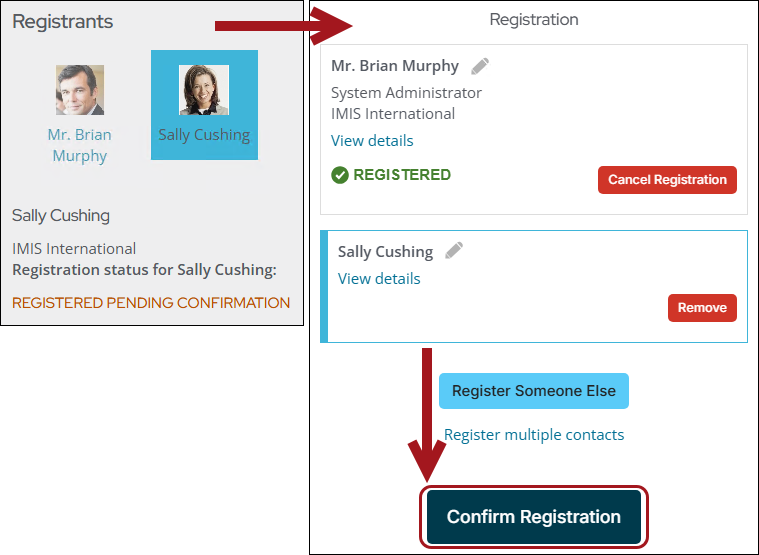
- The contact appears in the Registrants area on the event dashboard’s Showcase tab. Click Confirm Registration.
Note: When a staff user cancels a registration, any other contacts they registered are not canceled. For example: Brian Murphy registers for an event and adds Alex Morgan to his event registration. If Brian Murphy's registration is canceled, Alex Morgan is still registered for the event.
Waitlisting for free events
Similar to events with a cost, staff users can add themselves to free event waitlists for registration options and program items when either reaches maximum capacity. Public users can also add themselves to a waitlist if Allow non-staff registrants to add themselves to waitlist is enabled in the Registration tab for the event. For more information, see Waitlisting for an event.
Note: The process for waitlisting someone else is different depending on how many registration options an event offers.
Waitlisting someone else as a public user
Public users can add someone else to the waitlist for a free event if the event is at maximum capacity and allows waitlisting. This also applies to any program items that have reached maximum capacity at a free event.
Waitlisting someone else with one registration option
To waitlist someone else as a public user for events with one registration option, do the following:
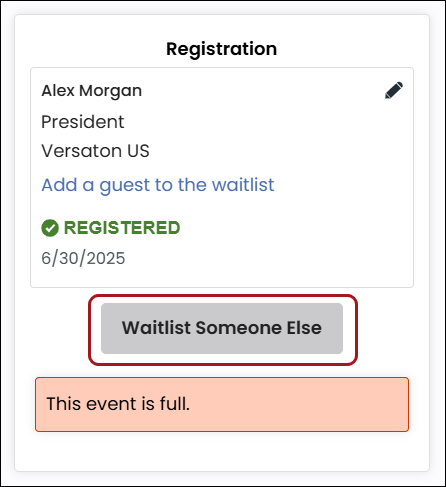
- From the event page, click Waitlist Someone Else.
- Select an existing contact or Add a new contact.
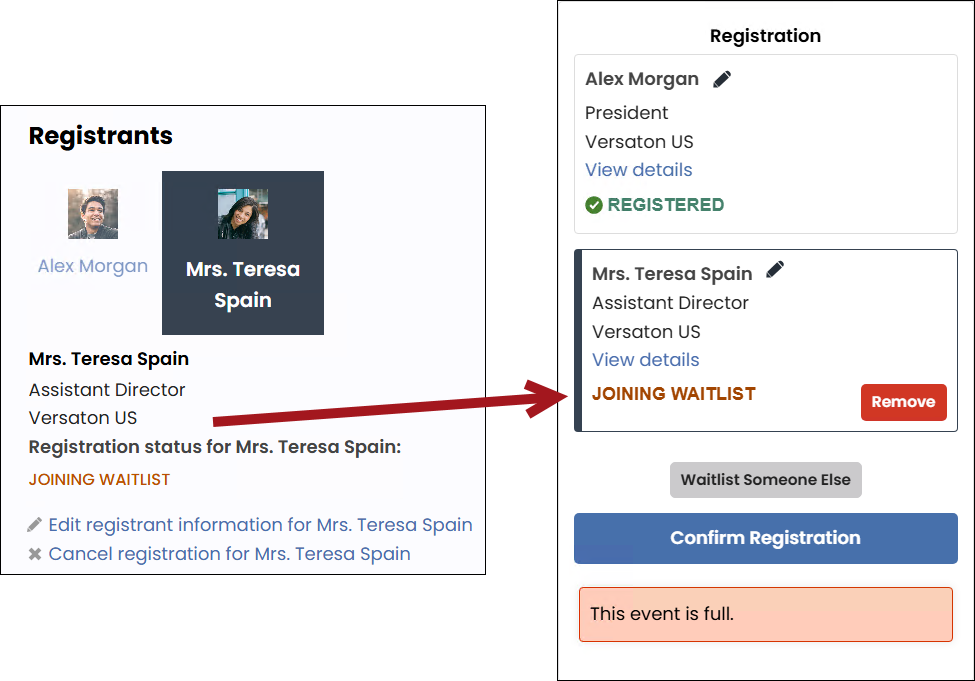
- Click Save & Close. The waitlisted registrant appears in the Registrants and Registration summary sections.
- Click Confirm Registration.

Waitlisting someone else with multiple registration options
To waitlist someone else as a public user for events with multiple registration options, do the following:
- From the event page, click Register Someone Else.
- Select an existing contact or Add a new contact.
- Click Save & Close.
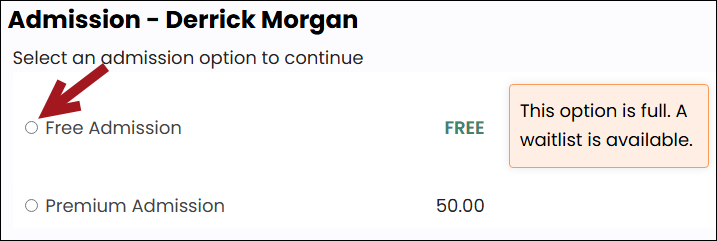
- Under Admission, Select the admission option that has reached capacity.
- Click Confirm Registration.