Last updated on: June 30, 2026
Customizing the Add Contact screen
Adding a new contact is controlled by the configuration of the Contact Account Creator content item. By adjusting the content item's settings, you can determine what information is collected, which fields are required, and how new contacts are created.
This allows you to tailor the experience to meet your organization’s data standards, business processes, and user needs.
Understanding where you can add new contacts
The Contact Account Creator can be added to any page, but is used in the following areas:
| Location | Who uses it | Shortcut | Image (click to enlarge) |
|---|---|---|---|
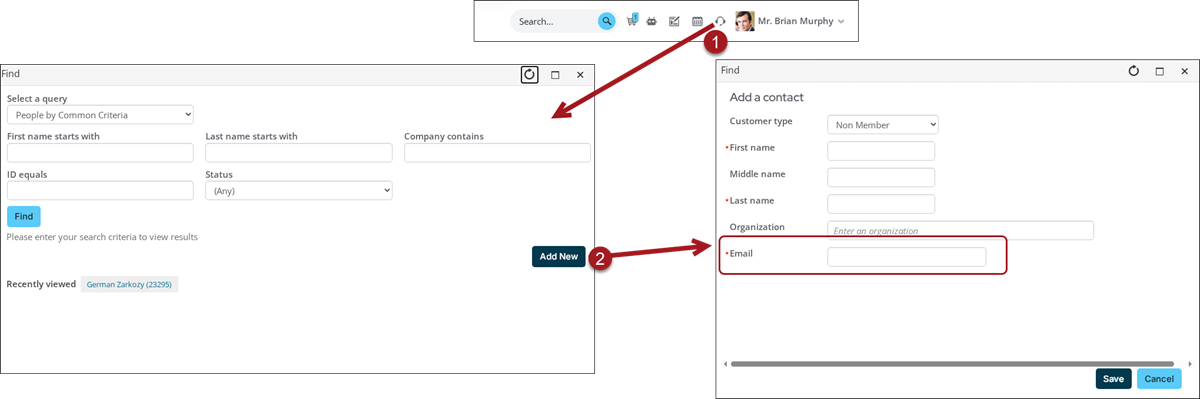
| On Behalf Of window > Add New | Staff and users with On Behalf Of privileges | AddContact |
|
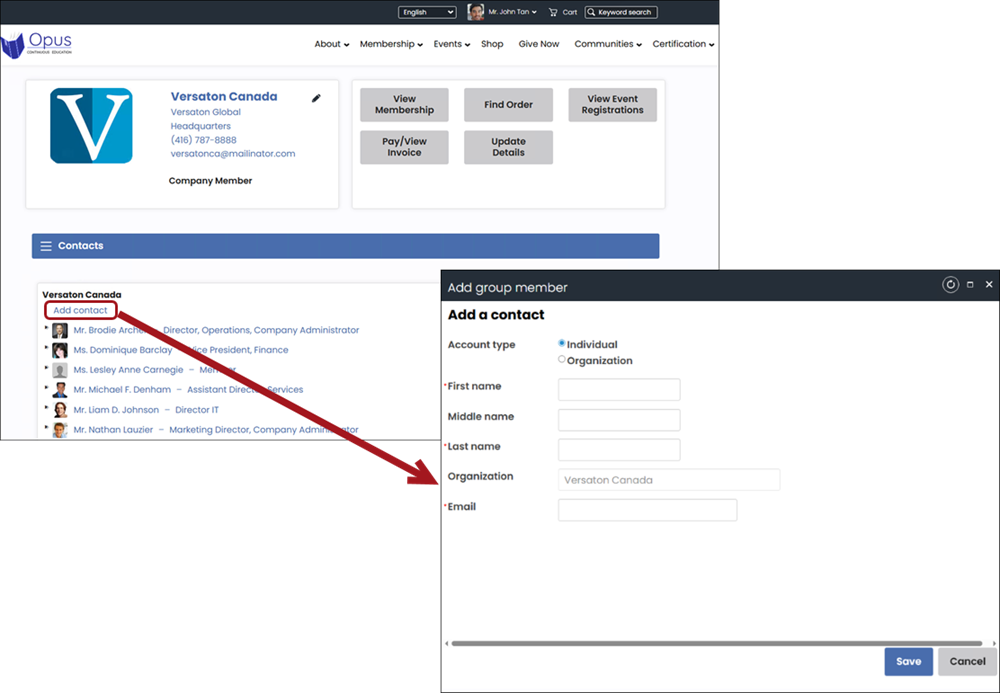
| Organization account page > Add contact | Non-staff (for example, company administrators) | AddContact |
|
| Community > Add contact | Staff only | StaffAddContact | 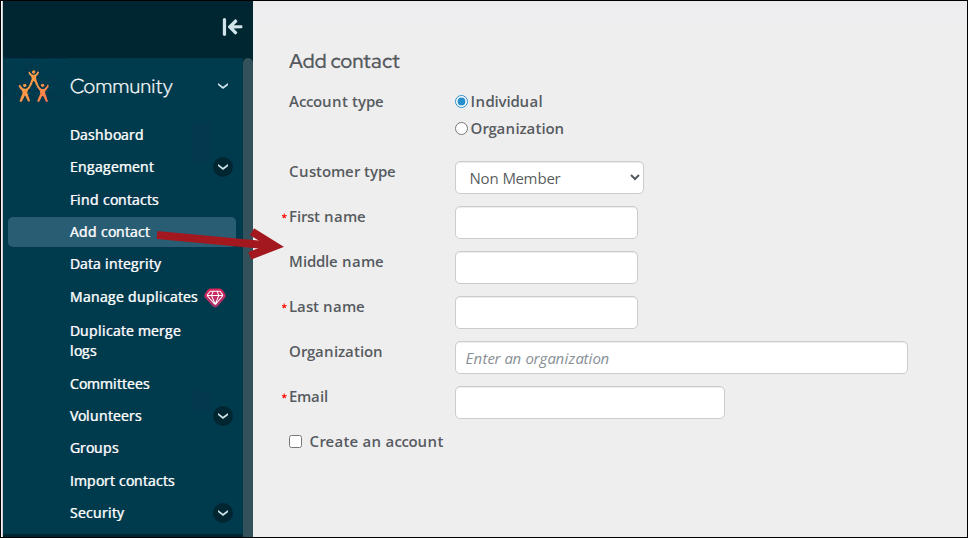
|
Tip: If you are unsure which area your users are adding contacts from, update both shortcuts to ensure email is always required.
Important! Because the On Behalf Of and Organization account pages both use the AddContact shortcut, updating that shortcut applies to both locations.
Customizing the options available when adding a new contact
You can configure the Contact Account Creator to support a variety of scenarios, including the following:
- Controlling which fields are required:
- Email address (individuals and organizations)
- Phone number
- Mailing address
- Username and password (when creating an account)
- Managing field visibility: Show or hide field depending on what information you want users to provide, such as prefix, suffix, or middle name.
Updating the Add Contact screen to include additional fields
Do the following to update these areas to require or include additional fields:
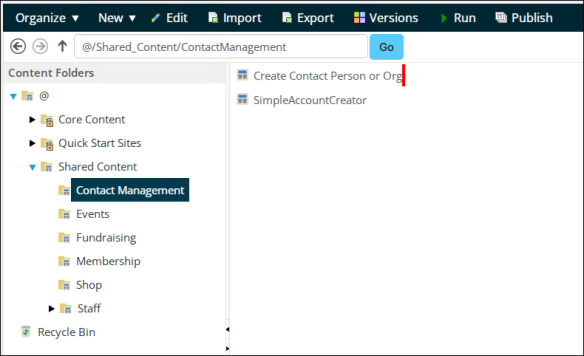
- Go to RiSE > Page Builder > Manage content.
- Navigate through the following folder path: @/iCore/Contacts/
- Do one or both of the following:
- (AddContact) Select the SimpleAccountCreator content record, then click Organize > Copy.
- (StaffAddContact) Select the Create Contact Person or Org content record, then click Organize > Copy.
- Navigate to a non-system folder, then click Organize > Paste.
- Double-click the copied content record.
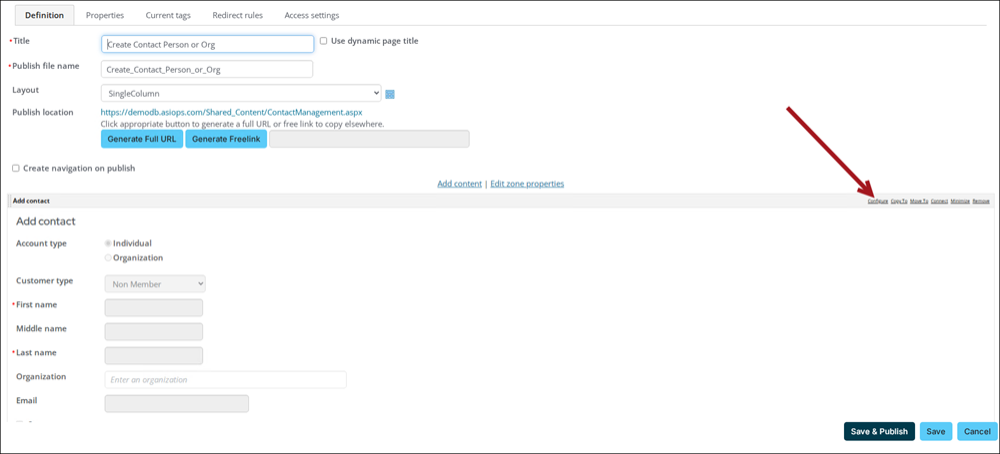
- From the Contact Account Creator content item, select Configure.
- Update the desired fields.
- Click OK.
- Click Save & Publish.
- Go to RiSE > Site Builder > Manage shortcuts.
- Do one or both of the following:
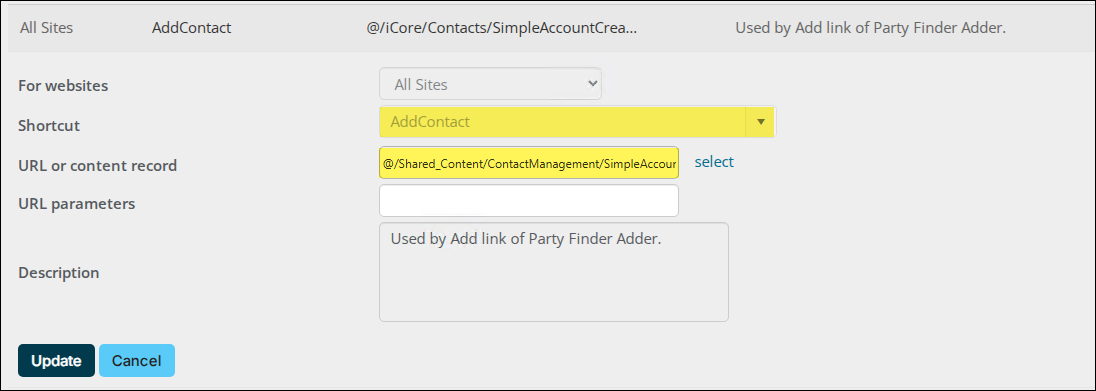
- Locate the AddContact shortcut, then click the edit icon.
- Locate the StaffAddContact shortcut, then click the edit icon.
- From the URL or content record field, select the copied content record.
- Click Update.