Last updated on: January 27, 2026
You can browse or search for specific products and view your cart or the cart of another contact.
Note: If you have opened a contact record, you can click the product name and proceed through the purchasing process to checkout.
In This Article
Searching for a product
Go toCommerce > Find products.

Tips
- Capitalization does not affect search results.
- Products are searched by name, the first 300 characters of the description, and attributes, such as color or size.
No search results?
- Search terms must be at least three characters long.
- In some cases, searched terms might exist outside of your 300-character product description. To improve search results, enter additional terms.
Using the cart
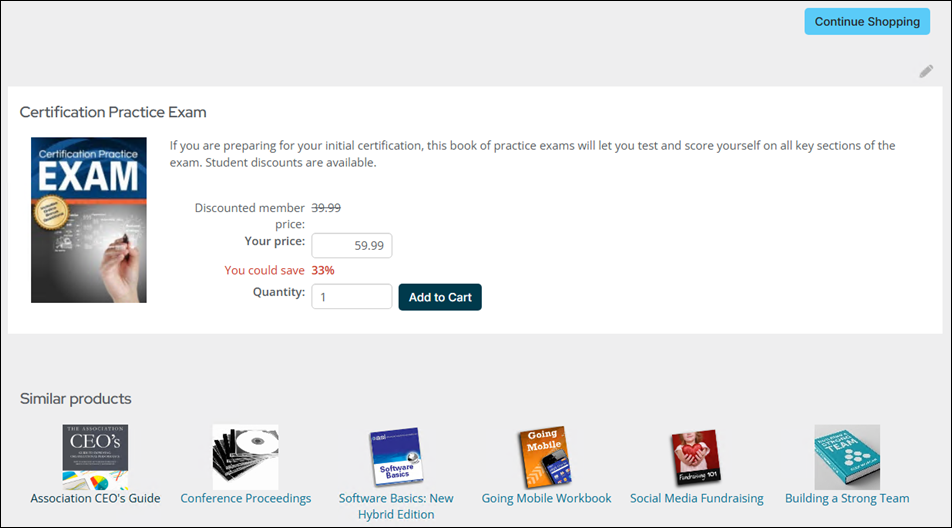
The Find products page allows you to view, add, and remove products:
- Go to Commerce > Find products.
- Search or browse for the product.
- Select the product.
- Click Add to Cart.
- When you are finished selecting products, you can check out. iMIS will guide you through the rest of the purchasing process.
- Configure the following cart areas as needed:
- Items - Adjust the Quantity of products and Update the cart, or Remove products from the cart.
- Transaction options – Contains the following options:
- Override transaction date – Enable to backdate cash and check transactions. When disabled, the default transaction date is today’s date.
- Order type – Staff users with an Orders: 4 module authorization level or higher can select an order type for any commerce items in the cart. If the cart does not contain commerce items, the option is hidden.
- Source code – Select a Source code to associate with the transaction. The Source code lets you track the campaign or other source that motivated the purchase.
Note: Source codes assigned to the hyperlink automatically populate the Source code field. Select a new source code to update the cart and hyperlink.
- Invoices - Invoices selected for payment appear in the Invoices area. Remove invoices as needed.
- Membership payment options – When AutoPay is enabled for membership, these options allow prospective and existing members to enroll in automatic membership renewals from the cart when they join or renew their membership:
- Single payment – Pay only for the join or renewal currently in the cart.
- Automatically pay future renewals – Automatically pay future renewals with the Payment details entered for this transaction. Members can update or cancel their automatic payments at any time.
- Shipping details – The Shipping method selector provides the following options for inventory items:
- Ship to – The address to which inventory items ship. Select Choose another address to change the Ship to address.
- Shipping method – The available shipping methods depend on the Ship to address. For more information, see Calculating shipping charges.
- Cart charges – Displays the totals along with the following options:
- Promotional code – Apply a Promotion code to the order.
- Available credit – Apply an open credit to the order.
Note: Products defined with a minimum or maximum quantity will display an error message that informs the purchaser that the quantity must be within the specified range. For example, entering 5 as the Quantity may result in an error that says, Quantity must be between 2 and 4, if that is the specified range. Public users cannot add the product to their cart until the number is within the set range.
- Enter the Payment details. You can select a billing address that is different from your shipping address.
- Pay Now/Pay Later – Enable Pay Later to submit a transaction without immediate payment, then enter the PO number (purchase order number).
- Payment Amount – Defaults to the Transaction grand total. Enter a new payment amount to apply a partial payment.
- Save payment details for use in future purchases – Save the payment method for future use. When purchasing AutoPay products, this option is automatically enabled and read-only.
- Click Submit Order.

Note: If any items in an order are unavailable, then the entire order is placed on backorder.
Staff users can place orders beyond the available quantity for inventory items.
Note: This option is only available when Allow users to save their payment for future use when making a non-AutoPay purchase is enabled from the AutoPay settings (Settings > Finance > Pay Central > AutoPay).