Last updated on: June 30, 2026
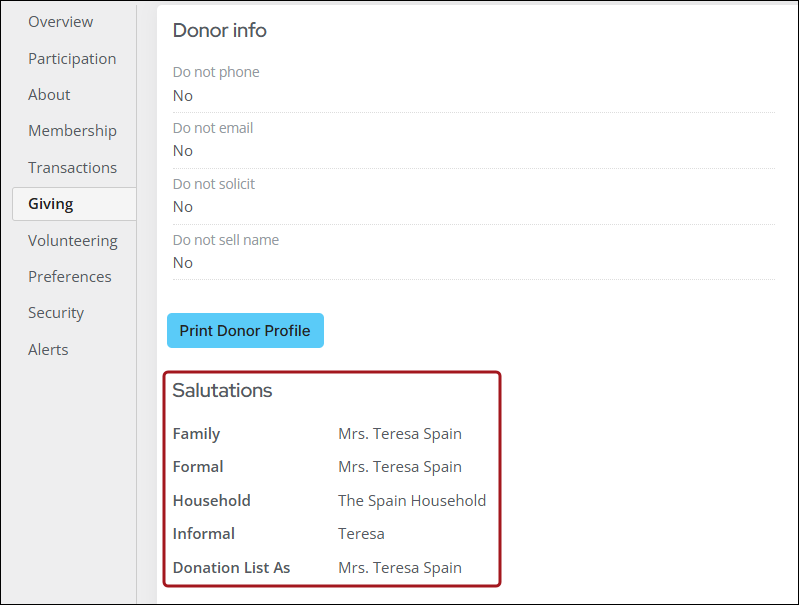
All contacts have custom salutations defined for each salutation type in the system. You can view and edit salutations for an individual contact using the Display Name Editor content item on the Giving tab of their account page.
To customize the salutation of your communication, do the following:
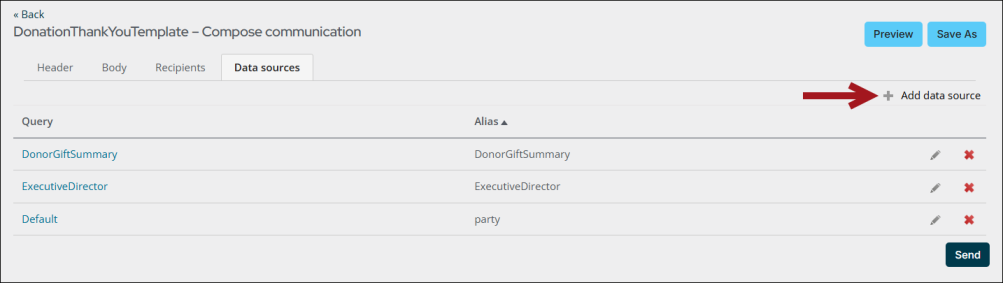
- In the email editor, select the Data Sources tab.
- Click Add data source.
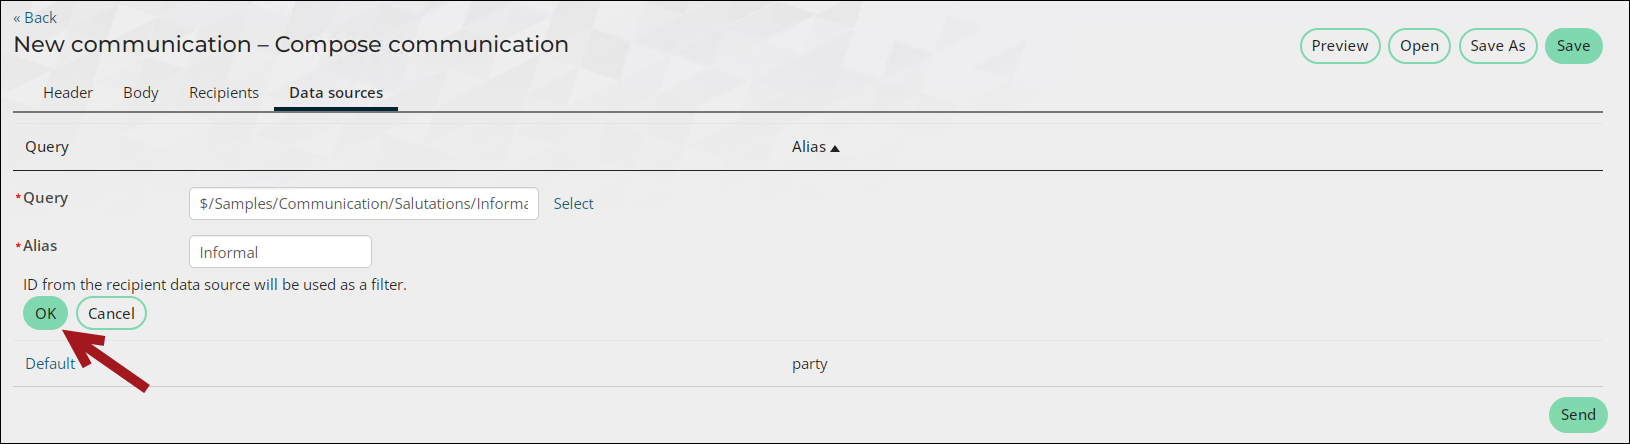
- Select the appropriate query. The following queries are located at $/Samples/Communication/Salutations:
- Family – Returns the full name of the contact.
- Formal – Returns the full name of the contact.
- Household – Returns a default value of “The [LastName] Household.”
- Informal – Returns an informal name or, if an informal name does not exist, a first name is used as the default value.
- Click OK, and then click OK again to add the additional data source. The additional data source is not added until you click OK.
- Click Save or Save as to save the change to the communication. By default, communication templates are saved to the $/Common/Communications folder in the Document system.
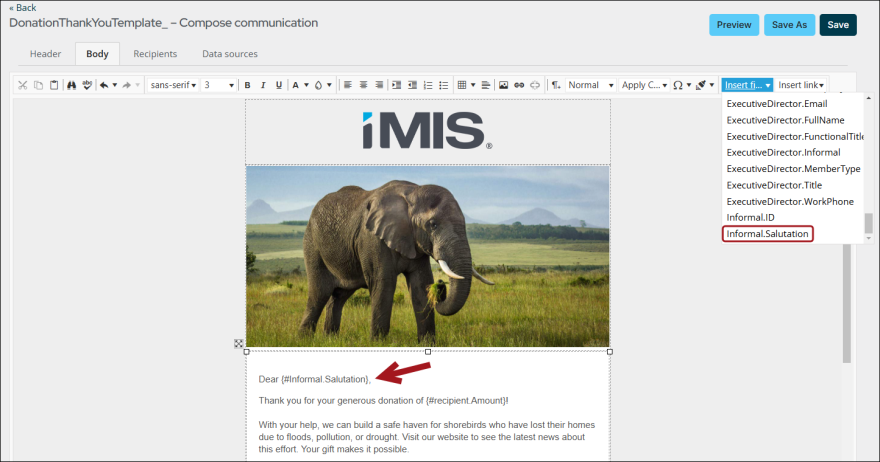
- Select the Body tab.
- Delete the default {#party.FirstName} parameter.
- From the Insert field drop-down, select the parameter that applies to your selected salutation query, for example:
- Family - Family.Salutation
- Formal - Formal.Salutation
- Household - Household.Salutation
- Informal - Informal.Salutation
- Compose or review the email content, and make sure to Save your changes. For more details about composing communications, see Creating a new communication template.
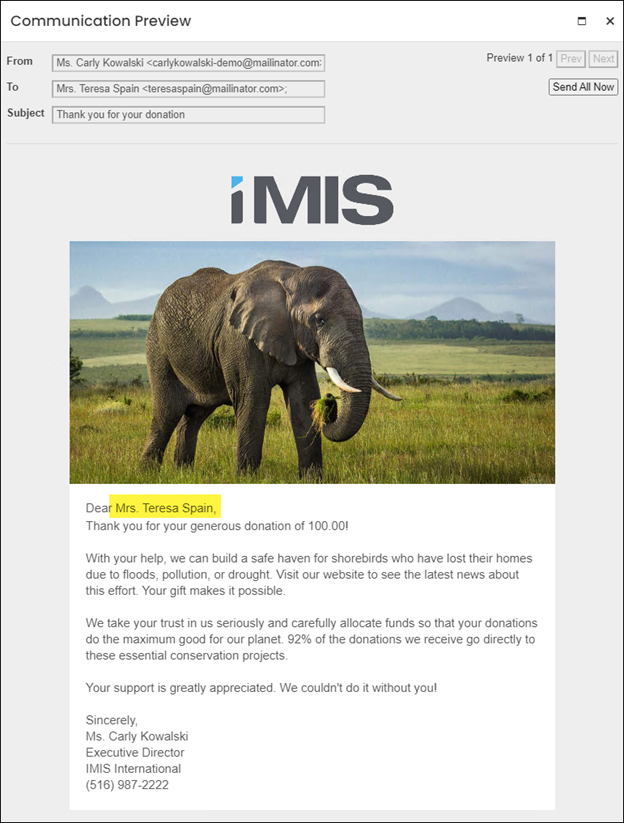
- Click Preview to view the salutations for each recipient and ensure they appear correctly.
- (optional) Click Send All Nowin the Preview to send the email communication. To review the status of your communication job, go to the Communication logs (Marketing > Communication logs). For more information, see Communication logs.