Last updated on: April 23, 2026
Note: The following information requires a Forms - Premium license. For more information, contact your AiSP or ASI Technical Support.
When working in Advanced mode, Form Designer displays an HTML canvas which allows you to layout your form directly using the features provided by the built-in HTML editor.
In This Article
Understanding the form elements
Note: There are many different configuration options for each form element. See Understanding the form elements for details.
The following sources are available for use in Advanced mode:
- Panel Sources - Panel Sources allow you to deploy your user-defined iMIS data from both single-instance and multi-instance sources. Depending on the Source and Field that you choose, you will see different sets of attributes that are appropriate based on the field chosen.
- Contact Fields - Data from the contact business objects.
- Address Fields - Contains all address fields (including emails and phone numbers) that relate to address purposes.
- Activity Fields - Contains all standard activity types that are available for editing. See Using activity fields.
- Signup Fields - Contains specific elements that must be used when creating new accounts using Form Builder.
- Actions - Allows you to add and configure buttons on your form to allow users to take specific actions.
- Multi Layouts - Allows you to embed a dynamic grid into your form which allows your users to see and update multiple records in one step. See Using multi-layouts.
- Documents - Documents are setup in Panel Designer as File Upload field types, which are not visible to unauthenticated users.
- Misc - Contains other Form elements that do not fit into the categories noted above.
Note: File Upload fields are not available for forms with multi-instance layouts.
Using Advanced mode to create a form
Do the following to use Advanced mode to create a form:
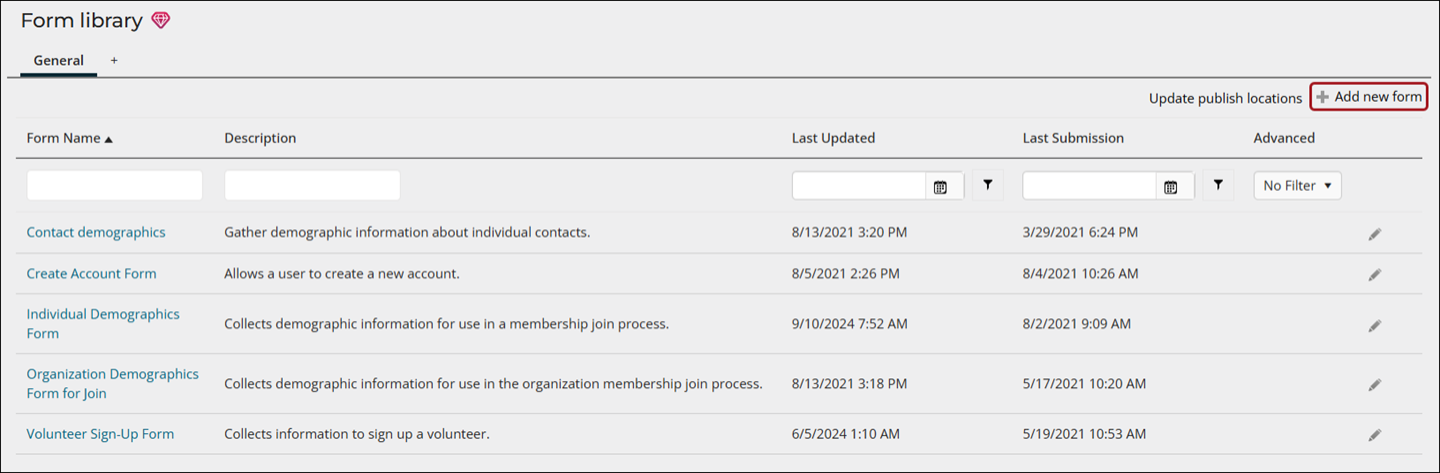
- From the Form Library, click Add new form.
- Fill out the general information about the form:
- Enter a Name and Description.
- Click the drop-down next to Form group to add the form to a specific tab.
- Click the box by Requires approval if you want the form to require approval. See Approvals for details.
- Enable Advanced mode.
- Click Add.
- Use the formatting options at the top to create your content for the form, including using CSS if desired. When working with CSS in the text editor, you must select the CSS Class to apply before entering the text or select the text to which you want the class applied and then select the class. For more information about Forms style classes, review the iMIS Forms Style guide at RiSE > Settings > Style Guide > Forms.
Important! Unless one field is marked as Read only, do not add the same element to the form more than once to avoid saving errors upon submission.
- Continue to Understanding the form elements to begin updating the various settings for each form field.
- Click Save.