Last updated on: January 27, 2026
The account management settings allow you to tailor the account notification messages that display when an account is created, a password is changed, or a sign-in attempt fails. You can also set the address from which email notifications of password resets and username requests are sent and the text contained in those emails.
Go to Settings > Contacts > Account management.
Tips: Before you begin
Before you begin, review the following tips:
- HTML and inline styles work best in emails, because some email clients ignore externally linked CSS files. For example, the following inline style turns the header text blue and changes the font:
<h1 style="color:#0000FF;font-family:Georgia,serif;">Heading text</h1>
- Use full paths to images, not relative paths. For example:
<img src="http://www.servername.com/images/logo.gif" alt="Company logo" />
- Test your email messages in different email clients to make sure everything looks the way you want.
Settings
There are many important settings on this page. Review and update them carefully.
Password settings
Note: iMIS provides enhanced password hashing to secure all user login passwords. This enhanced password security complies with PCI 3.2 guidelines.
The following settings are related to passwords:
- Password requirements text - This setting specifies the message that is displayed when an account is created or a password is changed. This setting does not control the actual password requirements. Password requirements can be updated from Settings > Contacts >Authentication. Two variables can be added to the message:
- {0} - Refers to the minimum password length allowed. This will populate with the value defined in the Minimum characters setting (Settings > Contacts > Authentication). The default value is 7, which is the minimum length required for PCI compliance.
- {1} - Refers to the minimum non-alphanumeric characters allowed. This will populate with the value defined in the Minimum numeric characters setting (Settings > Contacts > Authentication). The default value is 1. Although, requiring non-alphanumeric characters increases password security, non-alphanumeric characters are not necessary for PCI compliance, so setting a minimum value is optional.
- Default message if user password fails minimum password requirement settings - Use this field to define the message that appears when a user has created a password that does not meet the minimum password requirements.
- The email address from which password reset and username requests should be sent - Enter the email address from which email notifications are sent.
-
The number of minutes the reset password token is good - Specifies the number of minutes the reset password token is valid. The default value is 20 minutes, but it is recommended that the value does not exceed 60 minutes.
Sign in settings
The following settings are related to signing in:
- Default message if sign in fails - Specifies the message that is displayed when a sign-in attempt fails.
-
Default expiration date, in years from last login - Whenever a user signs in, their account expiration date is reset to that login date plus the number of years specified in this field. For example, if this value is 3, and a user signs in on January 1, 2015, their account expiration date is set to January 1, 2018.
Session timeout and expiration settings
The following settings are related to session timeout and expiration:
- Body of the warning message for a user session that is about to time out (appears 2 minutes before timeout) - When Session Timeout settings are enabled, specifies the warning message that is displayed two minutes prior to a user’s session timing out. The default message is:
- Text for the System Timeout Stay Signed In button - When the Session Timeout warning message appears, users have the option to stay signed in. The text defined in this field will appear on the button that keeps the user signed in. By default, the button text says Stay Signed In.
- Text for the System Timeout Logout button - When the Session Timeout warning message appears, users have the option to logout. The text defined in this field will appear on the button that logs the user out. By default, the button text says Logout.
- Message after session timeout - Specifies the message that displays when a user’s session has timed out.
- Message after browser timeout or sign out due to logging in from another browser - Specifies the message that displays when a user is inactive for a period or logs into another browser session with the same credentials.
Create account settings
The following settings are related to creating accounts:
- Allow "Forgot my username" to automatically create user credentials for existing contacts - If enabled, when a contact does not already have user credentials and submits a Forgot my username request, user credentials will be automatically generated if the email address entered is associated with an existing contact. By default, this setting is not enabled. The contact cannot have an existing user account, and a contact cannot have different user accounts based on their emails.The Forgot username? link uses the SignIn shortcut.
- Message when an unauthenticated user attempts to create an account using an email address that is already in use - Enter the message that displays when an existing user attempts to create an account. If the user enters an email address that is already associated with an account, this message displays.
Email body settings
When a user clicks the Forgot username or Forgot password link, they are automatically sent an email from iMIS (if there is a username found). Update these settings to define the email sent to the user:
- The body of the email sent to a user when they fill out the "Forgot username form" - The body of the email sent to a user when they fill out the Forgot username form. The Forgot username? link uses the SignIn shortcut.
- The body of the email sent to a user when they fill out the "Forgot my username" form, and their user name is not found - The body of the email sent to a user when they fill out the Forgot username form, and their username is not found.
- The body of the email sent to a user when they fill out the "Forgot my password" form - The body of the email sent to the user when they fill out the Forgot password form. The Forgot password? link uses the SignIn shortcut.
Notes
The The body of the email sent to a user when they fill out the "Forgot username form" and The body of the email sent to a user when they fill out the "Forgot my password" form settings accept variables. When an email is sent, the variables are replaced with the appropriate values. You may also use HTML or CSS to modify the display of the emails.
The following variables are accepted:
- [UserId]
- [ContactId]
- [Email]
- [LogonUrl]
- [ValidResetDuration] - for PasswordResetRequestMessage text only.
reCAPTCHA Settings
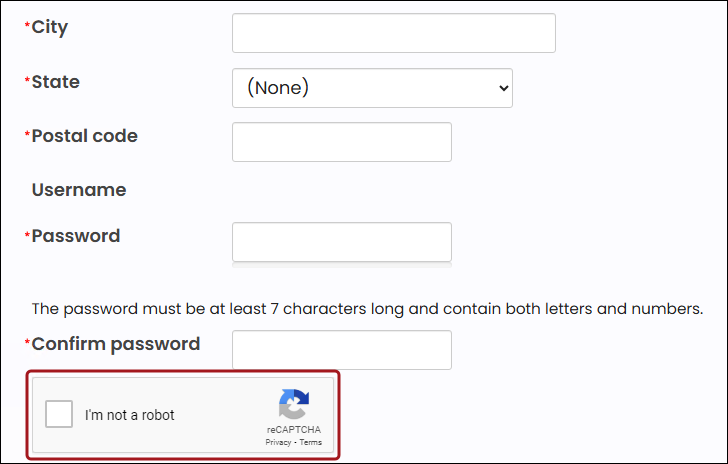
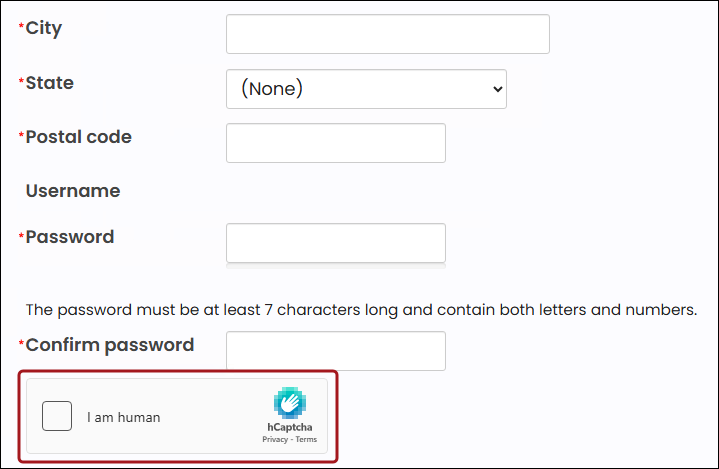
iMIS uses CAPTCHAs for security. CAPTCHA is a program that can generate and grade tests that humans can pass but current computer programs cannot.
Note: These CAPTCHA settings are used on Request username, Reset password, Account creation pages and Contact Us forms only. If you are using a custom Form Builder form to create accounts, you must separately add CAPTCHA to that form.
Tip: If either reCAPTCHA or hCaptcha is failing, it is usually due to an outdated version of the browser, or the user is taking too long to enter the credit card details and submit the payment. Try using a different browser and/or refresh the page to submit the payment again.
reCAPTCHA

hCaptcha

Enabling reCAPTCHA security
Do the following to enable reCAPTCHA security:
- Create an account with reCAPTCHA.
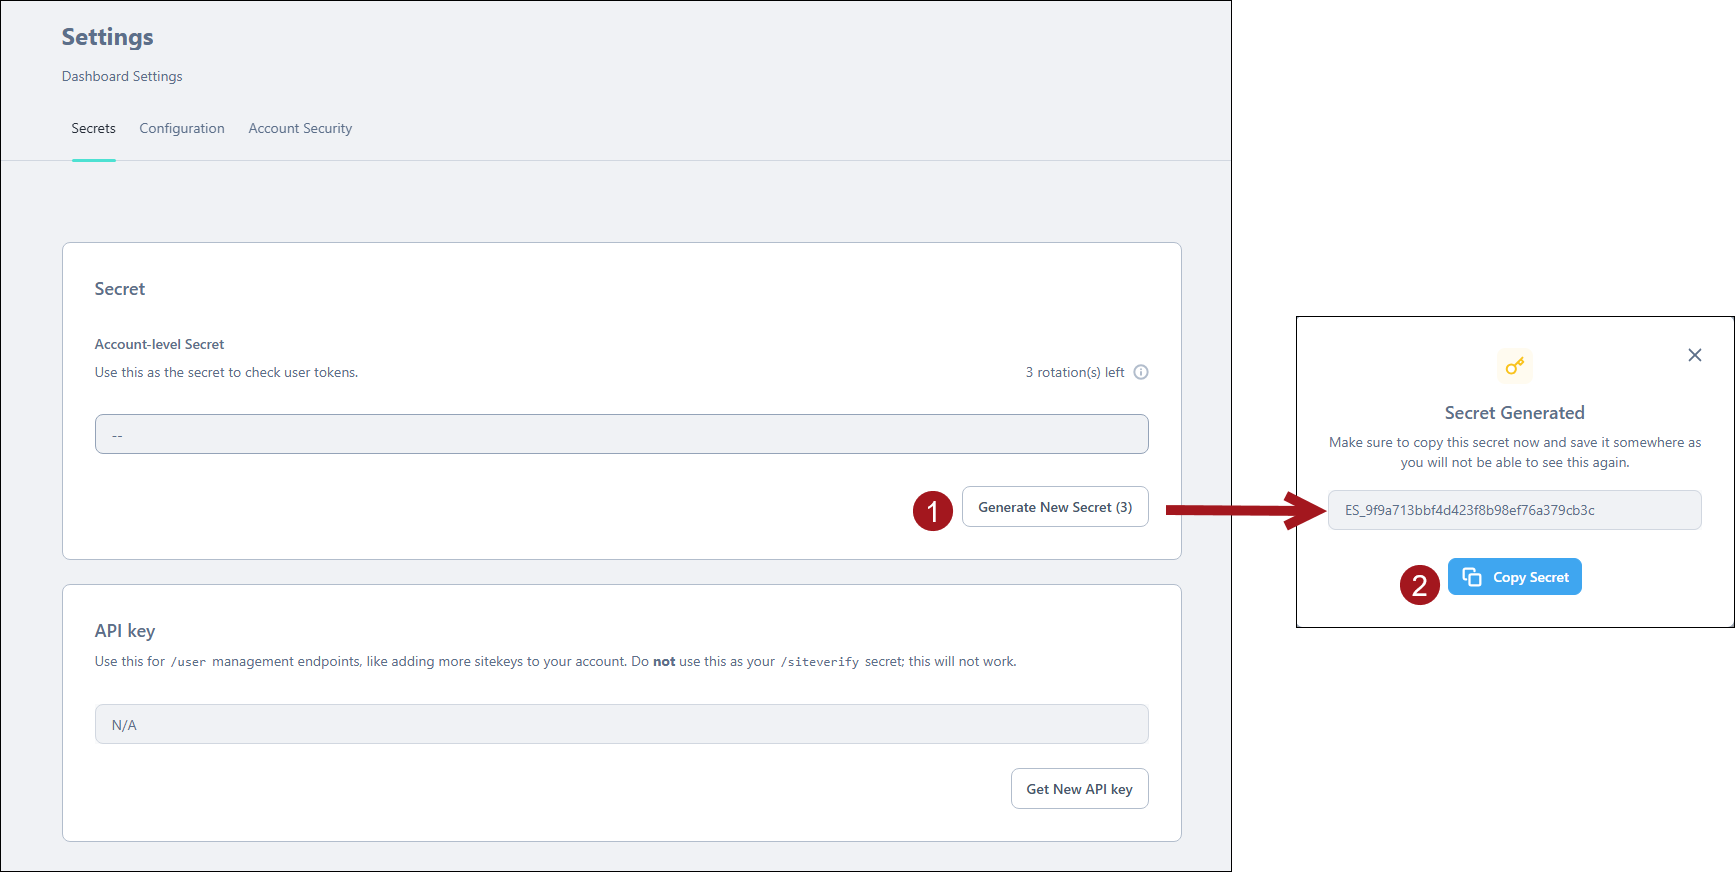
- Follow reCAPTCHA's instructions to create your Site and Secret keys.
- Go to Settings > Contacts > Account management.
- From the reCAPTCHA Settings section, enter the following values:
- Site key - The Site Key from reCAPTCHA.
- Secret key - The Secret Key from reCAPTCHA.
- Theme - Customize the look and feel of reCAPTCHA.


- (optional) If you are testing your site, you may want to enable Skip validation to allow iMIS to bypass the CAPTCHA validation. This will leave the captcha configured but will disable verification.
- Click Save.
Note: When registering a new site with reCAPTCHA, select to use reCAPTCHA v2 with Checkbox. iMIS supports only this type of reCAPTCHA.
Enabling hCaptcha security
Do the following to enable hCaptcha security:
- Create an account with hCaptcha.
- Follow hCaptcha's instructions to create your Site and Secret keys.
- Go to Settings > Contacts > Account management.
- From the CAPTCHA Settings section, enter the following values:
- Site key - The Site Key from hCaptcha.
- Secret key - The Secret Key from hCaptcha.
- Theme - Customize the look and feel of hCaptcha.


- (optional) If you are testing your site, you may want to enable Skip validation to allow iMIS to bypass the CAPTCHA validation. This will leave the captcha configured but will disable verification.
- Click Save.
Enabling CAPTCHA on Form Builder forms
If you are using a custom Form Builder form to create accounts, you must separately add CAPTCHA to that form. Do the following to add CAPTCHA to the Form Builder form:
- Go to RiSE > Form Builder > Form library.
- Open the form.
- Add CAPTCHA to the form:
- Drag-and-drop: Expand Misc, then drag Captcha to the desired location.
- Advanced: Click the Misc tab, then click Add to form.
- Click Save.